

WooCommerce for Beginners: Mastering Order Creation Part 3

With WooCommerce, managing and tracking all your orders is now easy. I have already explained in my previous article how you can not only manage manually but also create new orders. In my previous post, I discussed some of the parts you need to configure when creating an order manually. Today, I’m going to wrap up the orders section in WooCommerce by fully adding manual orders.
After dealing with the "Download Product Permissions" meta box, you will find some meta boxes displayed on the right side of the page. These sections are for Order Actions, Order Total, and Order Notes. Let us discuss each of them separately.
Total order
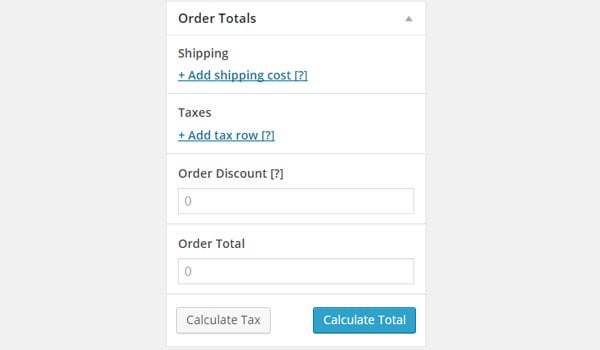
I will explain the order operation at the end. Let's start with the order total. When I discussed the Order Items section in my previous post, I explained how to use this section to add different products to an order, and then explained how to edit the individual fields for total and tax for each added product. Therefore, if there are multiple items in an order and different tax rates apply, it can be difficult to calculate the total amount a customer needs to pay. All of this is maintained by the OrderTotal section. It not only records the total price of the order, but also calculates the total amount of applied taxes.
There are two ways to find the order total:
- The first method is to enter all these tax rates manually and click the Calculate Total and Calculate Taxes buttons.
- The second method is to directly click the Calculate Total and Calculate Tax buttons after entering the items. This automatically calculates the total of all amounts for you.
In addition to automatic settings, there are some fields that can be edited manually. Let's take a look at these fields.
transportation
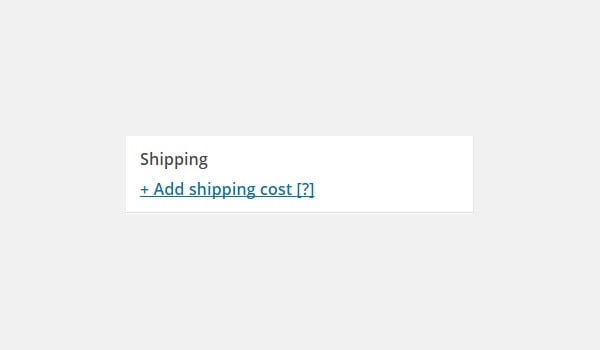
We now know that there are certain shipping and handling fees for any order. So if you want to apply any of them, click on Add shipping option.
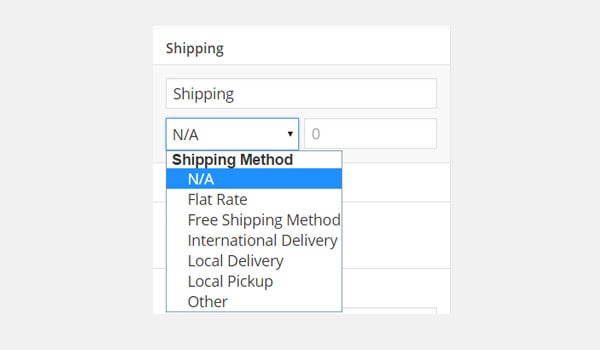
Click on it and a sub-section will appear where you can configure fields for shipping name, shipping method, and shipping method. freight. You can repeat this process to add multiple shipping rates if needed.
Taxes
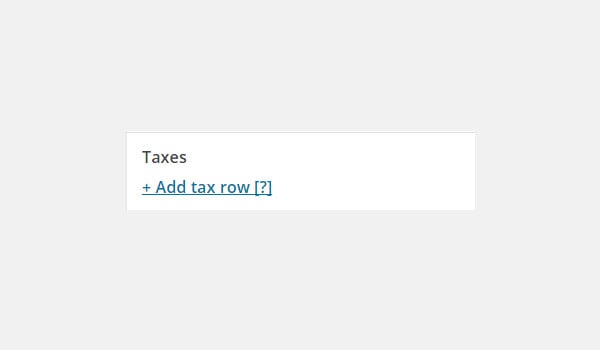
This section allows you to enter the taxes you want to apply to a specific order. Click Add Tax Row to configure all these fields.
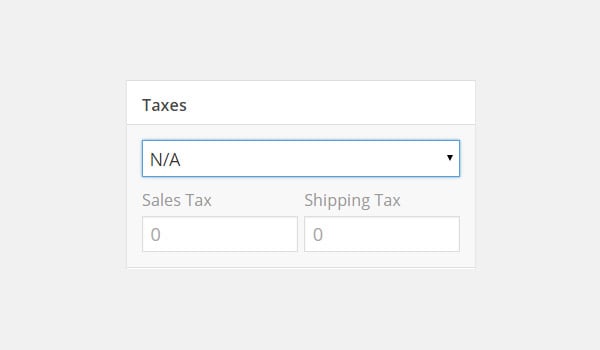
Select the tax rate and fill in Sales Tax and Freight Tax.
Order Discount
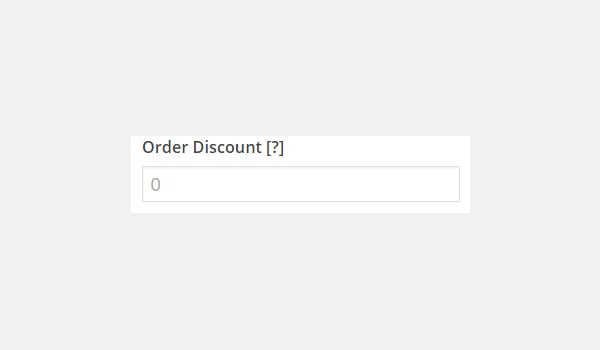
In this field you can enter the discount rate to be offered to customers after paying taxes. For example, if the order total is $75 and I enter 5 in Order Discount, the total will be $70.
Total order
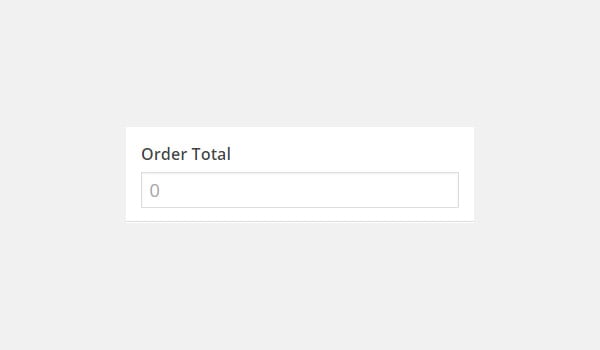
When you click Calculate Total, this field will be populated with the total price tax for the order. If you would like to enter a custom total amount, please enter it manually in this field.
order notes
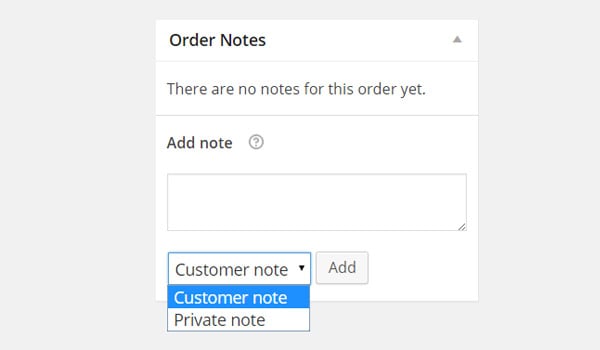
This section allows you to add notes for your personal use or as a message to send to your customers. This can be a quick way of communication between you and your clients. To add any note, just select the type: Customer Notes or Private Notes. Then enter the message and click the Add button.
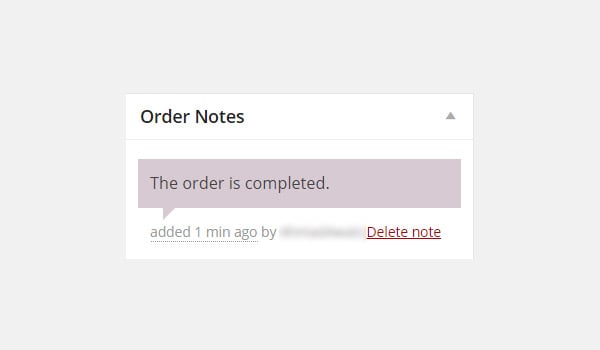
All created notes are displayed in the form of a chat box, colored purple. Customers can view these notes via email, and online store owners can view them directly from the edit order page.
Order Operation
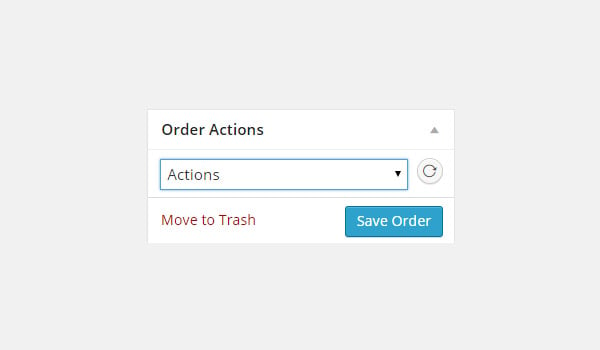
Before we start explaining order operations, let us repeat the process. When you click the Add New button to create a manual new order, first fill in the various meta boxes for the order's basic details, items/products, and custom fields (if required). Then add relevant notes as needed, set the order status, and finally calculate the total. Once you have completed all these tasks, click the Save Order button, which will obviously save the order, or if you want to abandon the order, click Move to Trash. p>
After this process, you can choose to apply specific order actions , which appear in the form of a drop-down menu at the top of the meta box on the right. Whichever action you choose, it will generate an email that is sent to the customer informing him or her about the order and the amount due. Let's see what these operations are:
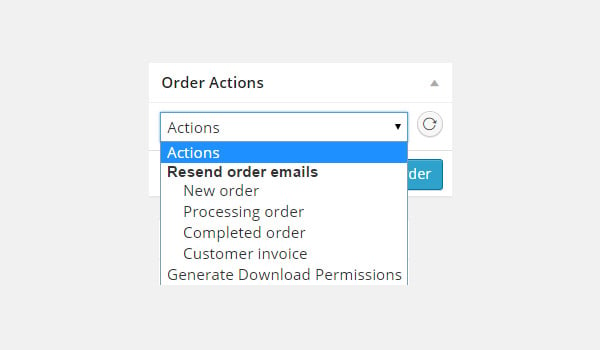
- New Order: Generate an email in response to a brand new order. So once you've finished creating your order, manually select the "New Order" option and click "Send" (circular arrow icon) next to the drop-down menu.
- Order Processing: If the order status is Processing, select this action and click the Send button. It will send a thank you note via email to notify the customer that the order is being processed.
- Completed Order: Once the order is complete and you have shipped it, select "Complete Order" to generate the email and click the "Send" icon. This will send an email to the customer letting them know that the order has been completed.
- Customer Invoice: This option generates an order invoice and emails it to the customer.
- Generate Download Permissions: This will send an email containing a downloadable link to the purchased product.
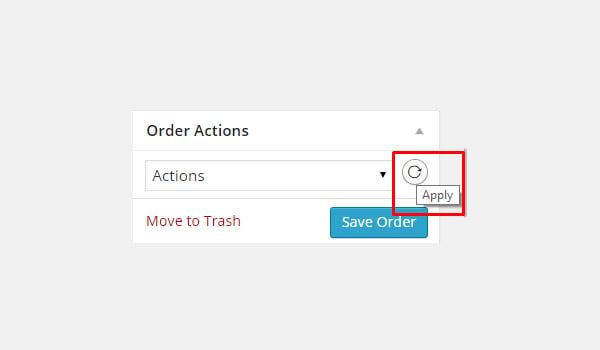
To apply any order action, select the desired action and click the Send icon that appears next to the action.
in conclusion
This article concludes the Orders section in WooCommerce. I tried to explain all the tiny settings in this part of the plugin. If you have any questions or queries regarding order management and processing, you can leave a comment in the box below.
The above is the detailed content of WooCommerce for Beginners: Mastering Order Creation Part 3. For more information, please follow other related articles on the PHP Chinese website!

Hot AI Tools

Undresser.AI Undress
AI-powered app for creating realistic nude photos

AI Clothes Remover
Online AI tool for removing clothes from photos.

Undress AI Tool
Undress images for free

Clothoff.io
AI clothes remover

AI Hentai Generator
Generate AI Hentai for free.

Hot Article
Hot Tools

Notepad++7.3.1
Easy-to-use and free code editor

SublimeText3 Chinese version
Chinese version, very easy to use

Zend Studio 13.0.1
Powerful PHP integrated development environment

Dreamweaver CS6
Visual web development tools

SublimeText3 Mac version
God-level code editing software (SublimeText3)
Hot Topics
 1377
1377
 52
52

 Is WordPress easy for beginners?
Apr 03, 2025 am 12:02 AM
Is WordPress easy for beginners?
Apr 03, 2025 am 12:02 AM
WordPress is easy for beginners to get started. 1. After logging into the background, the user interface is intuitive and the simple dashboard provides all the necessary function links. 2. Basic operations include creating and editing content. The WYSIWYG editor simplifies content creation. 3. Beginners can expand website functions through plug-ins and themes, and the learning curve exists but can be mastered through practice.
 What is the WordPress good for?
Apr 07, 2025 am 12:06 AM
What is the WordPress good for?
Apr 07, 2025 am 12:06 AM
WordPressisgoodforvirtuallyanywebprojectduetoitsversatilityasaCMS.Itexcelsin:1)user-friendliness,allowingeasywebsitesetup;2)flexibilityandcustomizationwithnumerousthemesandplugins;3)SEOoptimization;and4)strongcommunitysupport,thoughusersmustmanageper
 Should I use Wix or WordPress?
Apr 06, 2025 am 12:11 AM
Should I use Wix or WordPress?
Apr 06, 2025 am 12:11 AM
Wix is suitable for users who have no programming experience, and WordPress is suitable for users who want more control and expansion capabilities. 1) Wix provides drag-and-drop editors and rich templates, making it easy to quickly build a website. 2) As an open source CMS, WordPress has a huge community and plug-in ecosystem, supporting in-depth customization and expansion.
 How much does WordPress cost?
Apr 05, 2025 am 12:13 AM
How much does WordPress cost?
Apr 05, 2025 am 12:13 AM
WordPress itself is free, but it costs extra to use: 1. WordPress.com offers a package ranging from free to paid, with prices ranging from a few dollars per month to dozens of dollars; 2. WordPress.org requires purchasing a domain name (10-20 US dollars per year) and hosting services (5-50 US dollars per month); 3. Most plug-ins and themes are free, and the paid price ranges from tens to hundreds of dollars; by choosing the right hosting service, using plug-ins and themes reasonably, and regularly maintaining and optimizing, the cost of WordPress can be effectively controlled and optimized.
 Why would anyone use WordPress?
Apr 02, 2025 pm 02:57 PM
Why would anyone use WordPress?
Apr 02, 2025 pm 02:57 PM
People choose to use WordPress because of its power and flexibility. 1) WordPress is an open source CMS with strong ease of use and scalability, suitable for various website needs. 2) It has rich themes and plugins, a huge ecosystem and strong community support. 3) The working principle of WordPress is based on themes, plug-ins and core functions, and uses PHP and MySQL to process data, and supports performance optimization.
 Is WordPress still free?
Apr 04, 2025 am 12:06 AM
Is WordPress still free?
Apr 04, 2025 am 12:06 AM
The core version of WordPress is free, but other fees may be incurred during use. 1. Domain names and hosting services require payment. 2. Advanced themes and plug-ins may be charged. 3. Professional services and advanced features may be charged.
 Is WordPress a CMS?
Apr 08, 2025 am 12:02 AM
Is WordPress a CMS?
Apr 08, 2025 am 12:02 AM
WordPress is a Content Management System (CMS). It provides content management, user management, themes and plug-in capabilities to support the creation and management of website content. Its working principle includes database management, template systems and plug-in architecture, suitable for a variety of needs from blogs to corporate websites.
 Can I learn WordPress in 3 days?
Apr 09, 2025 am 12:16 AM
Can I learn WordPress in 3 days?
Apr 09, 2025 am 12:16 AM
Can learn WordPress within three days. 1. Master basic knowledge, such as themes, plug-ins, etc. 2. Understand the core functions, including installation and working principles. 3. Learn basic and advanced usage through examples. 4. Understand debugging techniques and performance optimization suggestions.
