
Docker is a powerful containerization platform that allows developers to package and distribute applications and their dependencies as lightweight containers. The Docker command line interface (CLI) is a key tool for interacting with Docker and managing containers and images on your system without accessing any GUI. However, those who require some convenience can use the Docker desktop GUI on Windows.
Certain systems must be met before planning to install Docker Desktop on Windows Require. Here are these:
Those who have not yet enabled WSL And VMP people can go to the Windows search box and type "Turn Windows features on or off". Open it and select the "Windows Subsystem for Linux" and "Virtual Machine Platform" options. After that, press "OK" button and both will appear on your system.
As we discussed at the beginning of this tutorial, we will use the command line to install Docker Desktop. So, right-click on the Start button and select PowerShell (Admin) or Terminal (Admin).
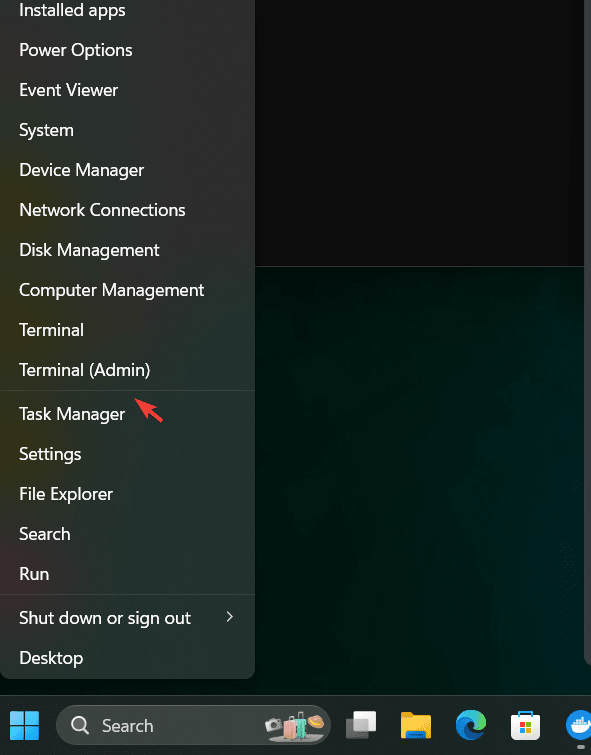 Step 2: Check Winget Availability
To check if it is available, run on PowerShell or CMD:
winget
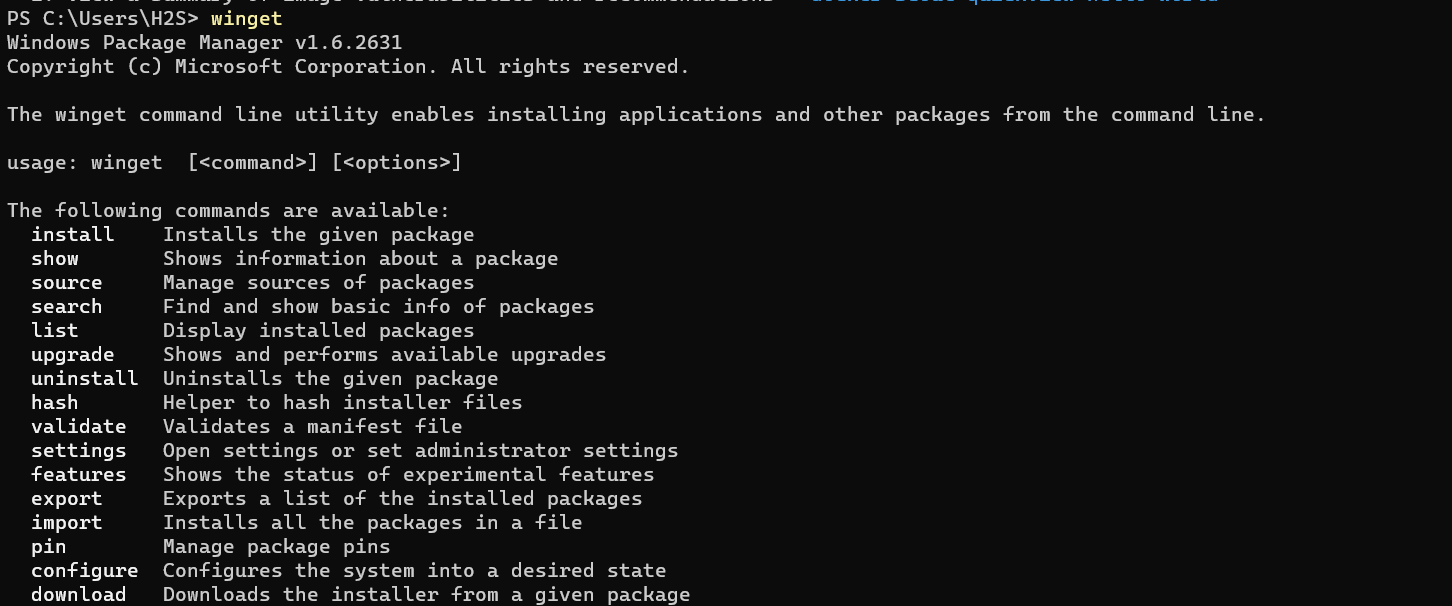 Step 3: Install Docker Dekstop on Windows
winget install Docker.DockerDesktop
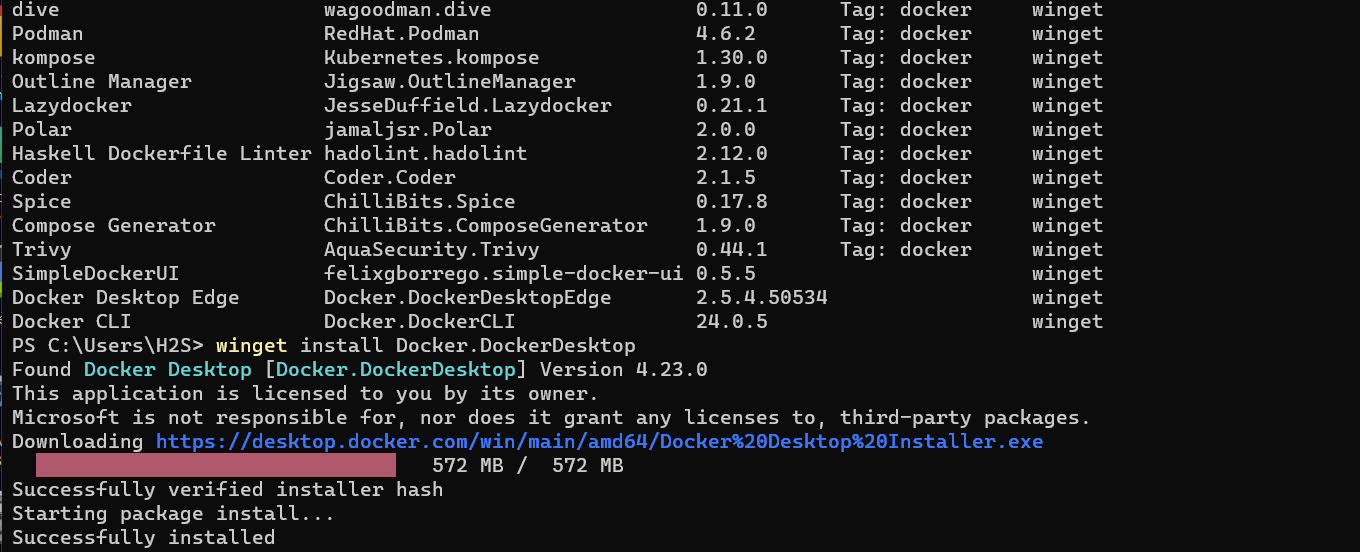 Soon, Docker Desktop will be installed on your system. After
the system to properly integrate Docker. Step 4: Launch Docker Desktop GUI
, you will see its icon, click on the icon to run the program . Docker's GUI will appear to manage images, containers, volumes, with options to extend Docker functionality by adding various extensions.
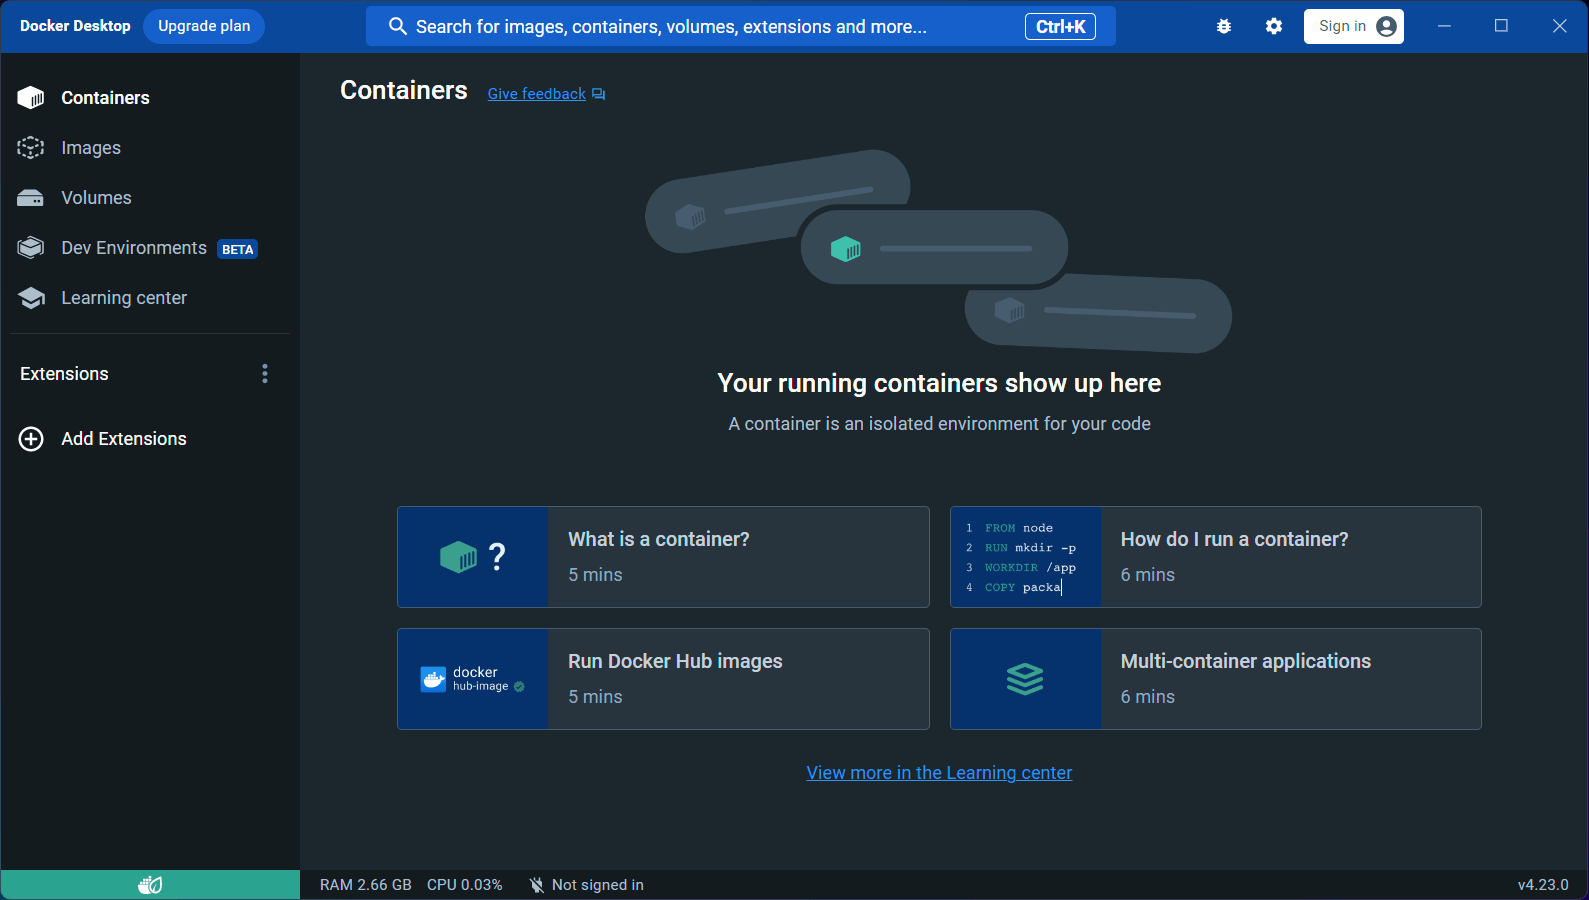 Step 5: Access the Docker Command Line Interface
docker pull hello-world
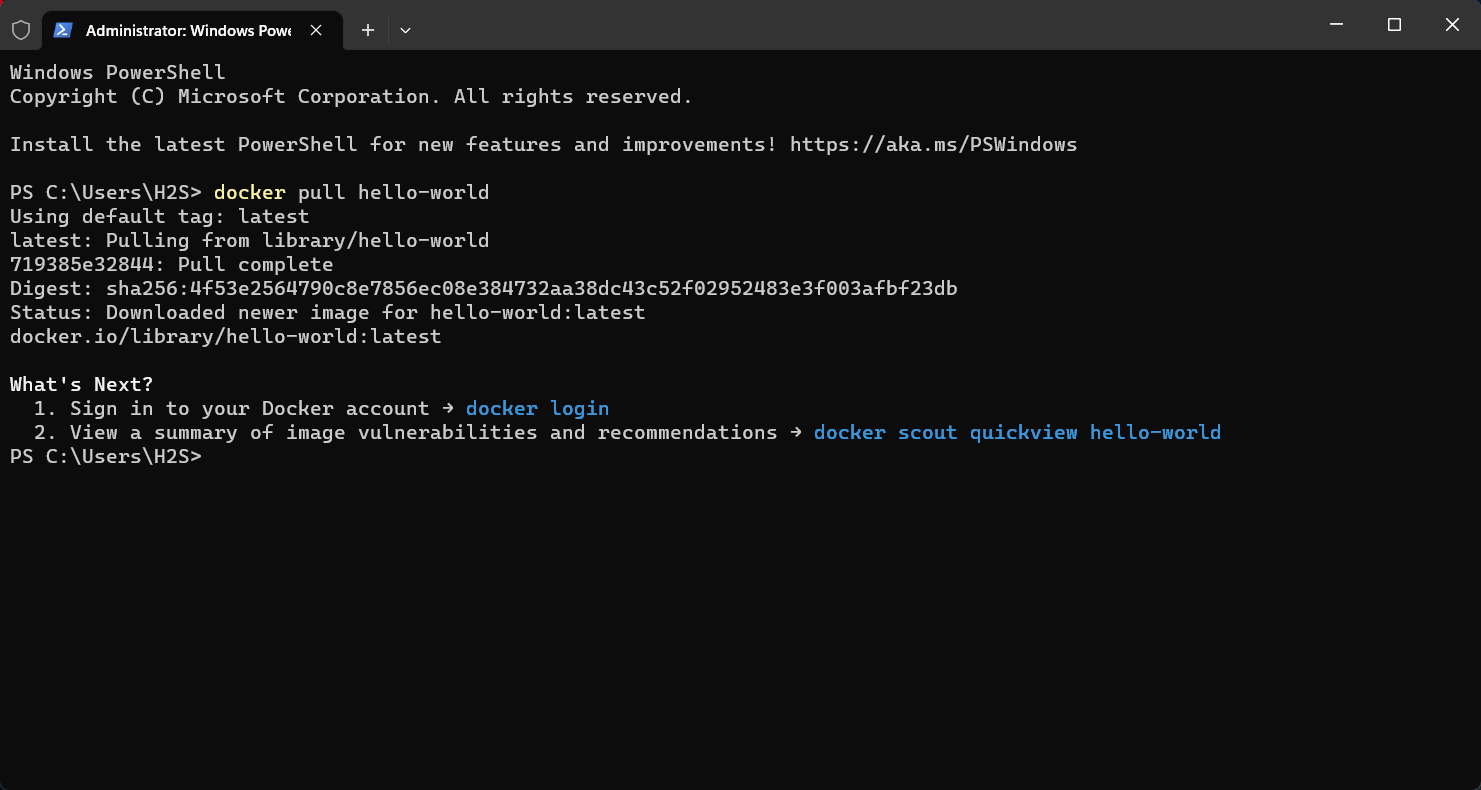
Check the Docker CLI installed on your system Version. docker --version
Get detailed information about Docker installation. docker info
Displays a list of available Docker commands and their descriptions. docker --help
from a registry (such as Docker Hub). docker pull image_name:tag
winget uninstall Docker.DockerDesktop
The above is the detailed content of Install Docker Desktop using PowerShell on Windows 11 or 10. For more information, please follow other related articles on the PHP Chinese website!
 The difference between k8s and docker
 What are the methods for docker to enter the container?
 What should I do if the docker container cannot access the external network?
 What is the use of docker image?
 How to solve the problem that teamviewer cannot connect
 File name contains illegal content
 ps paint bucket shortcut keys
 A memory that can exchange information directly with the CPU is a


