
 Technology peripherals
It Industry
The most practical shortcut keys in Word: top 10 shortcut keys to quickly adjust line spacing, switch title styles, and repeat the previous operation
Technology peripherals
It Industry
The most practical shortcut keys in Word: top 10 shortcut keys to quickly adjust line spacing, switch title styles, and repeat the previous operation
The most practical shortcut keys in Word: top 10 shortcut keys to quickly adjust line spacing, switch title styles, and repeat the previous operation

Today, I would like to recommend to you the TOP10 most powerful shortcut keys in Word. They are also very practical in daily office work. Learn them quickly!
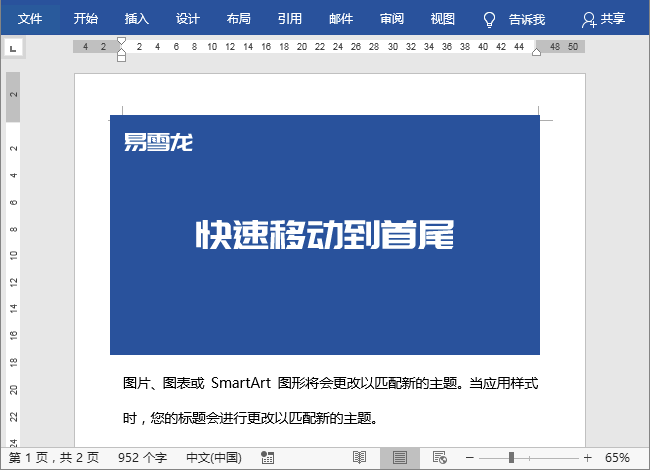
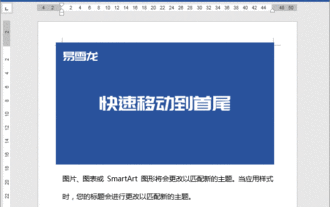
1, Quickly move to the beginning and end
Press the Ctrl Home key: quickly jump to the beginning of the document;
Ctrl End: Quickly move to the end.
The document contains a lot of content, and it is not easy to turn to the end, but using shortcut keys, we can easily jump to the beginning and end of the document
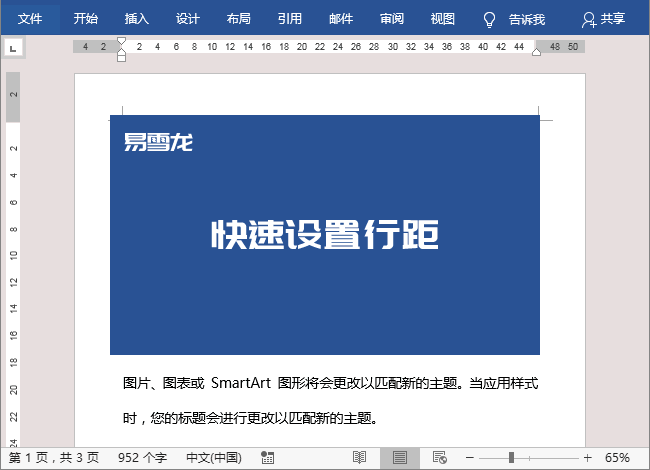
2, Quickly set the line spacing
Ctrl 1: Set the line spacing to double;
Ctrl 2: Double the line spacing;
Press Ctrl 5 to adjust the line spacing to 1.5 times
##3, Switch style title
Ctrl Alt 1: Title 1; Ctrl Alt 2: Secondary title; The content that needs to be rewritten is: Press Ctrl Alt 3: Title 3Use Shortcut keys are more convenient and faster when setting the document title style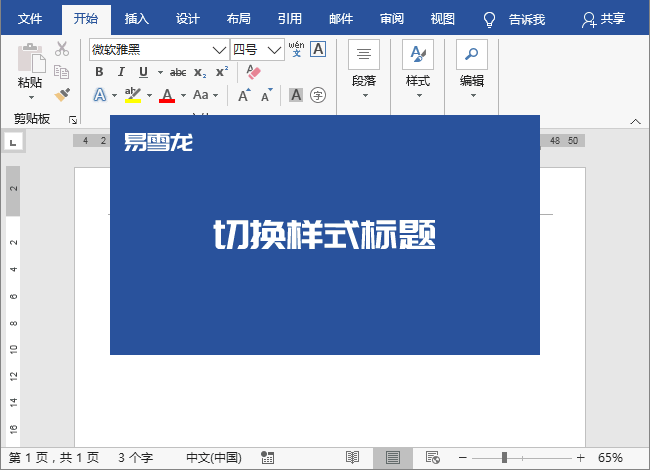
4, Quick alignment
Ctrl E : Center alignment; Ctrl L: Left alignment; Ctrl R: Align text to the right; Ctrl Shift J: Scatter alignment.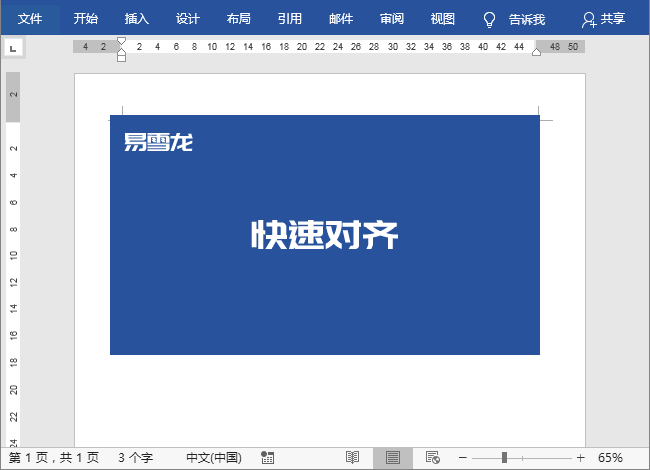
5, Print Preview
Ctrl F2: Print PreviewIn editing After finishing the document, we often switch to print preview mode to see the final effect. It will be more convenient if you use the shortcut keys directly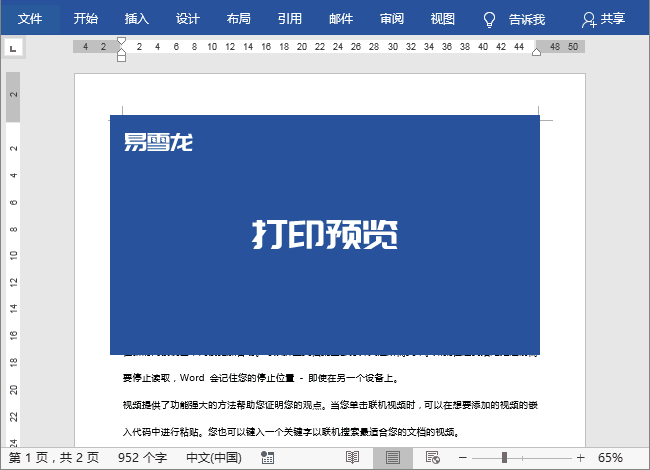
6、Quick positioning
F5: Quick positioning When there is too much document content, we can use the shortcut key "F5" to locate the page we want to view, or a certain section, a certain line, which picture, etc.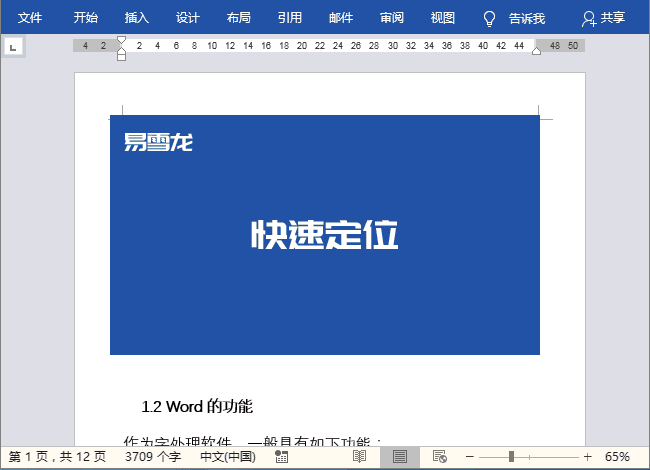
7, Copy and paste format
Ctrl Shift C: Copy format; Press Ctrl Shift C: Copy format; Use Ctrl Shift V to paste formatUse copy-paste format and format brush shortcut keys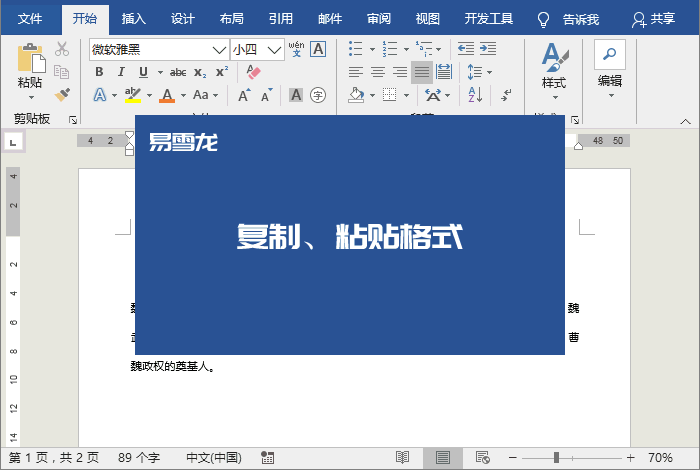
8, AutoText
F3: Building Blocks is equivalent to Word’s built-in space, we can put the content we need Store it all and set a title. When we want to use it, we can directly enter the title in the document and press the "F3" or "Enter" key to quickly call up the content we saved.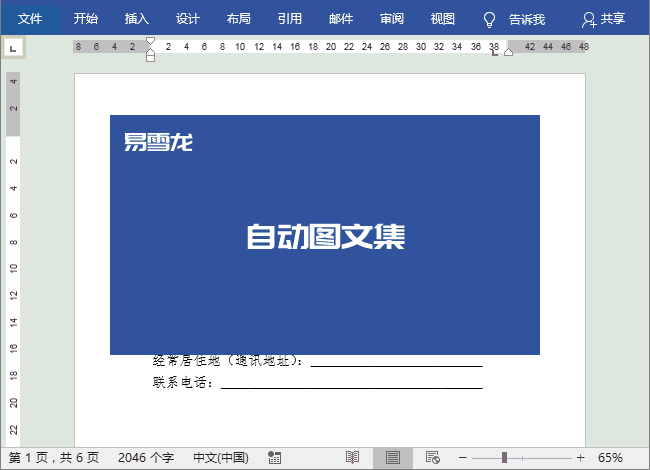
AutoTextCtrl F3: Cut to "Text Field" ;
Copy and paste the graphic field: Ctrl Shift F3
There is a function in Word called "graphic field", which allows us to continuously select objects and perform "cut" operations, and finally You can paste all the content we cut out
Repeat the previous stepF4 :Re-execute the previous step
In Word, the F4 function key plays a very important role. It can repeat the previous step and help us easily complete many functions
Alternative format brush
Merge cells
##Quick picture shape cropping
This article comes from the WeChat public account: Word Technology Alliance (ID: Wordlm123), author: Wang Wangqi
Advertising statement: The external jump links contained in the article (including but not limited to hyperlinks, QR codes, passwords, etc.) are used to convey more information and save selection time. The results are for reference only. All articles on this site include this statement.The above is the detailed content of The most practical shortcut keys in Word: top 10 shortcut keys to quickly adjust line spacing, switch title styles, and repeat the previous operation. For more information, please follow other related articles on the PHP Chinese website!

Hot AI Tools

Undresser.AI Undress
AI-powered app for creating realistic nude photos

AI Clothes Remover
Online AI tool for removing clothes from photos.

Undress AI Tool
Undress images for free

Clothoff.io
AI clothes remover

AI Hentai Generator
Generate AI Hentai for free.

Hot Article
Hot Tools

Notepad++7.3.1
Easy-to-use and free code editor

SublimeText3 Chinese version
Chinese version, very easy to use

Zend Studio 13.0.1
Powerful PHP integrated development environment

Dreamweaver CS6
Visual web development tools

SublimeText3 Mac version
God-level code editing software (SublimeText3)
Hot Topics
 1379
1379
 52
52

 How to solve the problem that the background is black when printing contract photos in Word?
Nov 13, 2023 am 08:38 AM
How to solve the problem that the background is black when printing contract photos in Word?
Nov 13, 2023 am 08:38 AM
At work, many of the contract documents we obtain are often sent by users taking photos, and most of these contracts are in the form of photos, and the printed effect is not as good as the original document! Take the picture above as an example. The effect of taking a photo to print the contract is very poor. The background is all black. It is very different from the original document. Many people may use it reluctantly. Today, we will teach you how to solve this problem and ensure that the printed effect is exactly the same as the original document! 01. Remove the black background 1. First insert the photo into Word, "Insert" - "Illustration" - "Picture", then select the photo and set a wrapping method. Here I choose "Float above the text" ”. 2. Select the photo and enter "Format" - "Adjustment" - "Correction" - "Picture Correction"
 How to correctly align parties A and B in a Word contract? Don't rely on a simple space bar!
Dec 02, 2023 pm 03:37 PM
How to correctly align parties A and B in a Word contract? Don't rely on a simple space bar!
Dec 02, 2023 pm 03:37 PM
When we make a contract, we always format and create a place at the end for the seals and signatures of Party A and Party B. Many friends don't know how to align and always like to hit the space to align. You know, many times, no matter how hard you hit the space, it's in vain. Here, Teacher Yi will share with you several alignment methods. 01. Tab stop alignment 1. First enter the signature of Party A, then make a copy, arrange it, select the content, double-click the middle position of the ruler, and click OK in the pop-up "Tab stop". Position the cursor at the split point, then press the "Tab" key, then position the cursor after "Day", continue to press the "Tab" key, and cancel the redundant underline. If you feel the location is inappropriate,
 delete blank page in word
Mar 11, 2024 pm 05:29 PM
delete blank page in word
Mar 11, 2024 pm 05:29 PM
[Use section breaks] 1. Open the Word document and move the cursor to the page before the extra blank page. 2. In the Word menu, select the "Page Layout" tab. 3. In "Page Setup", select the "Section Break" option. 4. In "Section Break", select the "Next Page" option, and then click the "OK" button. 5. Move the cursor to the redundant blank page and press the Delete key to delete it. [Use the delete command] 1. Open the Word document and move the cursor to the page before the extra blank page. 2. In the Word menu, select "Start
 There is a large blank space in the word table that cannot be moved up
Mar 11, 2024 pm 05:26 PM
There is a large blank space in the word table that cannot be moved up
Mar 11, 2024 pm 05:26 PM
1. Check the table properties: Select the table, click [Properties] under the [Layout] tab, and view and adjust settings such as row height and column width in the pop-up dialog box. 2. Adjust paragraph settings: select a blank paragraph, right-click and select [Paragraph], check the settings before and after the paragraph in the pop-up dialog box, and make sure the value is 0. 3. Clear format: select the blank paragraph, and click [Start] 】【Clear Format】button under the tab to clear possible formatting problems. 4. Update Word: Make sure your Word software is the latest version. There may be some problems with the old version of the software.
 How to delete blank pages in word
Mar 11, 2024 pm 05:31 PM
How to delete blank pages in word
Mar 11, 2024 pm 05:31 PM
[Use the delete command] 1. Open the Word document and move the cursor to the page before the extra blank page. 2. In the Word menu, select the "Start" option. 3. In "Edit", select the "Find and Replace" option. 4. In "Find and Replace", select the "Special" button and then select the "Page Break" option. 5. Click the "Find Next" button to find the extra blank page. 6. Click the "Delete" button to delete excess blank pages. [Use section breaks] 1. Open the Word document and move the cursor to the page before the extra blank page.
 'Electronic handwritten signature' for Word documents, teach you step by step
Nov 25, 2023 pm 03:23 PM
'Electronic handwritten signature' for Word documents, teach you step by step
Nov 25, 2023 pm 03:23 PM
We often need to sign by hand when signing some contracts, but if there are a large number of contracts that need to be signed and each one needs to be signed by hand, then we don’t know when it will be signed. Therefore, Teacher Yi here teaches you a lazy way, which is to make an electronic signature. When you want to use it, just sign it on the electronic version, and finally print the contract in batches. 01. Preparation work First, we prepare a paper signature and take a piece of white paper. Signed in black pen. 02. Transfer to Word document. Take a photo of the signed paper or scan it to the computer and insert it into the Word document. 03. Set the signature photo. We select the signature photo, then go to "Format" - "Adjustment" - "Color", and select the "Black and White: 50%" coloring effect in "Recolor". Next, we will
 How to format a word document
Mar 11, 2024 pm 05:53 PM
How to format a word document
Mar 11, 2024 pm 05:53 PM
1. Page layout: Find the [Page Setup] option in the [Page Layout] tab, and you can set the page layout of the document, including paper size, page margins, number of rows and columns per page, etc. It can be adjusted according to needs to make the page layout of the document more beautiful and reasonable. 2. Paragraph format: Select the paragraph that needs to be formatted in the document, then find the [Paragraph] option in the [Home] tab, and click the [Paragraph] button. In the pop-up [] window, you can set the paragraph alignment (such as left alignment, center alignment, right alignment, etc.), line spacing, first line indentation, etc. according to your needs.
 The most practical shortcut keys in Word: top 10 shortcut keys to quickly adjust line spacing, switch title styles, and repeat the previous operation
Nov 26, 2023 am 08:09 AM
The most practical shortcut keys in Word: top 10 shortcut keys to quickly adjust line spacing, switch title styles, and repeat the previous operation
Nov 26, 2023 am 08:09 AM
Today, I would like to recommend to you the TOP10 most powerful shortcut keys in Word. They are also very practical in daily office work. Learn them quickly! 1. Quickly move to the beginning and end. Press Ctrl+Home: quickly jump to the beginning of the document; Ctrl+End: quickly move to the end. The document contains a lot of content, and it is not easy to turn to the end. However, using shortcut keys, we can easily jump to the beginning and end of the document. 2. Quickly set the line spacing. Ctrl+1: Set the line spacing to double; Ctrl+2: Double. Double line spacing; press Ctrl+5 to adjust the line spacing to 1.5 times 3. Switch style titles Ctrl+Alt+1: Title 1; Ctrl+Alt+2: Secondary title; the content that needs to be rewritten is: Press Ctrl+ Al
