
The projector under the win10 system is something we often use, but we will inevitably encounter some problems when using it. Because it needs to be projected onto various instruments, it is quite troublesome. Today I bring you a win10 projector. Let’s take a look at the setting method in detail.

After upgrading win10, especially the current high-resolution computers, you often encounter the problem of using a projector When projecting or connecting to a second screen, the resolution cannot be recognized, or the proportion of the projected avatar is stretched or compressed. Two solutions are available today.
The first one
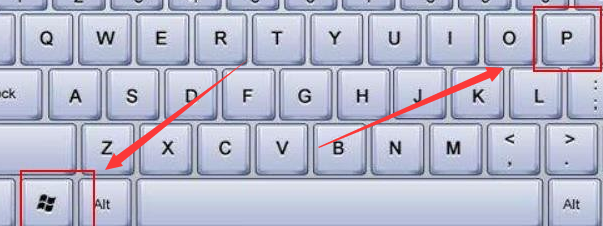
The first step: win P, open the projection display settings.
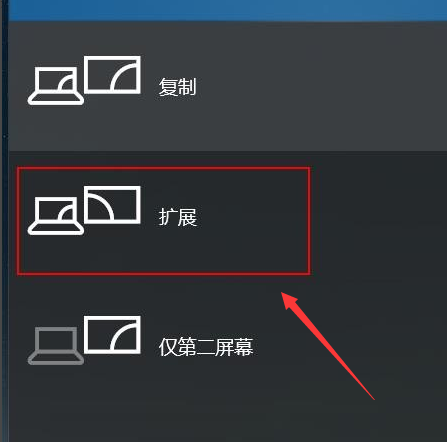
Step 2: Select the mode as "Extended" so that the second screen or projector will automatically adapt the resolution parameters and the projection can be completed.
Second step
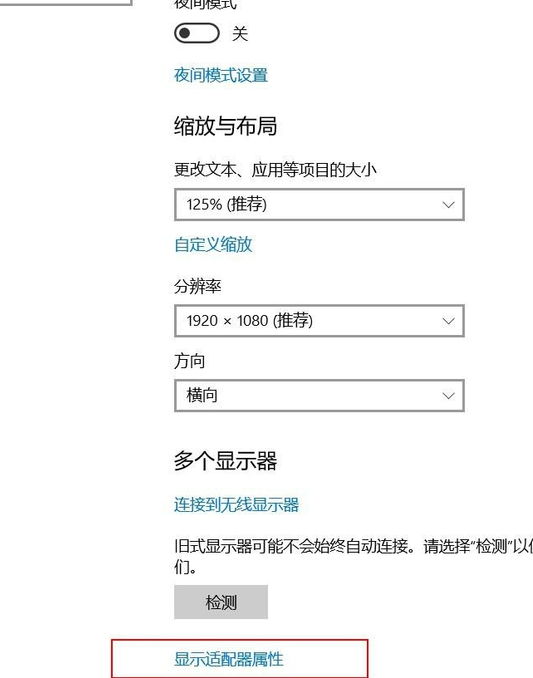
Step one: Right-click on the computer desktop--Display Settings--Display Adapter Properties.
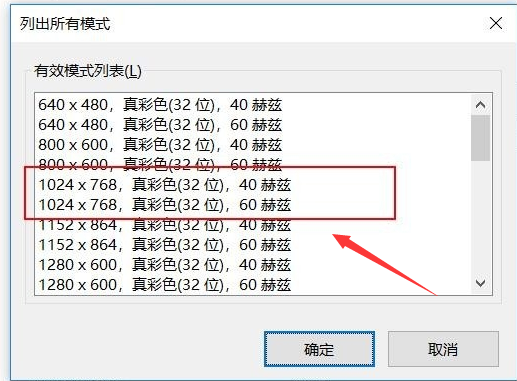
Step 2: In the pop-up window, select "List all modes" under the "Adapter" directory.
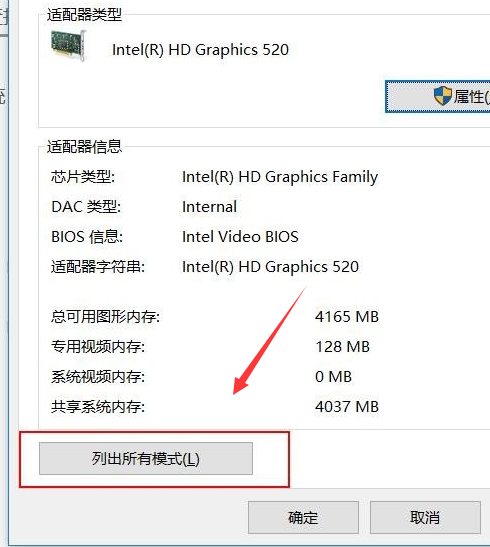
Step 3: Select the mode suitable for your projector or monitor in the "Valid Mode List" in the "List All Modes" window that pops up. General projectors 1024X768 can basically solve it. Of course, you can experiment with other parameters until you get a good fit.
>>>How to use win10 projector
>>> ;How to set up the win10 projector
>>>How to fill the whole screen with the win10 projector
The above is the detailed content of How to achieve full screen display in win10 projection. For more information, please follow other related articles on the PHP Chinese website!
 The difference between Fahrenheit and Celsius
 The role of float() function in python
 Configure Java runtime environment
 What to do if the documents folder pops up when the computer is turned on
 The role of registering a cloud server
 How to buy Ripple in China
 NTSD command usage
 phpstudy database cannot start solution
 Usage of background-image


