

The win10 system is a very commonly used and excellent system. Various intelligent settings can minimize the worries for users who use the system! But recently, many friends have reported that they can’t find the mouse arrow on the desktop when using their computers! Today, the editor will bring you a solution to the problem that the mouse is not displayed. Let’s take a look.

Operation steps:
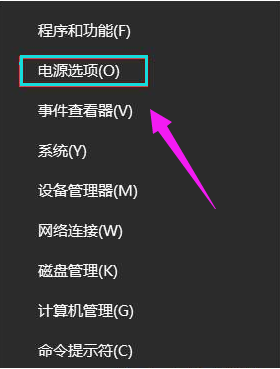
1. Right-click on the Start menu and select.
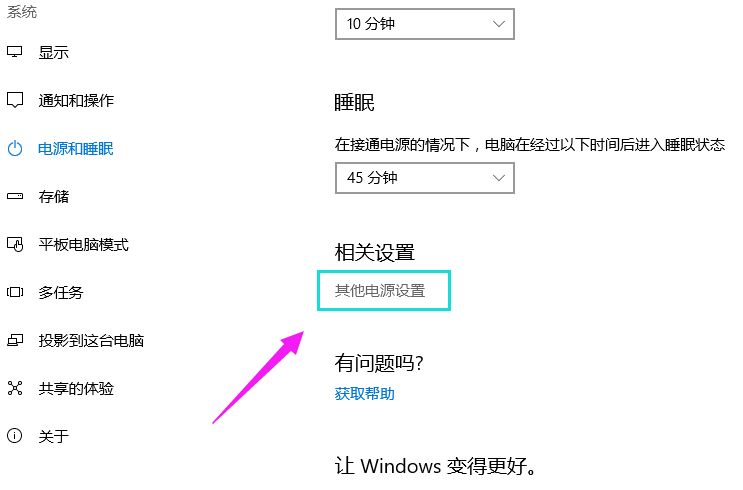
2. Click "Other Power Settings".
3. Click on the left.

3. Click "Change currently unavailable settings" on the "Define power button and enable password protection" interface.

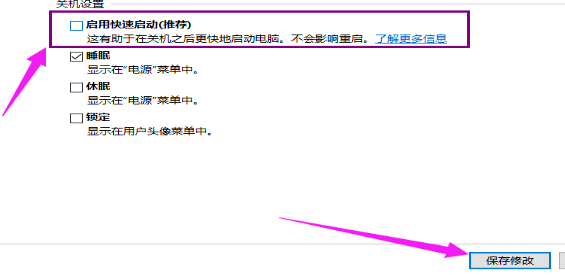
4. Uncheck the previous check box and click "Save Changes"
>>>The win10 keyboard is not responding at all
>>>The win10 keyboard becomes a shortcut key
> ;>>Win10 keyboard failure, one-stop recovery
>>>Where are the win10 keyboard settings
The above is the detailed content of Why the mouse arrow cannot be found on the desktop. For more information, please follow other related articles on the PHP Chinese website!
 How to light up Douyin close friends moment
 microsoft project
 What is phased array radar
 How to use fusioncharts.js
 Yiou trading software download
 The latest ranking of the top ten exchanges in the currency circle
 What to do if win8wifi connection is not available
 How to recover files emptied from Recycle Bin


![[Web front-end] Node.js quick start](https://img.php.cn/upload/course/000/000/067/662b5d34ba7c0227.png)


