

U disk tutorial for installing win10 original system

Many experienced drivers who install the system know that the system in msdn is the original version and is pure, and will be updated in real time. However, many users know how to download it, but do not know how to install it. Let’s take a look at the detailed installation tutorial. .

MSDN original win10 installation tutorial
Required tools:
Micro PE toolbox official download:
8G or above U disk
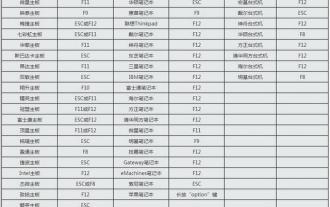
PS: Find the corresponding keys of your computer here
Preliminary preparation:
> >>Download the original win10 CD image file (here is win10 1909 64-bit 2020 Thunder and network disk can be opened)
Installation steps
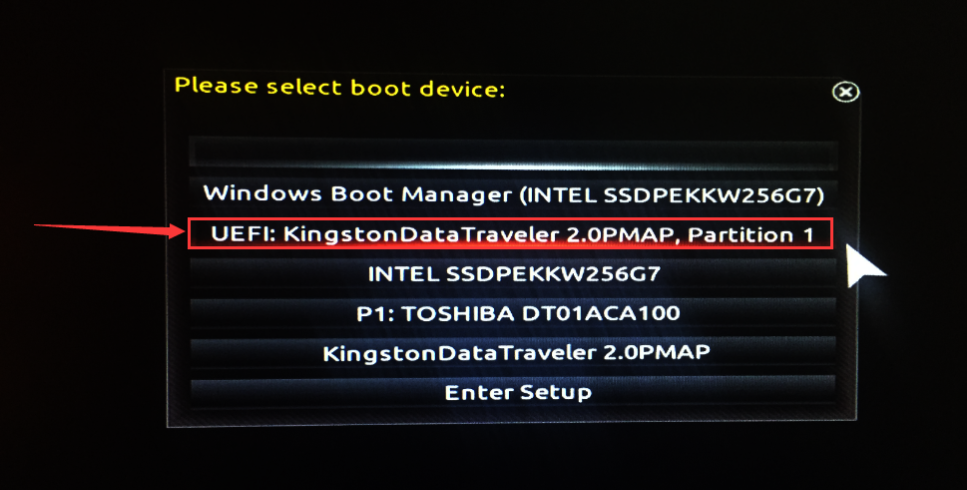
1. Select the U disk in the pop-up startup interface The boot disk, such as the one used by Porter, is made by Kingston USB disk.
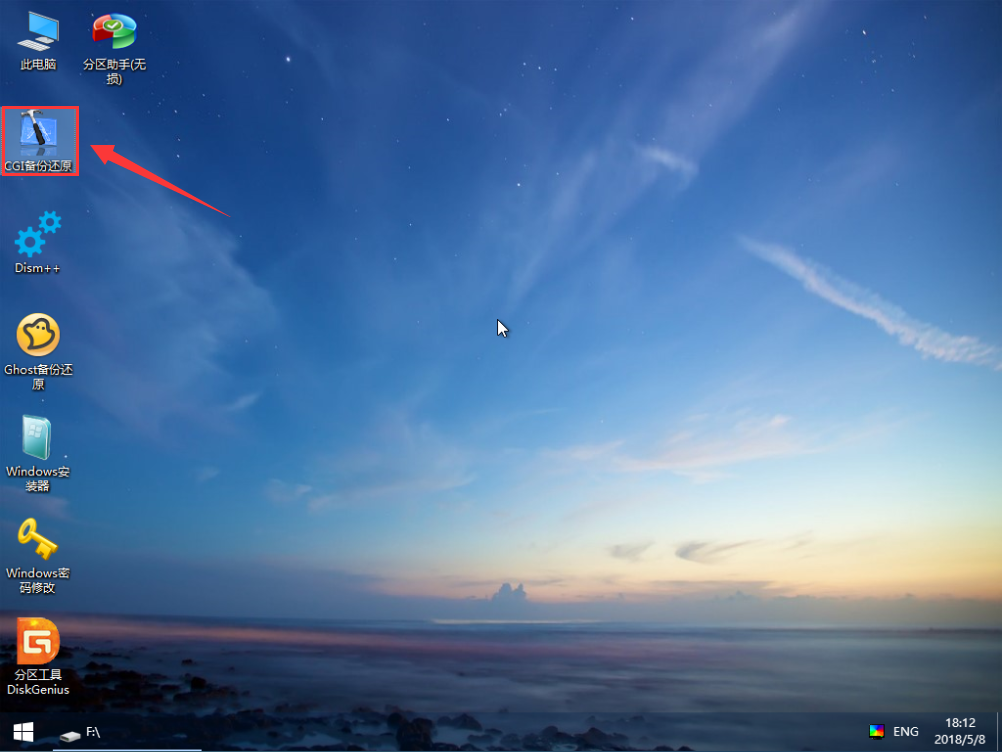
2. After entering the interface, open "CGI Backup Restore"
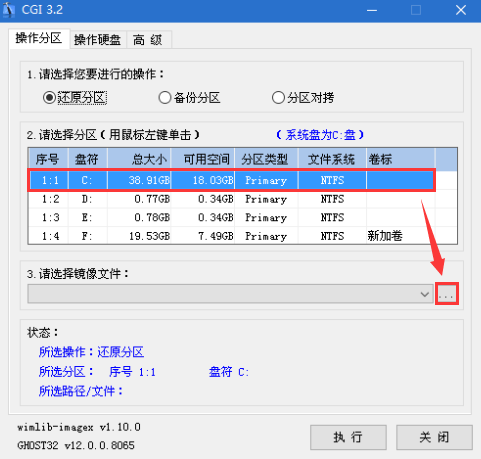
3. Select the installation disk in sequence (generally (C drive) and the image file, and then click "Execute"
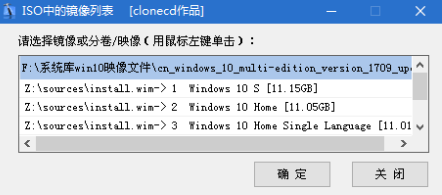
PS: Then select the version of Win10 in the pop-up window (the new version of win10 image generally contains multiple versions)
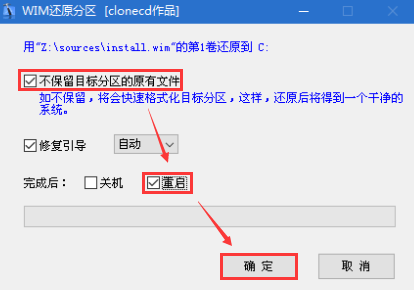
4. Choose whether to retain the original system content and automatically restart. At this time, you can remove the U disk
5. Start During the installation of the system, there will be multiple restarts, please wait patiently
6. The default country is

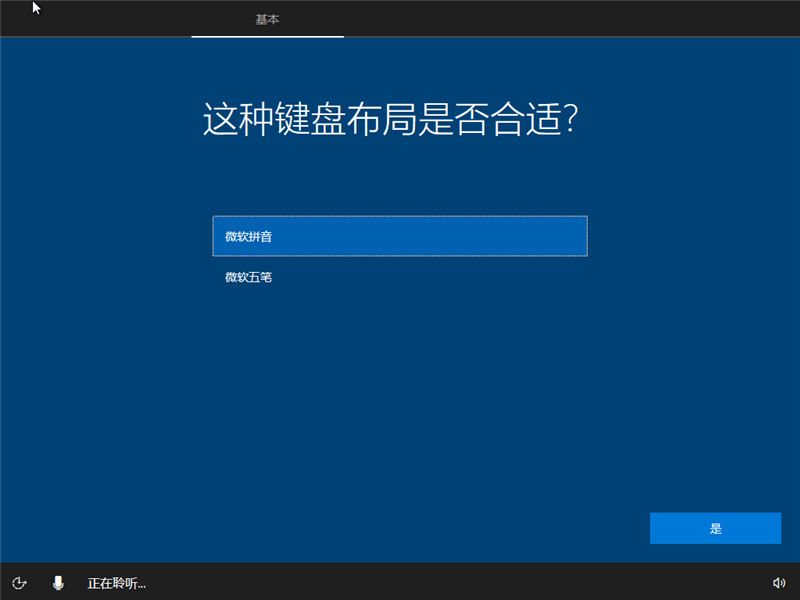
7. You can choose Microsoft Pinyin or Microsoft Wubi Input method
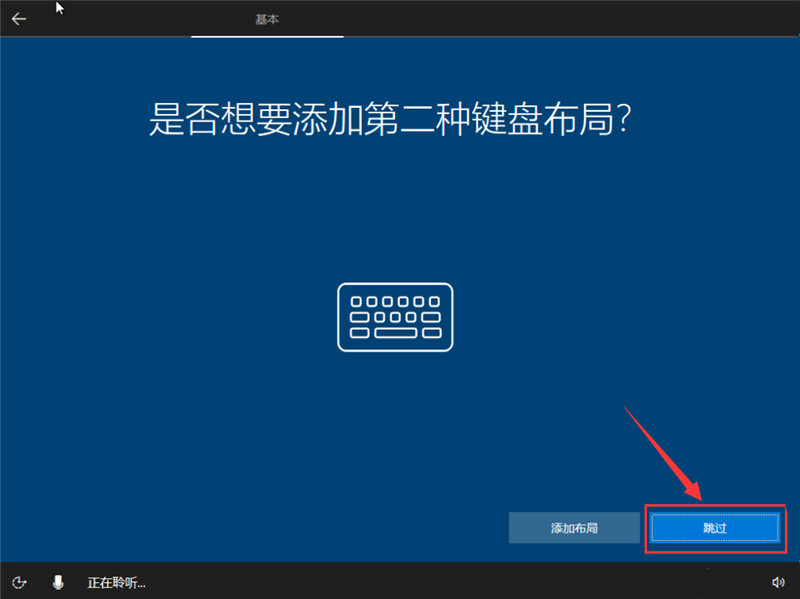
8. You can also add another input method. If you don’t need it, skip it
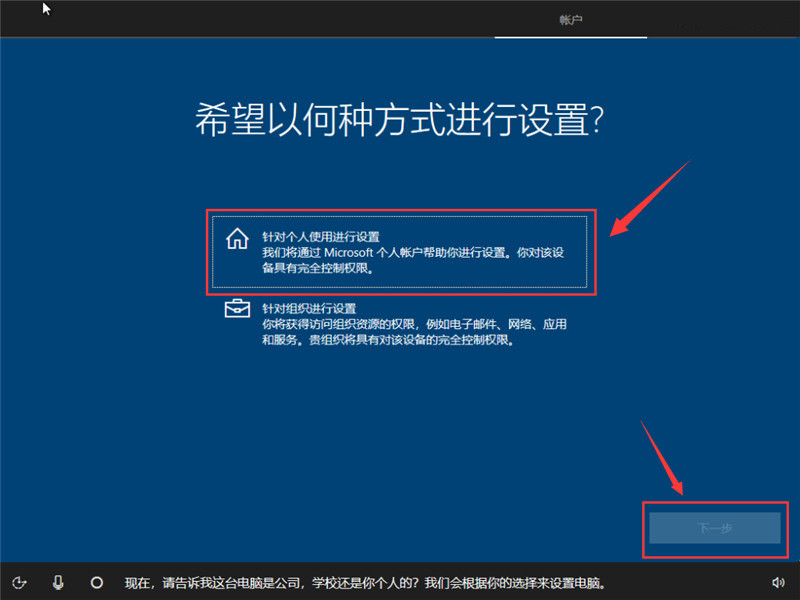
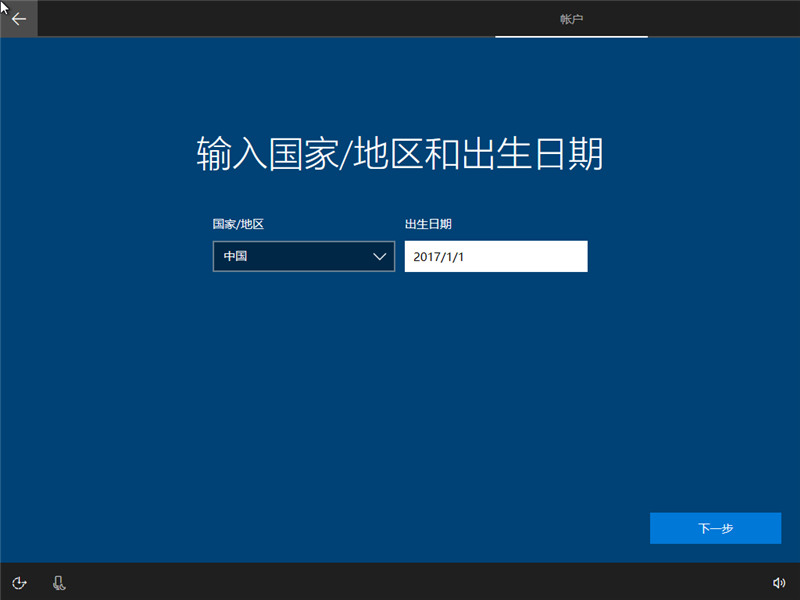
9. Set according to personal usage
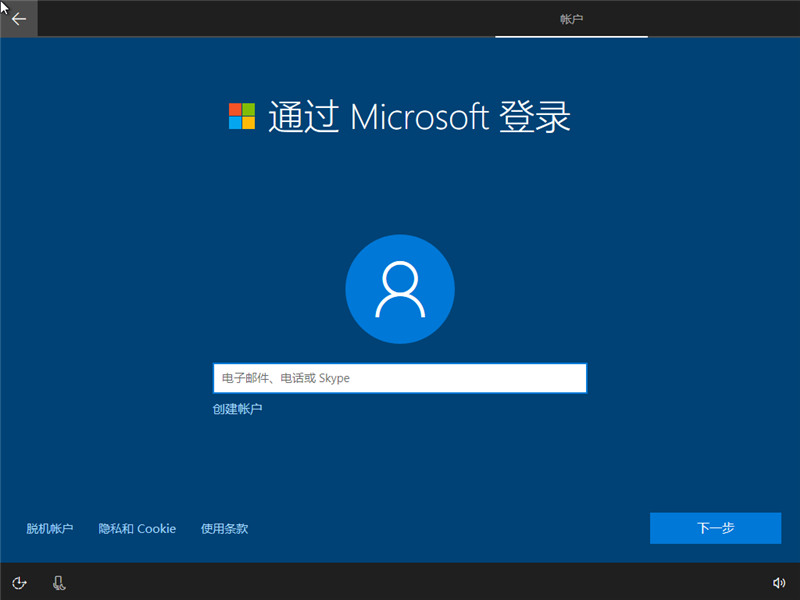
10. Create an account or use an existing account, you don’t need to fill in the password
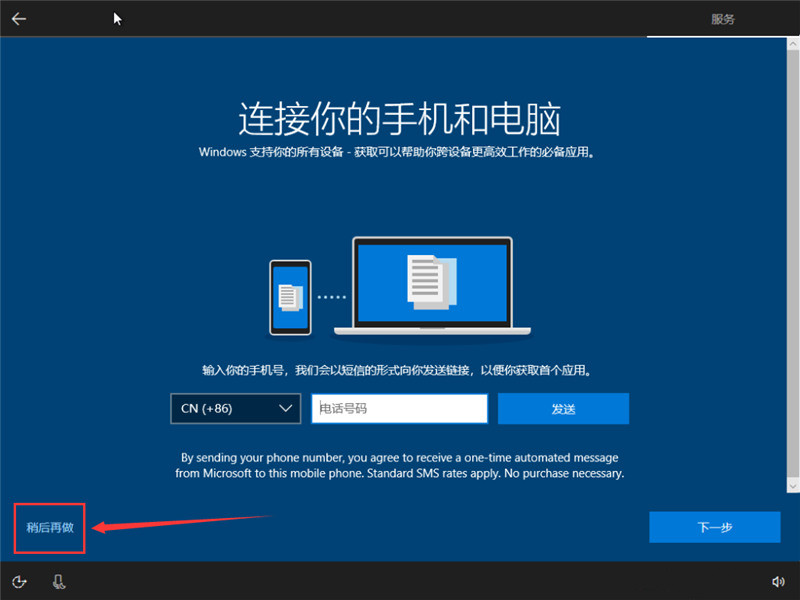
11. Fill it in according to your own wishes. You can skip the step of filling in the mobile phone
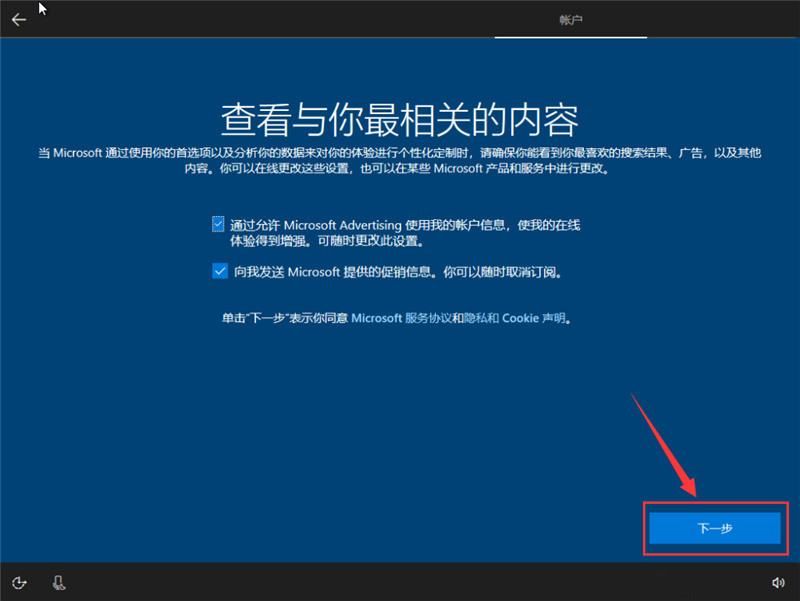
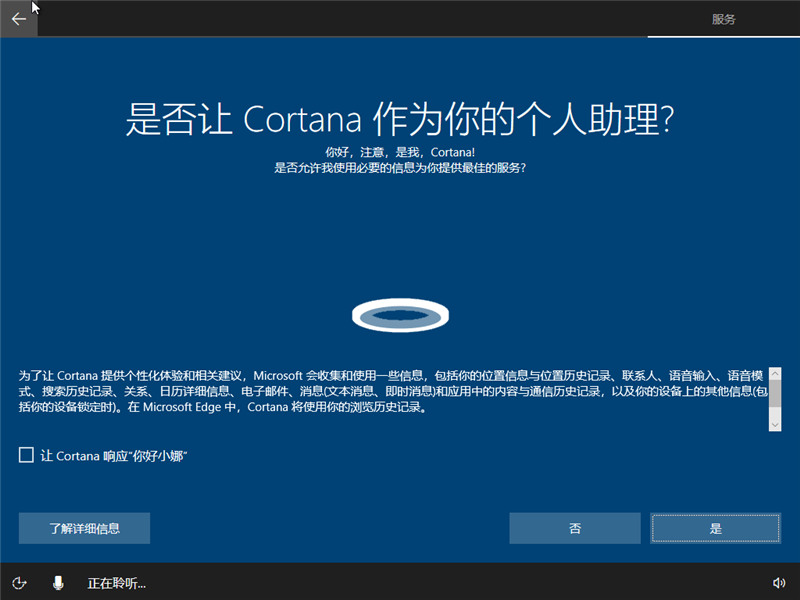
12. Set up the computer according to your needs

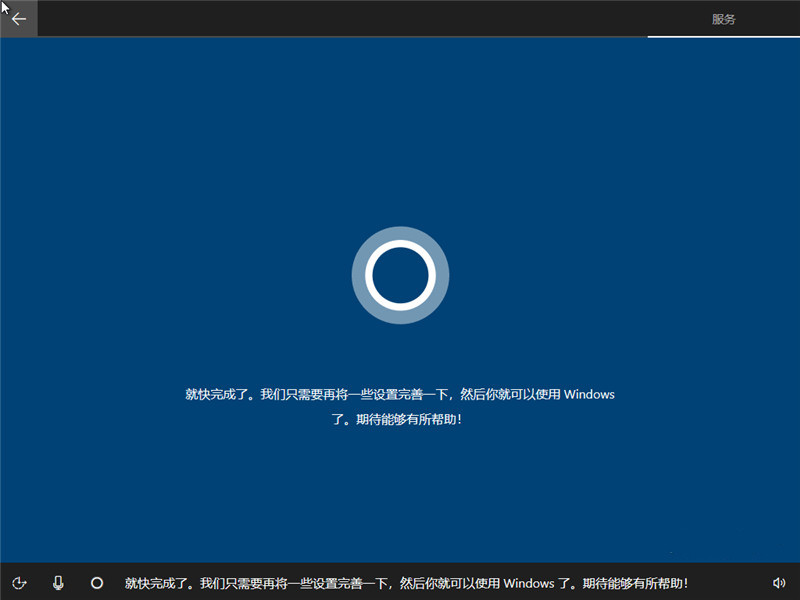
13. Watch a few slides, do not turn off the computer


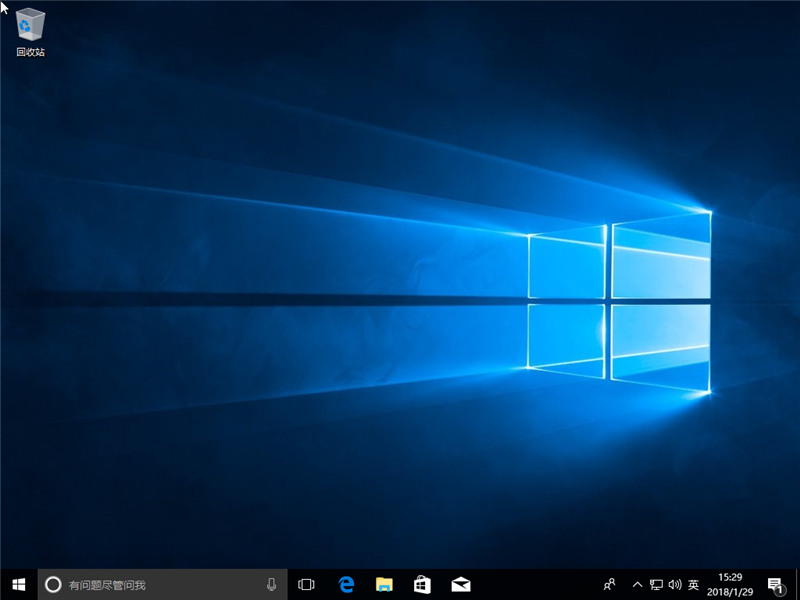
14. After a while, you will enter the win10 interface. Congratulations, you have completed the installation of win10 system
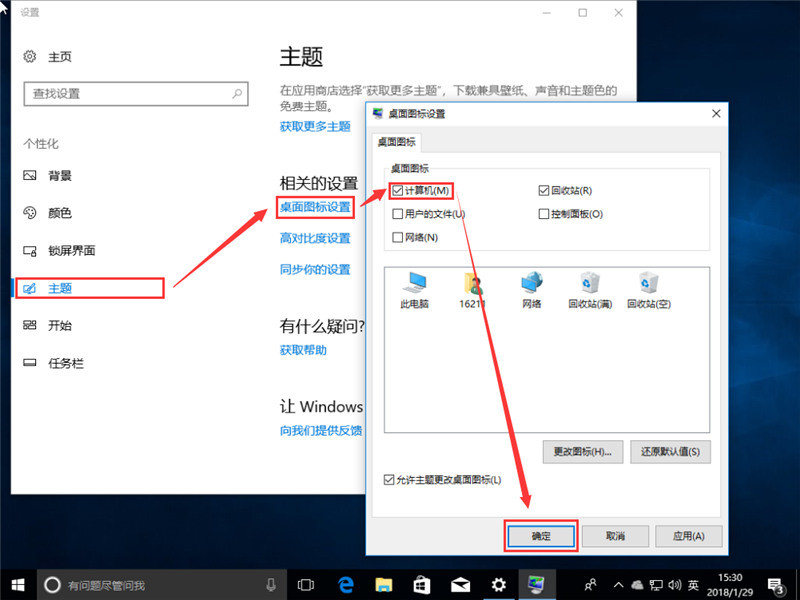
15. Then, we can bring out the commonly used icons. Right-click on the desktop>Personalize>Change desktop icons, and then check the icons you want to display
Notes
The demo version is Win10 1709, different versions may have slight differences, please refer to the actual situation
To install 64-bit win10 in a 32-bit system environment, you need to start the installation through other media
win10 original installation tutorial related articles
>>>Original win10 installation tutorial
The above is the detailed content of U disk tutorial for installing win10 original system. For more information, please follow other related articles on the PHP Chinese website!

Hot AI Tools

Undresser.AI Undress
AI-powered app for creating realistic nude photos

AI Clothes Remover
Online AI tool for removing clothes from photos.

Undress AI Tool
Undress images for free

Clothoff.io
AI clothes remover

AI Hentai Generator
Generate AI Hentai for free.

Hot Article
Hot Tools

Notepad++7.3.1
Easy-to-use and free code editor

SublimeText3 Chinese version
Chinese version, very easy to use

Zend Studio 13.0.1
Powerful PHP integrated development environment

Dreamweaver CS6
Visual web development tools

SublimeText3 Mac version
God-level code editing software (SublimeText3)
Hot Topics
 1385
1385
 52
52

 How Toshiba sets USB boot options for USB boot
Feb 11, 2024 am 09:27 AM
How Toshiba sets USB boot options for USB boot
Feb 11, 2024 am 09:27 AM
The use of CDs to install systems has become less and less common, and is now replaced by the more convenient and faster U disk installation method. To use a U disk to install the system, in addition to making a Professor U U disk boot disk, you also need to set the computer to boot from the U disk. Start to enter the system installation interface. Nowadays, most computers support U disk quick startup. You only need to press the hotkey during startup to choose to boot from the U disk. Here is a summary of the startup item setting shortcut keys for different motherboards and computers of different brands. Required tools: U disk startup disk 1. List of startup hotkeys for various brands of motherboard desktops, brands of all-in-one computers, and laptops: 2. How to use the startup hotkey to set up U disk startup with one click: 1. Put the prepared U disk Professor starts the U disk and inserts it into the computer USB interface, turns on or restarts, press
 ASUS motherboard USB boot setting method
Mar 18, 2024 pm 08:01 PM
ASUS motherboard USB boot setting method
Mar 18, 2024 pm 08:01 PM
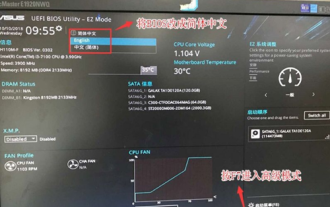
We generally need to set up a USB flash drive when reinstalling the system, but many small partners who use ASUS motherboards don't know how to set up a USB flash drive. What should I do then? Let's take a look at the editor's solution. How to set up USB boot for ASUS motherboard 1. Restart ASUS PC and press ESC or F8 to enter BIOS settings, change BIOS to Simplified Chinese, and then press F7 to enter advanced mode. In Advanced Mode, use the → directional button to navigate to the Start option, select the Secure Boot menu, and enter the Key Management Clear key to turn off the Secure Boot feature. 3. Return to the "Safe Start Menu" option and change the operating system type to "Other Operating Systems". 4. Return to the "Start" option and change CSM Disabled to Enabled,
 How to install the system image to a USB disk for startup
Feb 11, 2024 pm 06:00 PM
How to install the system image to a USB disk for startup
Feb 11, 2024 pm 06:00 PM
How to enter the MSI motherboard BIOS into a USB flash drive to install the system. The specific method is as follows: 1. Tool download the original Windows 10 system image, an MSI computer, an empty USB flash drive of 8g or above and download a USB boot disk creation tool 2. Operation method 1 . Download and install the Laobaicai U disk installation system tool on the computer. Insert a blank U disk of more than 8 GB. Select the U disk we inserted and click to start making the boot disk. 2. After the software has made the U disk boot disk, download a win10 Put the system image file into the USB flash drive and prompt. After the creation is successful, copy the downloaded system image file to the USB flash drive. 3. Insert the USB boot disk into the computer that needs to be installed. Turn on the computer and keep pressing the startup shortcut key [MSI The motherboard's shortcut startup key is F11] Enter the startup world
 How to enter acer and install the USB disk to start the system?
Feb 11, 2024 am 11:33 AM
How to enter acer and install the USB disk to start the system?
Feb 11, 2024 am 11:33 AM
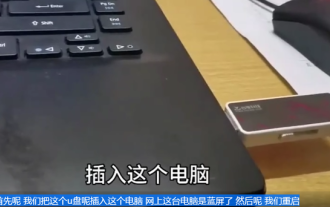
There are many Acer laptop users who don’t know what keys to press to enter the U disk boot. In fact, the method is not difficult. This tutorial will share with you the detailed steps for Acer computers to enter the U disk boot. Preparation tool: New Maotao U disk boot disk , an Acer laptop. First, we insert this USB flash drive into this computer. This computer has a blue screen. Then we restart this Acer laptop. The USB flash drive startup shortcut key is F2 to restart the computer. Then press F2 and press the right direction. Press the key to select boot and then press the down arrow key to select the usb. It is originally below. I took a look. You can use iff5 or f6. There is a prompt here. Then move the usb device online. I saw this one, which is my USB flash drive. Then after selecting it, if12f ten or later
 How to set up bios to disable booting from USB disk
Feb 13, 2024 pm 11:21 PM
How to set up bios to disable booting from USB disk
Feb 13, 2024 pm 11:21 PM
Remote computer network maintenance through the Internet can complete 80-90% of the maintenance work. Only a small amount of work requires on-site operations, such as replacing hardware, adjusting lines, etc. As an ordinary user, what basic knowledge and concepts do you need to understand during remote maintenance so that you can cooperate with remote engineering technicians to solve problems? When remote maintenance engineers do not have permission to operate remotely on QQ, local users are required to perform local operations. And if you use WeChat video, just follow the prompts. To do this, you need to master the method of accepting QQ remote assistance requests and setting up the remote desktop function. To enter the BIOS to set parameters, you need to understand how the computer enters the BIOS. Normally, when the computer starts but has not yet entered Windows
 bios settings settings usb boot
Feb 11, 2024 pm 06:33 PM
bios settings settings usb boot
Feb 11, 2024 pm 06:33 PM
It is now very convenient to install the system with a USB flash drive. As long as you make a USB flash drive, you can install the system at any time. However, before installation, we need to set up the BIOS and set the U disk as the first boot item. Many people are not sure how to do this and are stuck at this step and cannot install the system. Now the editor will introduce how to set the BIOS to boot from the USB disk. First, we need to connect the pre-prepared USB boot disk to the computer, and then restart the computer. When the startup screen appears, press the corresponding button to enter the BIOS setup. Different brands of computers may have different keys, so it is recommended that you check them by yourself to avoid confusion with the shortcut keys for one-click USB boot. After entering the BIOS interface, we need to understand several important operation methods. First, you can use the key
 Quickly install OpenCV study guide using pip package manager
Jan 18, 2024 am 09:55 AM
Quickly install OpenCV study guide using pip package manager
Jan 18, 2024 am 09:55 AM
Use the pip command to easily install OpenCV tutorial, which requires specific code examples. OpenCV (OpenSource Computer Vision Library) is an open source computer vision library. It contains a large number of computer vision algorithms and functions, which can help developers quickly build image and video processing related applications. Before using OpenCV, we need to install it first. Fortunately, Python provides a powerful tool pip to manage third-party libraries
 How to boot HP desktop computer from USB disk
Feb 15, 2024 pm 02:15 PM
How to boot HP desktop computer from USB disk
Feb 15, 2024 pm 02:15 PM
As we all know, HP computers can use a USB boot disk to reinstall the system, but the prerequisite is that you need to enter the bios to set up the USB boot. Yesterday, the editor wanted to enter the settings interface through HP's bios shortcut key F10, so that the first boot item of the computer would be the USB disk, but it was impossible to enter. It’s okay, at this time we can choose to use the USB boot shortcut key to set it up, and finally we can enter the winpe system and reinstall it. Let’s take a look at the detailed steps for installing the system on HP desktop computers! Chinese cabbage U disk installation tool How to reinstall the system of HP desktop computer 1. Make a USB boot disk First, prepare an 8G U disk and download the latest version of the Chinese cabbage U disk boot disk creation tool. At the same time, make sure you have obtained the mirror system of Win7 and understand the
