

In the win7 system, we can share folders on the LAN. After the sharing settings are completed, other computer users connected to the same LAN can directly open our shared folders in the network location of the computer. So how should we set it up? , let’s take a look at it together.
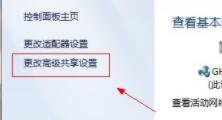
1. First enter the network settings, and then click "Change advanced sharing settings" on the left
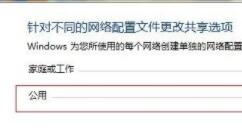
2. In the advanced sharing settings, expand the "Public" option, as shown in the figure.
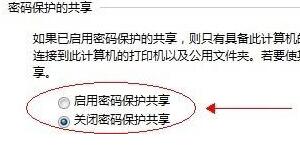
#3. Check "Turn off password protection" as shown in the figure, then save the settings and exit.
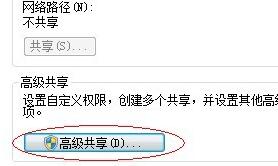
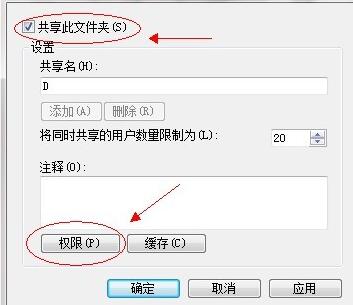
4. Then right-click on the folder to be shared, open properties, and select "Advanced Sharing"
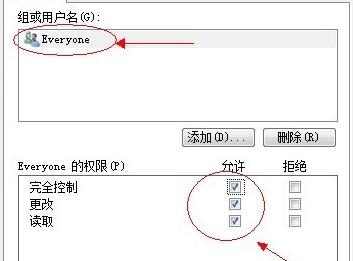


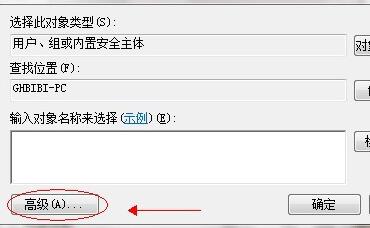
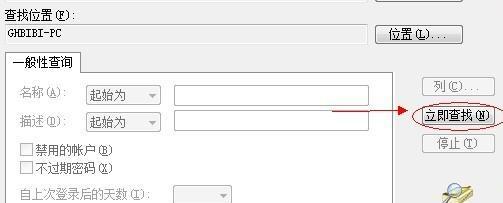
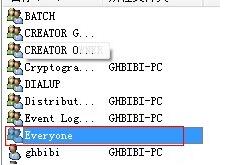
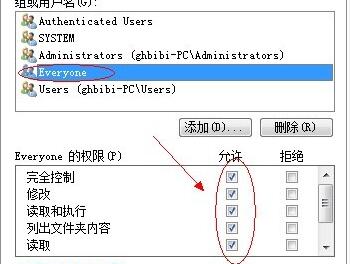
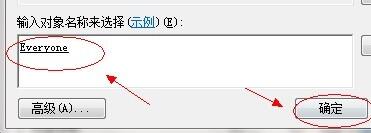 ##13 , then select "everyone" and check all these permissions as "Allow"
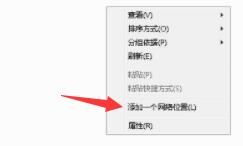
 14. Then come to the computer, right-click on the blank space, and select "Add a Network Location"
 15. Select the customized network location and click "Next"
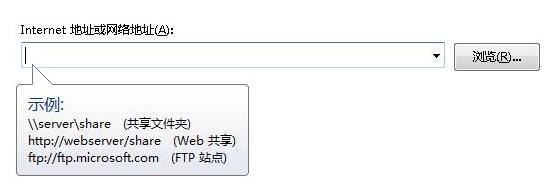
 16. Next When you get to such a location, you need to enter the shared folder link.
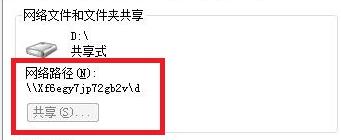
 #17. Let’s take a look and find the network path under the “Sharing” tab of the disk that needs to be shared, and copy it to the address in the picture above.
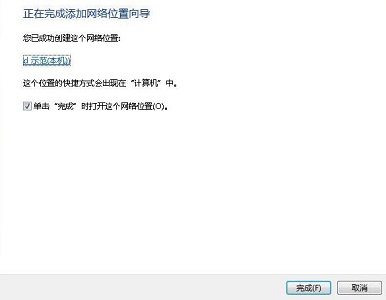
 18. Then click "Next" to complete the settings, and finally click "Finish"
 19. After completing the settings, other users can find the shared folder in the "Network Location" of the computer.
The above is the detailed content of Learn how to set up win7 folder sharing. For more information, please follow other related articles on the PHP Chinese website!
 How to turn off win10 upgrade prompt
 The difference between lightweight application servers and cloud servers
 CMD close port command
 The difference between external screen and internal screen broken
 How to jump with parameters in vue.js
 Cell sum
 How to intercept harassing calls
 virtual digital currency


![[Web front-end] Node.js quick start](https://img.php.cn/upload/course/000/000/067/662b5d34ba7c0227.png)


