
The win7 version of this website is the system that the editor particularly likes. It brings intelligent installation to users. After almost downloading it, you can watch the installation without worry, and then use the new system. The whole process is very smooth. The process does not require too many clicks. Let’s take a look at the complete win7 direct installation tutorial.

Step one: Choose your favorite system to download from this site. (Here is the system home win7 64-bit demonstration)
Step 2: After the download is completed, open the download folder-double-click the "iso" disc image file.
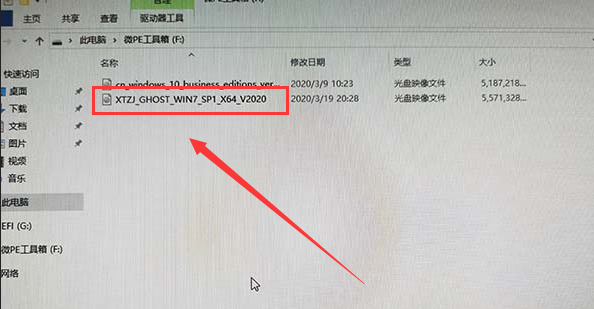
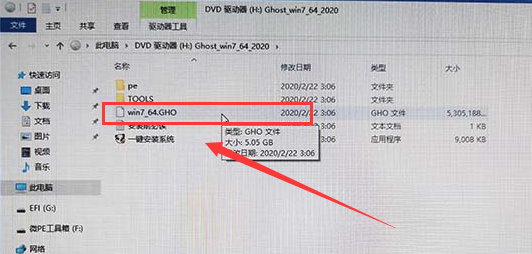
The third step: After opening the image file - click "One-click installation system"
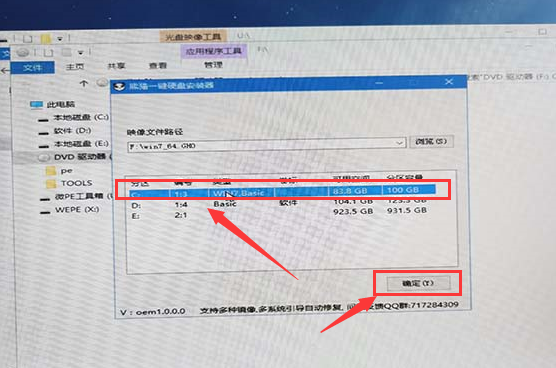
The fourth step : Open the Panda one-click hard disk installer - click on the C drive partition and click OK.
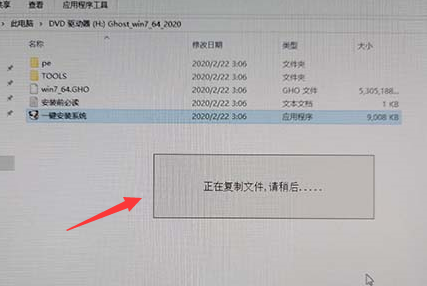
Step 5: Enter the file being copied, please wait (the time will be different according to the configuration of your computer)
Step 6: It will automatically restart after the copy is completed - it is best not to move here, but you can also click Yes.
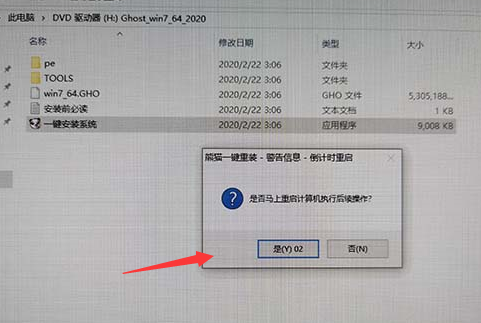
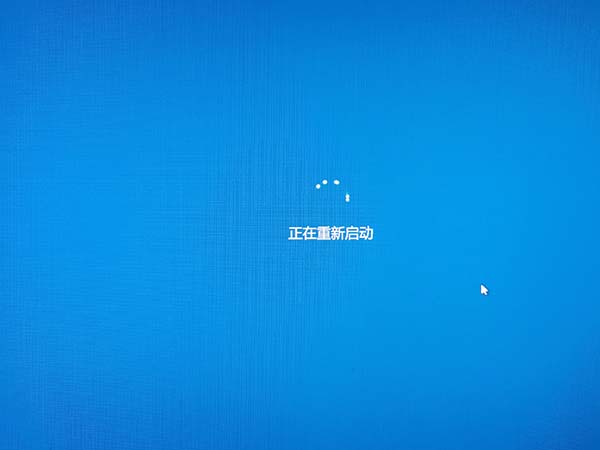
Step 7: Enter the restart interface.
Step 8: Automatically select Panda One-Click Hard Drive Installer PE (don’t click here)
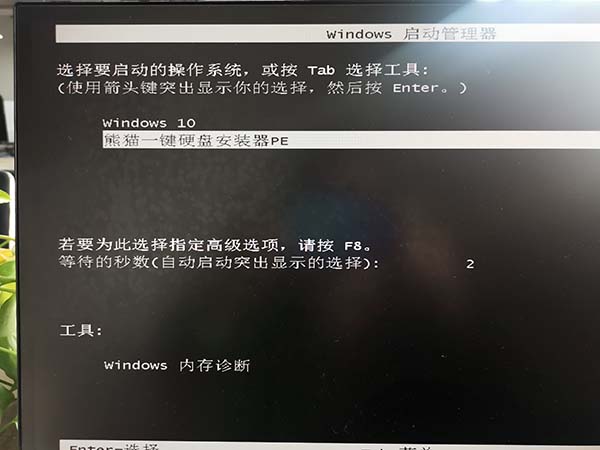
Ninth Step: Wait for ten seconds to enter the time.

Step 10: The installation will start automatically, do not move.
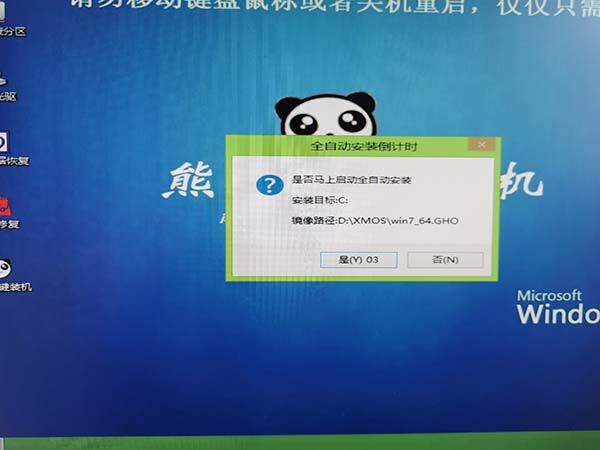
Step 11: Ghost installation is in progress (the length of time depends on the computer configuration, just wait patiently)
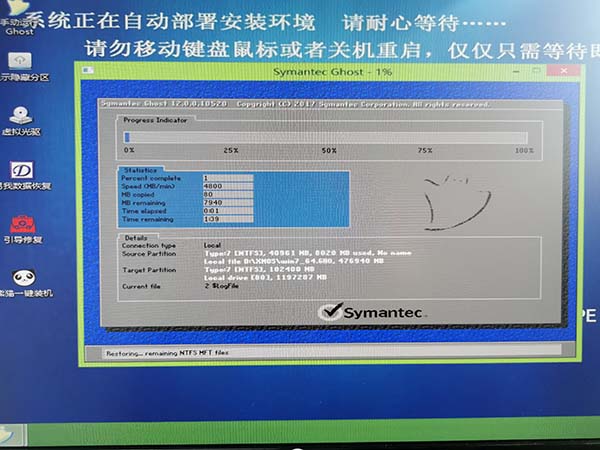
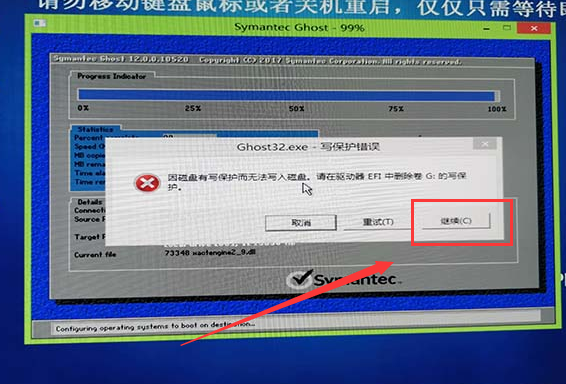
Step 12: Some users’ computers will have “Write Protection Error”. Just click “Continue” four times.
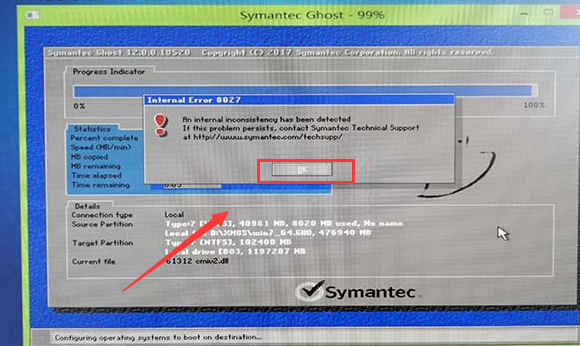
Step 13: After clicking Continue, there will be a pop-up "Click the white OK" to continue the installation.
Step 14: Automatically restart the installation steps (it is best not to click)
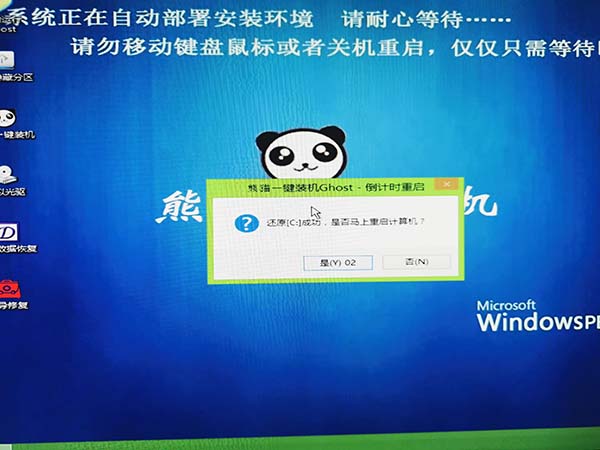
Fifteenth: Entered the installation and deployment stage.
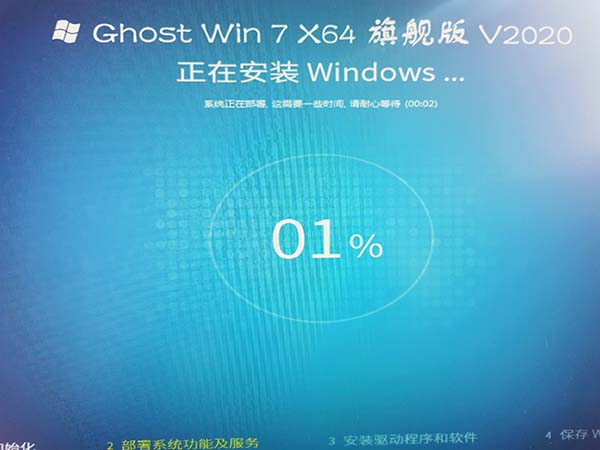
Step 16: Automatically install the driver (do not click)
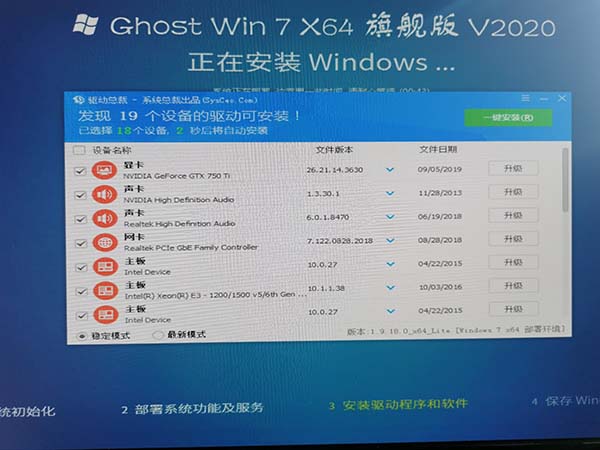
Step 17: Install to "99%" Many users will be stuck, just wait patiently (a few minutes for users with poor computer configuration)
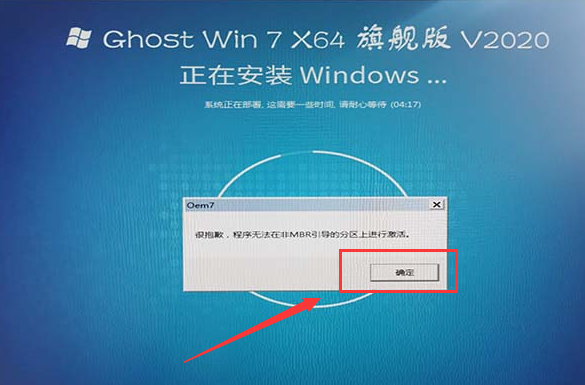
PS: Sorry, the program cannot be activated on a non-mbr boot partition, just click Confirm to continue the installation.
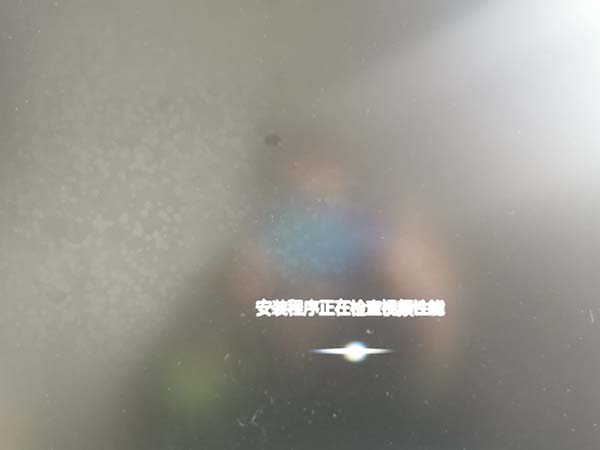
Step 18: The installation is checking video performance.
Step 19: After the installation is completed, enter the interface.
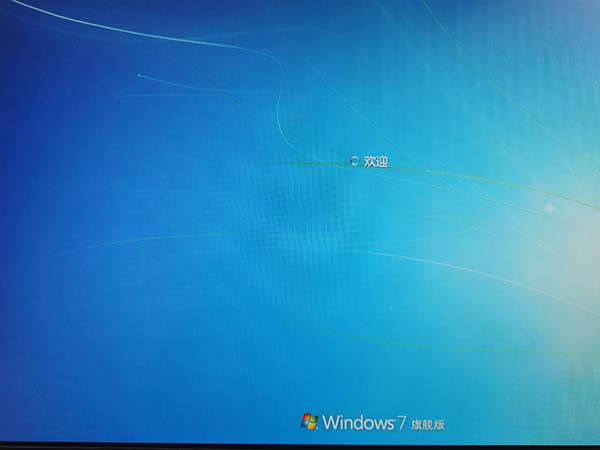
Step 20: This system will automatically optimize the user according to the different configurations of each computer. Just wait for a while.

Step 21: All installation steps are completed, automatic restart, and the system can be used.
The above is the detailed content of Installation Guide for Win7 Operating System. For more information, please follow other related articles on the PHP Chinese website!