

Tutorial on installing win7 and win10 dual systems

Win7win10 dual system installation is actually not difficult, but many friends don’t know how to install it. Just follow a few simple methods. If you like it, don’t hesitate.
How to install win7win10 dual system:
First of all, you need to download both win10 and win7 systems.
If necessary, you can download and install it on this site.
#1. Format the disk you want to install
Mine is the D drive (note that you need to migrate the important data out of the disk). The first step is strongly recommended to be performed in a non-PE system environment such as win7 system,
because the disk drive letter is likely to have changed in the PE environment, for example, it is D drive in PE and it is likely to be E in win7
Avoid formatting the disk partition that you do not want to install due to misoperation.
2. Insert the U disk, restart the computer and enter the BIOS to boot the U disk as the first boot disk.
How to set it up? Different computers may have different settings. There should be specific information online. Just look for it.
Generally, press one of the F12, F2, ESC or DEL keys to enter. After setting, save and exit.
Insert the USB disk and restart the computer to enter the winPE system selection interface. As shown in the figure below, the editor's Laomao picked the winPE system selection interface.
Sometimes it does not work due to hot swapping. It turns out that the computer does not recognize the USB flash drive. At this time, you need to quickly hold down the Ctrl Alt Delete key to restart.
Otherwise, it will be easy to enter the installed operating system interface.
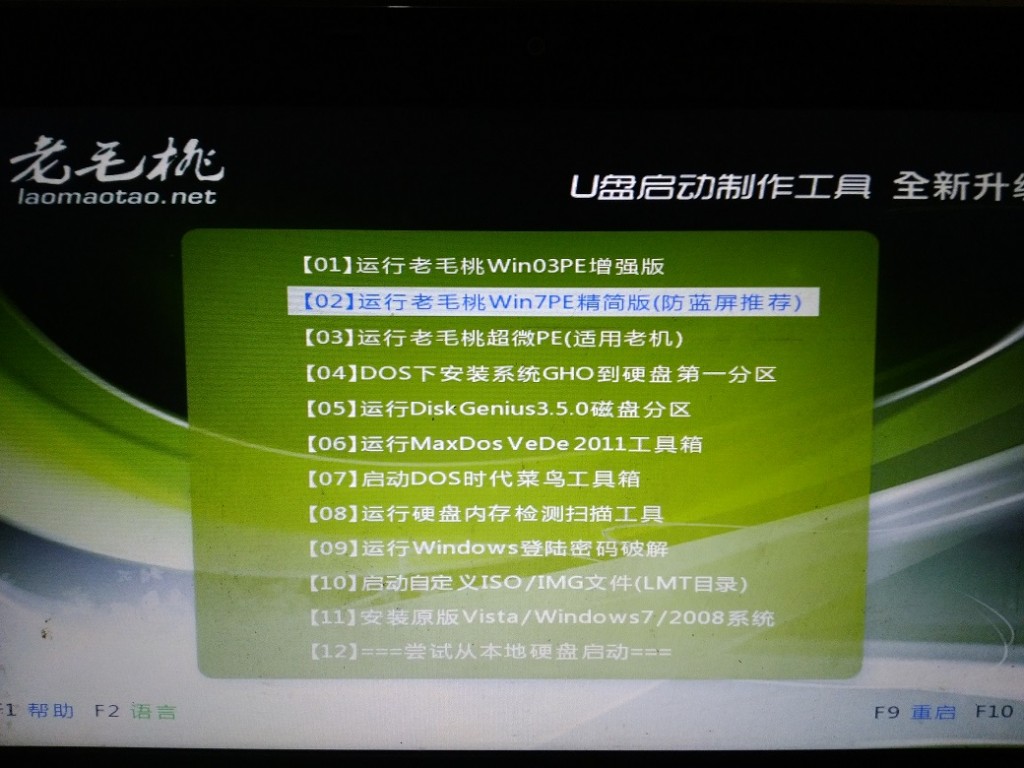
The U disk PE is recognized normally and enters the winPE system. Here I choose the second system (win7PE streamlined version)
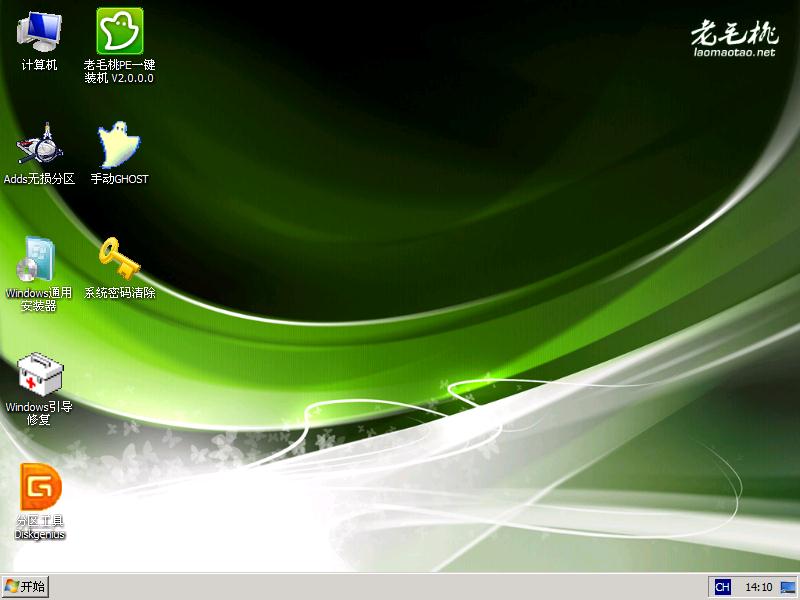
3. Double-click the windows universal installer to enter the preliminary installation of the win10 system.
There are many tools in the winPE system. In this tutorial, we mainly focus on the windows universal installer and windows boot repair software. Proceed,
So as long as the PE system contains these two software, as shown in the picture above, the early stage of installation is mainly based on the windows universal installer,
Double-click to open the windows universal installer and enter Preliminary installation steps for Windows 10 system.
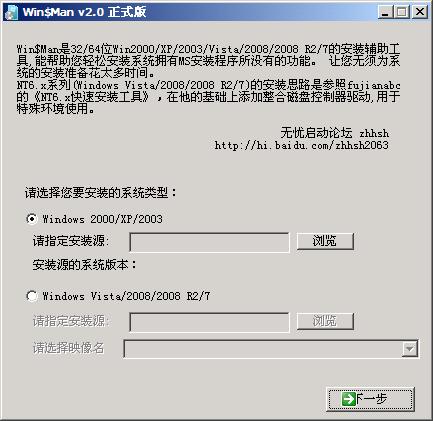
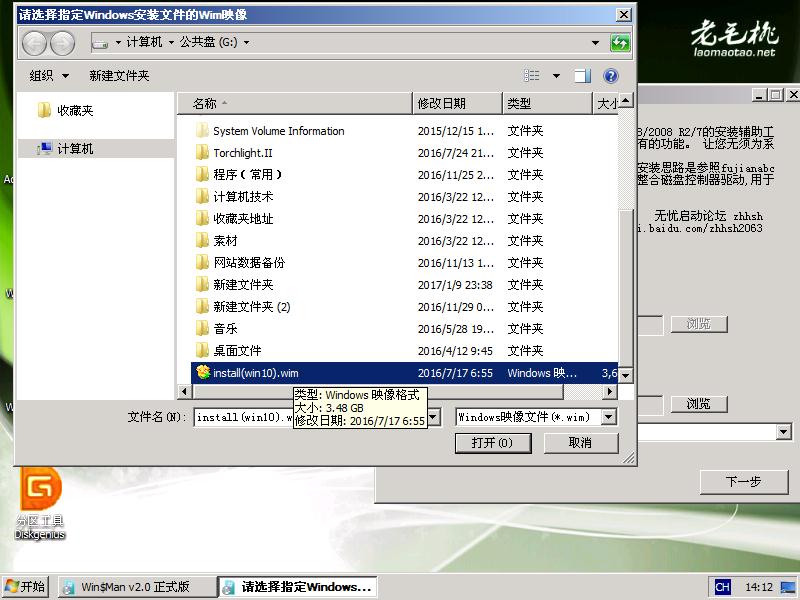
The kernel is nt6. Browse, locate the install.wim file you copied previously (mine is install(win10).wim), and select it to open.
 You will return to the windows universal installer interface. Select the operating system you want to install in the Please select an image name drop-down box
(note, The options in the drop-down menu are displayed after identifying your image file. If the file you download is wrong,
or downloads the wrong image, nothing will be displayed in the drop-down menu or other options will be displayed. , here I installed Windows 10 Professional Edition), select
and go to the next step.
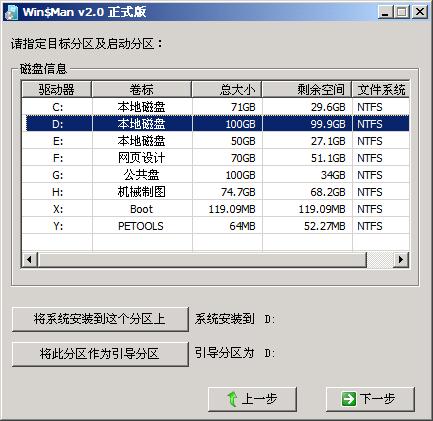 Select the specified target partition and select the previously formatted disk drive letter.
(Note: The drive letter displayed in the Windows system may be different in the PE system.
Pay attention to the partition size and remaining space to determine whether it is a formatted partition. Here is the same D drive is displayed),
Then click "Install the system to this partition" and "Use this partition as the boot partition" below respectively, click Next,
If you choose the wrong Partition, and if the partition already has data, you will be prompted whether to format it.
If it has been formatted before, go to the next step directly. In fact, the formatting operation can also be performed in this step.
In order to avoid mistaken formatting due to the change of the disk drive letter, the formatting operation is performed in the windows system,
instead of in At this step, you may perform formatting operations in winPE, which is the first step of the operation process. After entering the next step, enter another selection interface
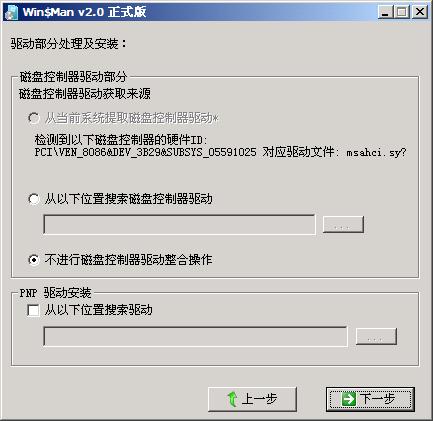 Default state, continue to click Next.
 Here you can specify the system drive letter. Since it is an operating system above WindowsVista/2008, it doesn’t make much sense to set it or not. It is not supported. Continue to the next step.
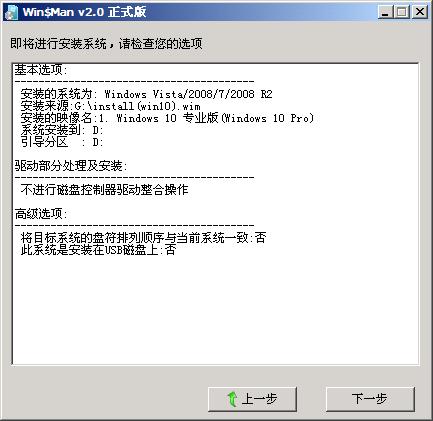 This shows the check of the previous series of operations. If it is not correct, go back to the previous step and modify it. My information is completely correct, just go to the next step.
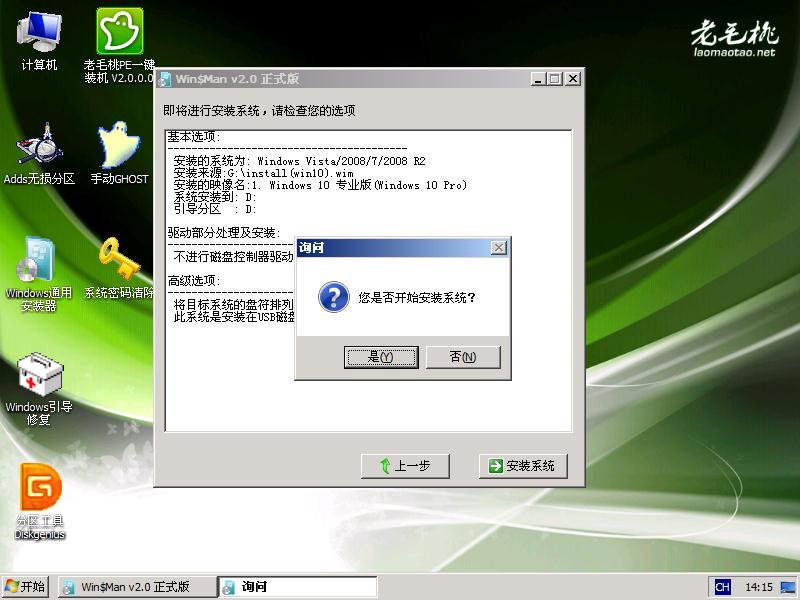
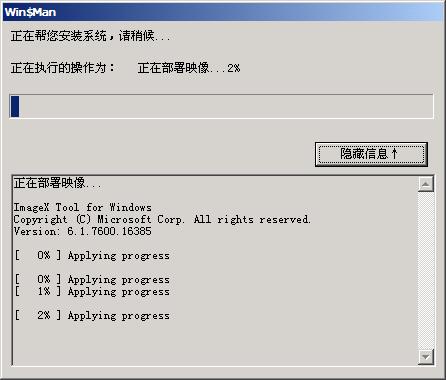
At this time, a prompt pops up asking whether you want to start installing the system. Click Yes to start the wim system image deployment and start waiting for the long installation process.
(The specific time can be fast or slow, and it is judged based on the performance of your computer. It can be as fast as a few minutes, and as slow as more than ten minutes and half an hour) Waiting process.
When the progress bar reaches 100%, there will be a prompt that the initial system installation is successful, please restart to continue installing the system.
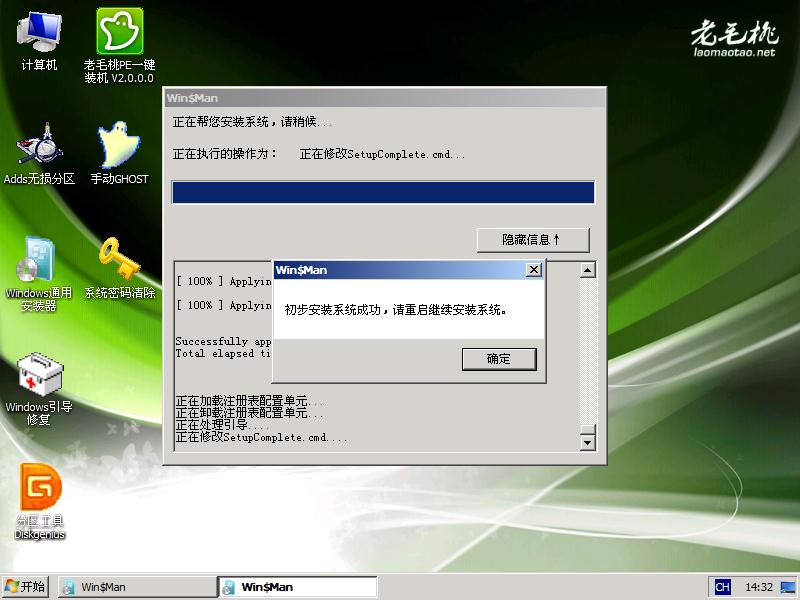
At this point, congratulations, the basic installation process of your system has ended. If there are no big problems, the follow-up will basically be smooth.
Note: Since it is a dual-system installation (you already have a win7 system), if you follow the prompts at this time, you will find that the win10 system cannot be found,
enter the windows7 system directly, or even The following prompt appears: OEMSF is missing

Did the installation fail? No. It requires some adjustments and is a bit tedious.
4. Preliminary adjustment of dual systems in win10 system installation
Here comes the key point of dual system installation. This situation occurs because the boot information of the original system exists in the computer. We must first make it Hide it and make it think that there is only win10 system at present. As shown in the picture:
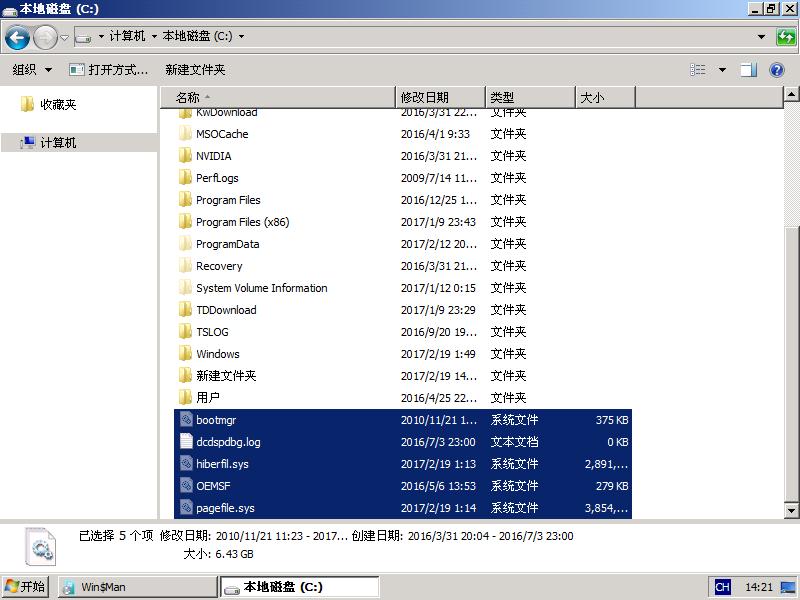
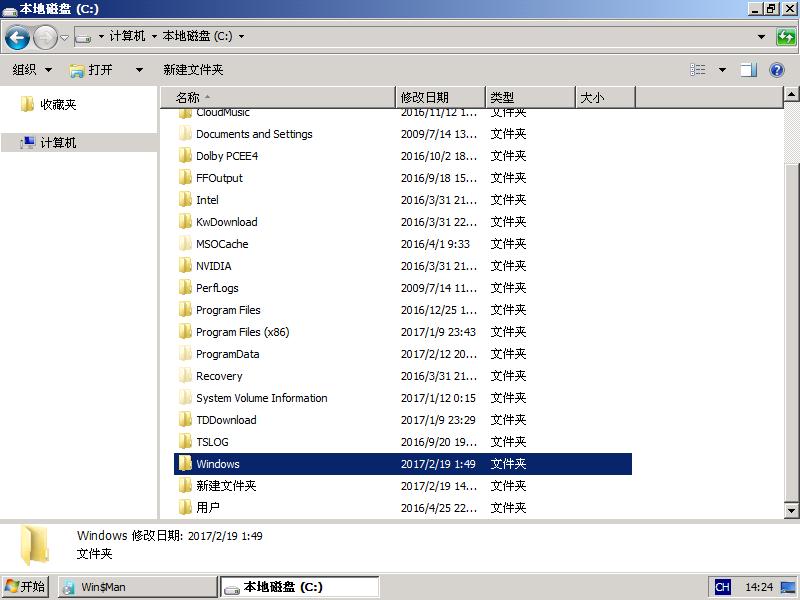
Create a folder (new folder) in the root directory of the win7 system disk and then hide all files with Properties file
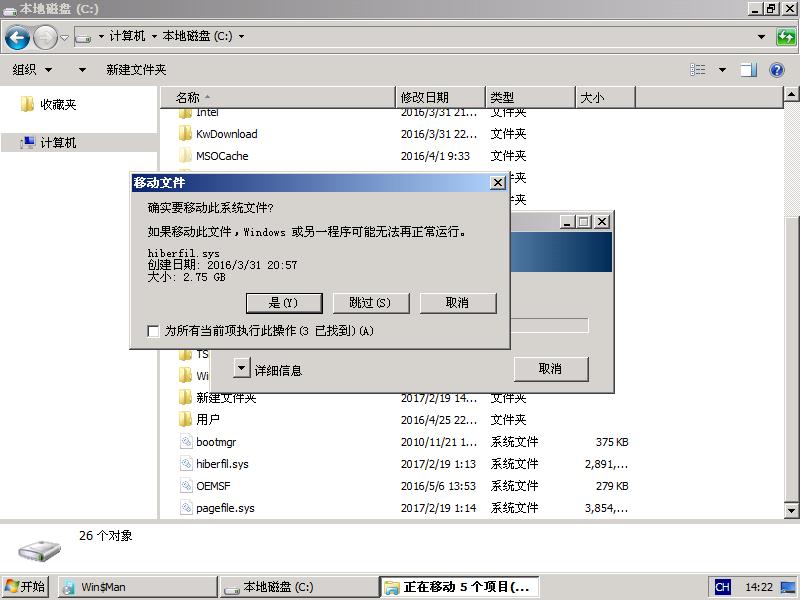
(note it is a file, not a folder. For convenience, you can also move all the files in the root directory directly into it)
Move to the new folder if you are prompted to have permissions If so, change the permissions of the file before proceeding
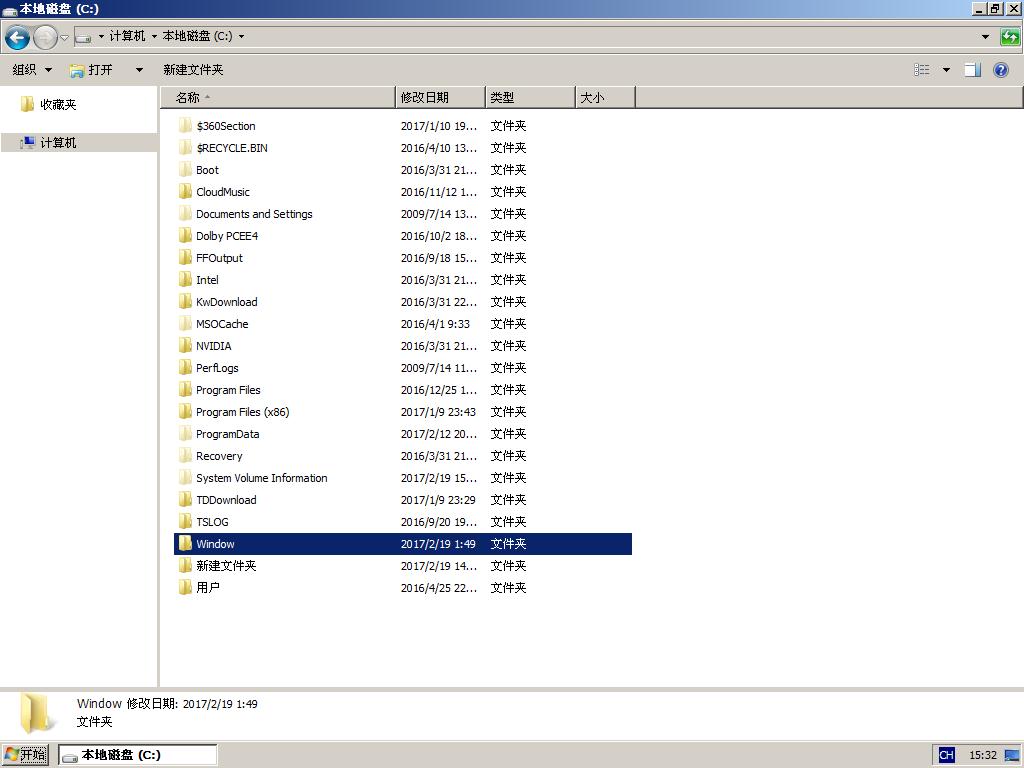
Next, change the name of the windows folder (here to window, as long as it is not the original file name)
5. Further adjustments to dual systems during win10 system installation
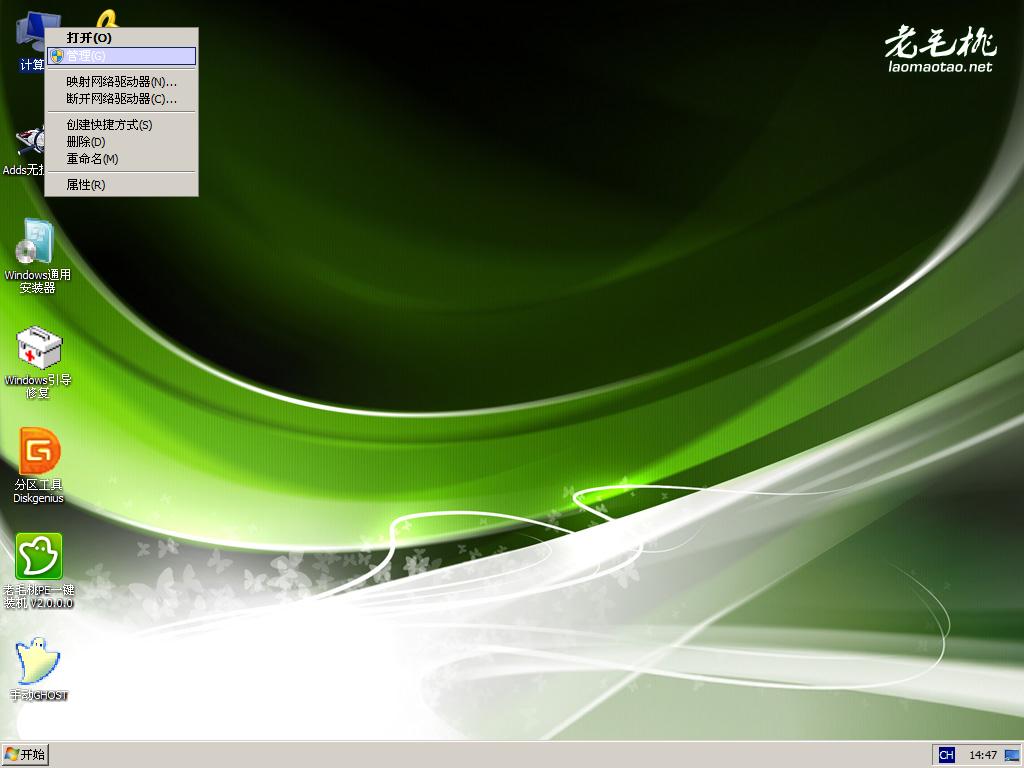
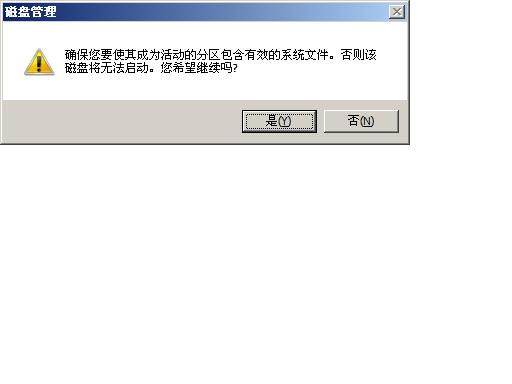
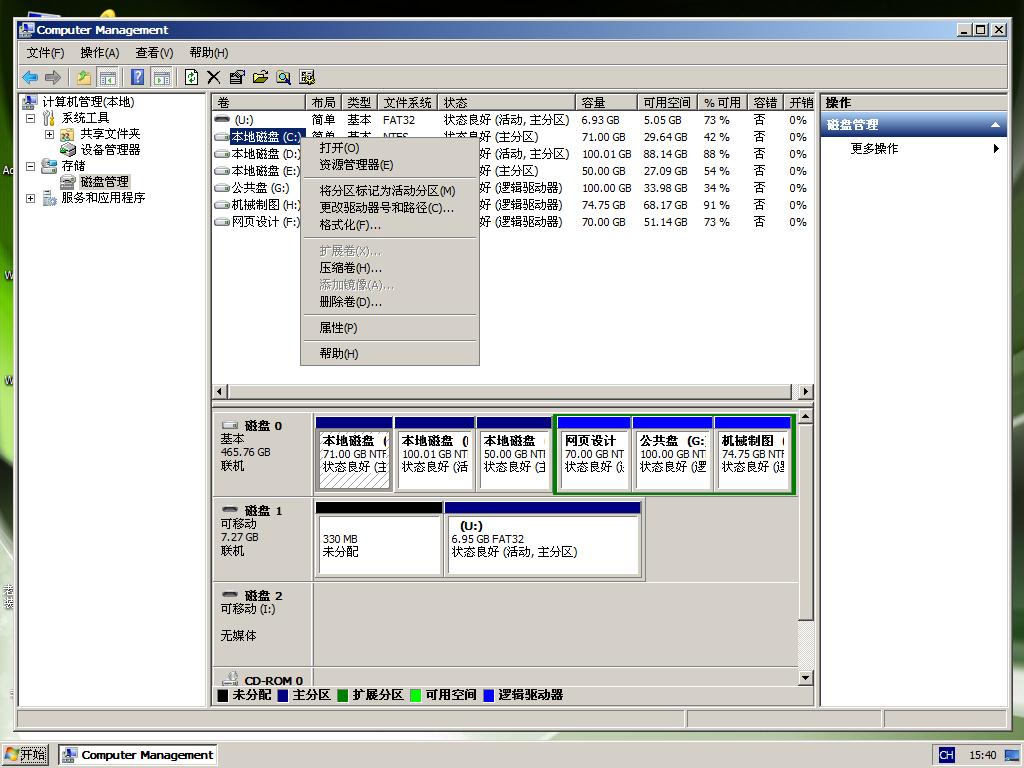
The next step is to adjust the activation status of the system partition and return to the desktop , right-click the computer and select Manage.
Or enter "diskmgmt.msc" in the run dialog box and press Enter to enter the disk management interface
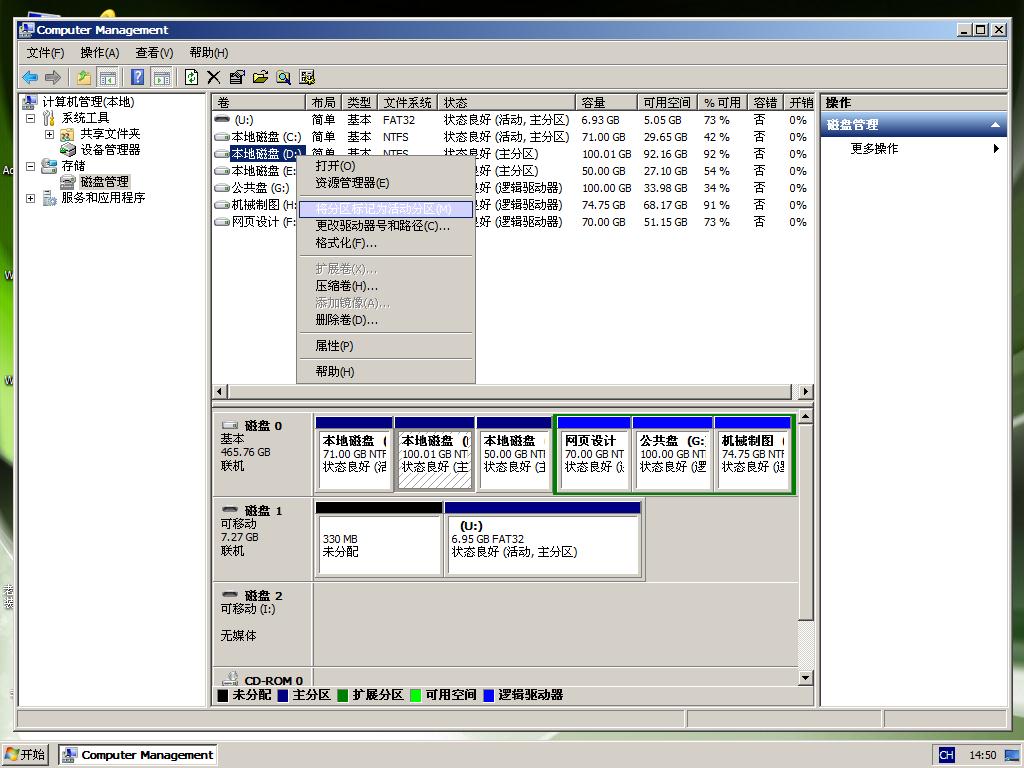
Select the drive letter (D drive) where the win10 system is installed, then right-click on the drive letter and select "Mark Partition as Active Partition".
After this step is completed, unplug the USB flash drive and restart the computer to enter the later installation of win10.
6. Later installation of win10 system
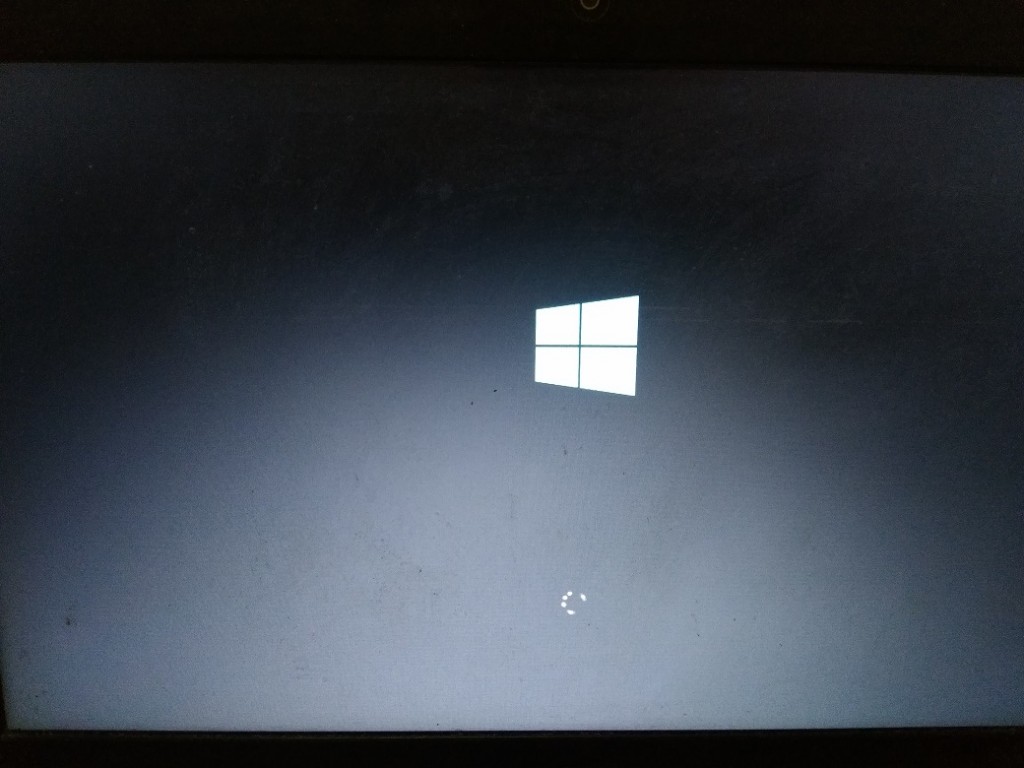
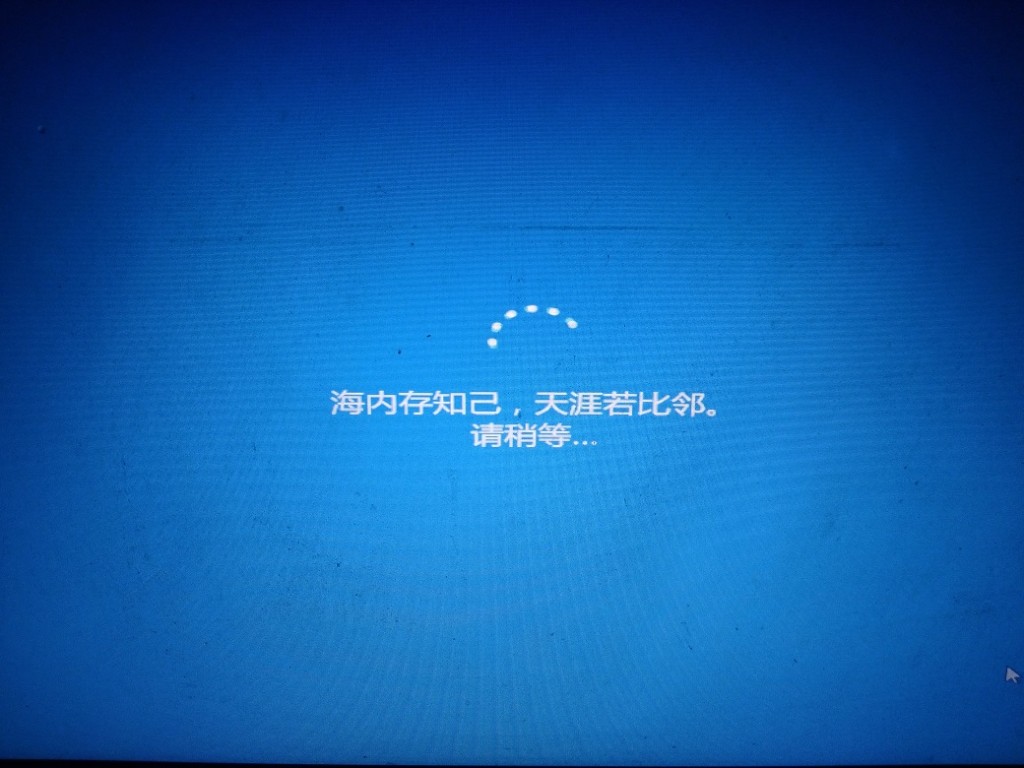
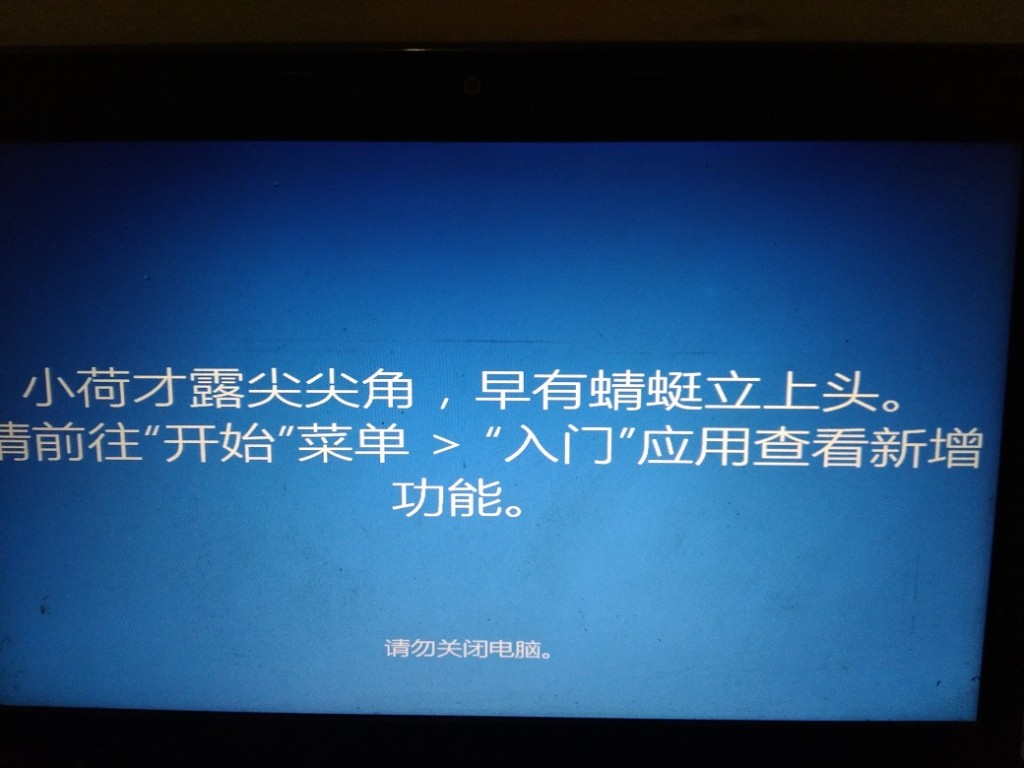
After restarting the computer, the long-lost win10 installation interface appeared, and then there was a long waiting process.
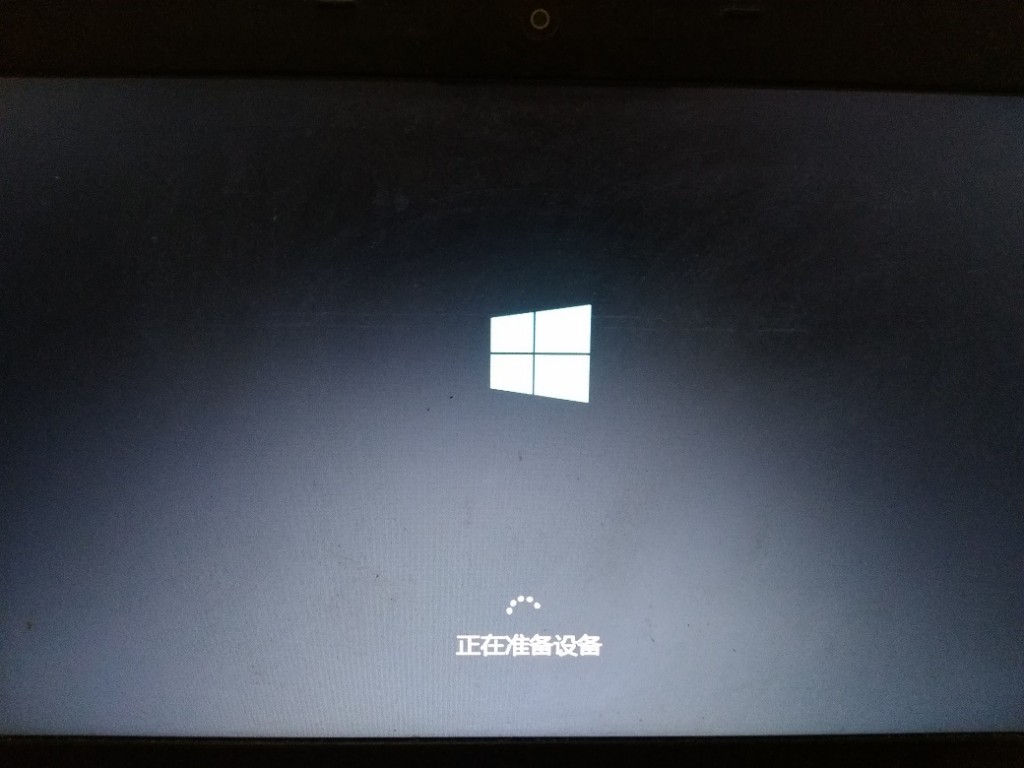

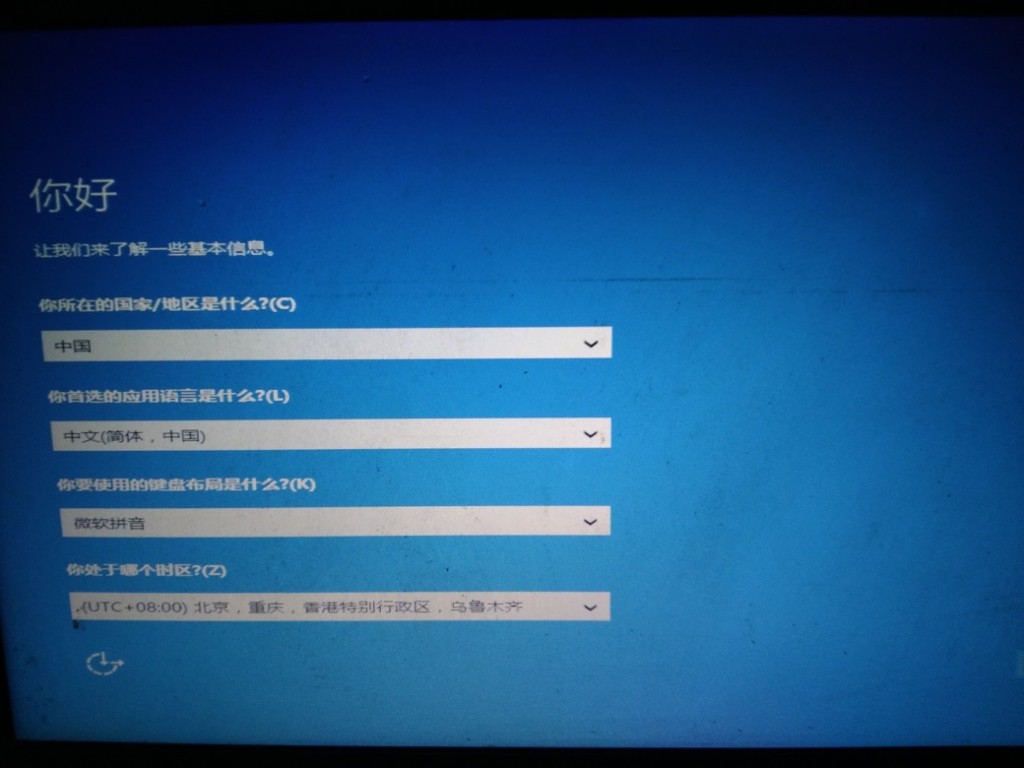
After the system restarts, you will reach the window The mode setting interface is now available.
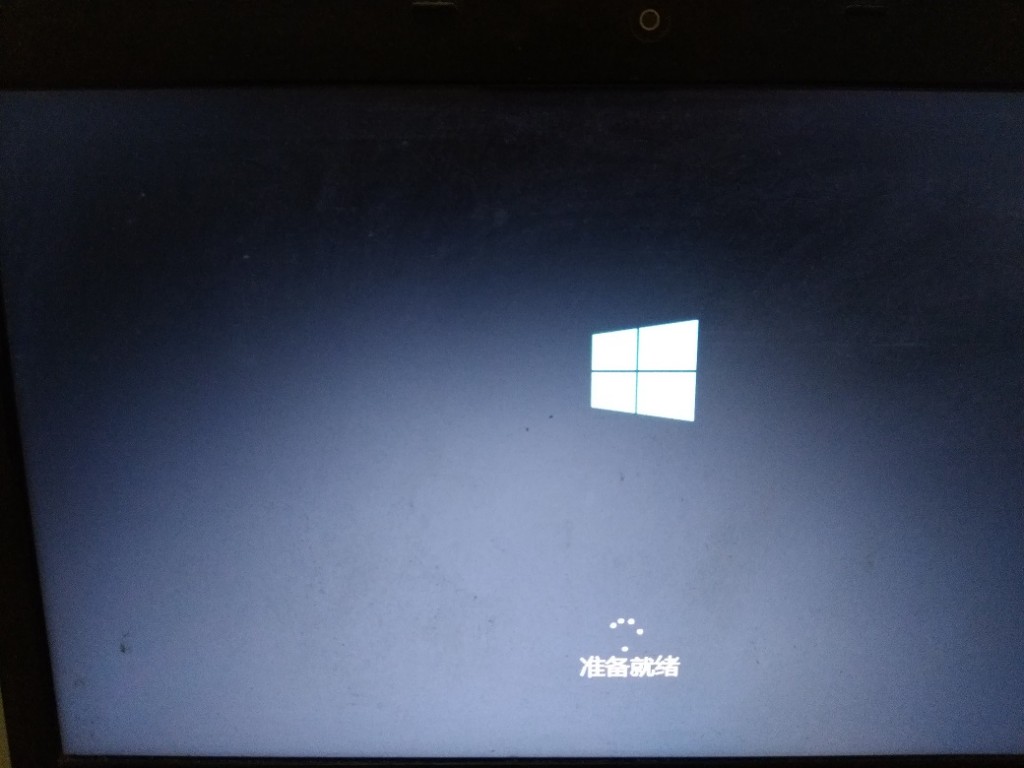
Just follow the prompts and follow your personal habits step by step, such as user name, system activation, networking, etc. It is simple and intuitive, so I won’t write it down in detail one by one.
win10 system was successfully installed.

7, win7, win10 dual system active partition adjustment
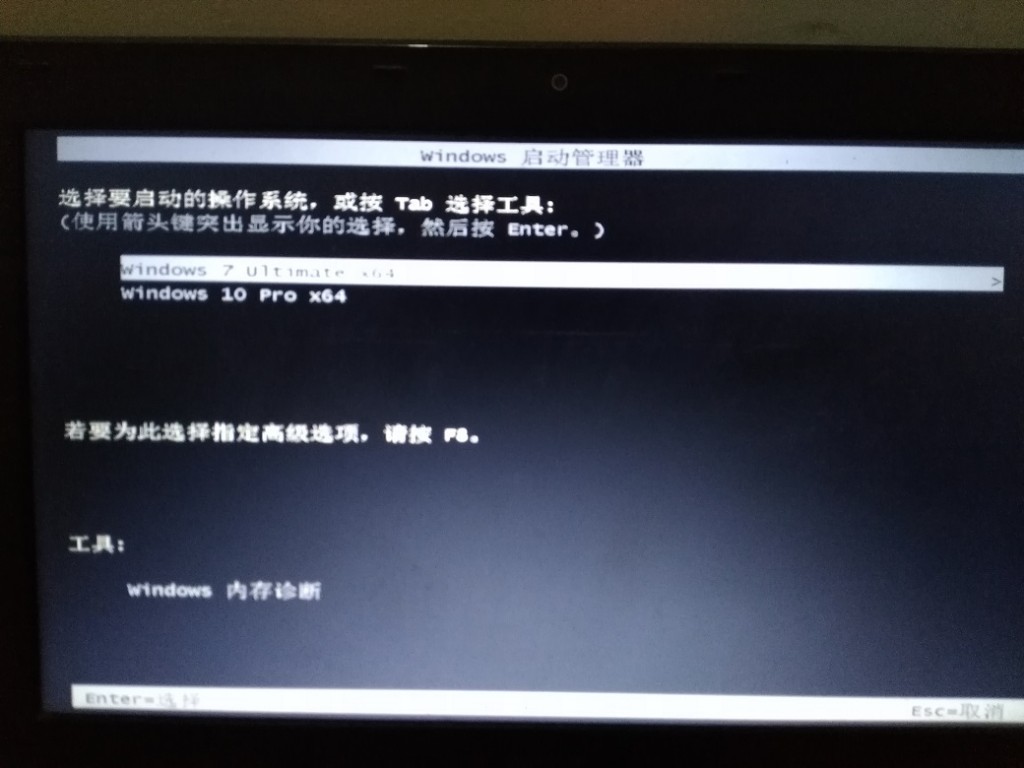
The win10 system has been successfully installed here, but after you restart the computer, you will find that there is only win10 system and the win7 system cannot be found.
The next step is to make the final adjustments to the win7 and win10 dual systems.
First enter winPE again to open the computer,
Move the previously moved files in the "New Folder" under the root directory of the win7 system disk to the original location (the root directory of the win7 system disk (Down),
and change the window folder name back to the original windows.
Since win10 has a fast startup function, it is necessary to reset the system activation partition.
For the specific setting method, please refer to step 5. Just change the partition marked as active to the one where win7 is located. Which system partition (C drive)
8. Dual system boot repair, final processing
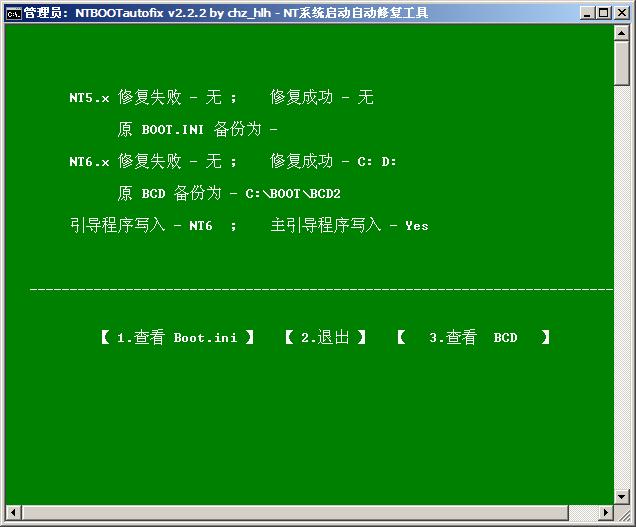
Return to the winPE desktop, find windows boot repair, double-click to enter
Enter the system boot repair interface, as shown in the figure below, select automatic repair and wait for the repair to be completed.

This completes the installation tutorial for win7 and win10 dual systems.
The above is the detailed content of Tutorial on installing win7 and win10 dual systems. For more information, please follow other related articles on the PHP Chinese website!

Hot AI Tools

Undresser.AI Undress
AI-powered app for creating realistic nude photos

AI Clothes Remover
Online AI tool for removing clothes from photos.

Undress AI Tool
Undress images for free

Clothoff.io
AI clothes remover

AI Hentai Generator
Generate AI Hentai for free.

Hot Article
Hot Tools

Notepad++7.3.1
Easy-to-use and free code editor

SublimeText3 Chinese version
Chinese version, very easy to use

Zend Studio 13.0.1
Powerful PHP integrated development environment

Dreamweaver CS6
Visual web development tools

SublimeText3 Mac version
God-level code editing software (SublimeText3)
Hot Topics
 1376
1376
 52
52

 Solution to the problem that Win11 system cannot install Chinese language pack
Mar 09, 2024 am 09:48 AM
Solution to the problem that Win11 system cannot install Chinese language pack
Mar 09, 2024 am 09:48 AM
Solution to the problem that Win11 system cannot install Chinese language pack With the launch of Windows 11 system, many users began to upgrade their operating system to experience new functions and interfaces. However, some users found that they were unable to install the Chinese language pack after upgrading, which troubled their experience. In this article, we will discuss the reasons why Win11 system cannot install the Chinese language pack and provide some solutions to help users solve this problem. Cause Analysis First, let us analyze the inability of Win11 system to
 Solution to Windows 11 black screen with only mouse pointer
Feb 18, 2024 pm 10:50 PM
Solution to Windows 11 black screen with only mouse pointer
Feb 18, 2024 pm 10:50 PM
What should I do if the win11 screen is black and only has mouse arrows? With the continuous development of computer technology, many people are now inseparable from computers. However, sometimes we encounter some problems when using the computer. For example, when using the Win11 system, the screen appears black with only the mouse arrow. This question may be confusing to some non-experts, but don’t worry, we will introduce some solutions below. First, we need to determine whether the problem is temporary or ongoing. If the screen only occasionally goes black, maybe
 How to set CPU performance to full in Win11
Feb 19, 2024 pm 07:42 PM
How to set CPU performance to full in Win11
Feb 19, 2024 pm 07:42 PM
Many users find that the computer is not running smoothly enough when using the Win11 system. They want to improve CPU performance, but they don't know how to do it. The following will introduce in detail how to set the CPU performance to the highest level in Win11 system to make your computer more efficient. Setting method: 1. Right-click "This PC" on the desktop and select "Properties" in the option list. 2. After entering the new interface, click "Advanced System Settings" in "Related Links". 3. In the window that opens, click the "Advanced" tab at the top, then click the & at the bottom of "Performance"
 Solution for Win11 unable to install Chinese language pack
Mar 09, 2024 am 09:15 AM
Solution for Win11 unable to install Chinese language pack
Mar 09, 2024 am 09:15 AM
Win11 is the latest operating system launched by Microsoft. Compared with previous versions, Win11 has greatly improved the interface design and user experience. However, some users reported that they encountered the problem of being unable to install the Chinese language pack after installing Win11, which caused trouble for them to use Chinese in the system. This article will provide some solutions to the problem that Win11 cannot install the Chinese language pack to help users use Chinese smoothly. First, we need to understand why the Chinese language pack cannot be installed. Generally speaking, Win11
 Strategies to solve Win11's inability to install the Chinese language pack
Mar 08, 2024 am 11:51 AM
Strategies to solve Win11's inability to install the Chinese language pack
Mar 08, 2024 am 11:51 AM
Strategies to deal with Win11’s inability to install the Chinese language pack. With the launch of Windows 11, many users can’t wait to upgrade to this new operating system. However, some users have encountered difficulties when trying to install the Chinese language pack, preventing them from using the Chinese interface properly. In this article, we will discuss the problem that Win11 cannot install the Chinese language pack and propose some countermeasures. First, let’s explore why there are problems installing Chinese language packs on Win11. This may be due to the system's
 How to use shortcut keys to take screenshots in Win8?
Mar 28, 2024 am 08:33 AM
How to use shortcut keys to take screenshots in Win8?
Mar 28, 2024 am 08:33 AM
How to use shortcut keys to take screenshots in Win8? In our daily use of computers, we often need to take screenshots of the content on the screen. For users of Windows 8 system, taking screenshots through shortcut keys is a convenient and efficient operation method. In this article, we will introduce several commonly used shortcut keys to take screenshots in Windows 8 system to help you take screenshots more quickly. The first method is to use the "Win key + PrintScreen key" key combination to perform full
 How to perform actions that require administrator rights in Windows 11
Feb 18, 2024 am 10:53 AM
How to perform actions that require administrator rights in Windows 11
Feb 18, 2024 am 10:53 AM
What should I do if the operation requested by win11 needs to be improved? With the release of Windows 11, many users can’t wait to upgrade their operating system to get new features and improved user experience. However, when trying to perform certain sensitive operations or change system settings, you may encounter the "The requested operation requires elevation" prompt. So, what should we do when we encounter this situation? First, we need to understand what "the requested operation requires promotion" means. In Windows operating systems, many system-level operations require
 Detailed explanation of obtaining administrator rights in Win11
Mar 08, 2024 pm 03:06 PM
Detailed explanation of obtaining administrator rights in Win11
Mar 08, 2024 pm 03:06 PM
Windows operating system is one of the most popular operating systems in the world, and its new version Win11 has attracted much attention. In the Win11 system, obtaining administrator rights is an important operation. Administrator rights allow users to perform more operations and settings on the system. This article will introduce in detail how to obtain administrator permissions in Win11 system and how to effectively manage permissions. In the Win11 system, administrator rights are divided into two types: local administrator and domain administrator. A local administrator has full administrative rights to the local computer
