
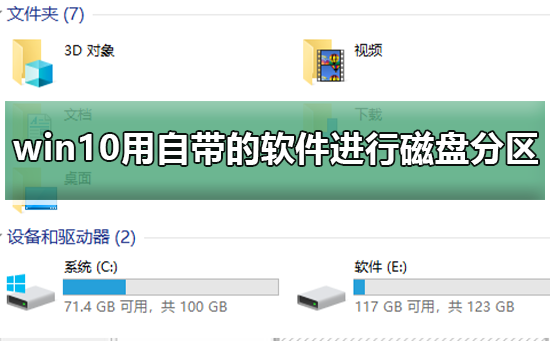
After reinstalling the computer system, we find that there is only one disk and no partitions. At this time, in order to facilitate management, many friends want to have more partitions, but they do not want to download messy software for partitioning. This is the time to use Go to the partitioning software that comes with the system. Below, the editor has compiled the steps for partitioning with the built-in software. Let’s take a look.
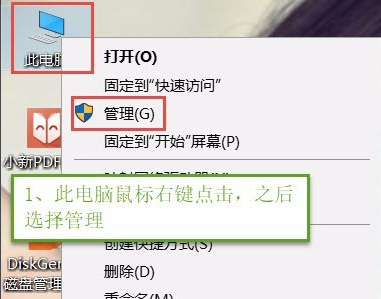
1. Turn on the computer, enter the system and find it. Right-click the mouse to operate the picture. The steps are as follows.
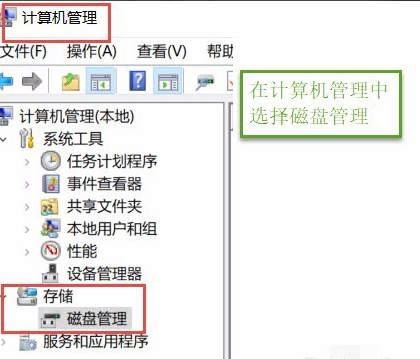
#2. Open the window and select Disk Management. The steps for operating the picture are as follows.
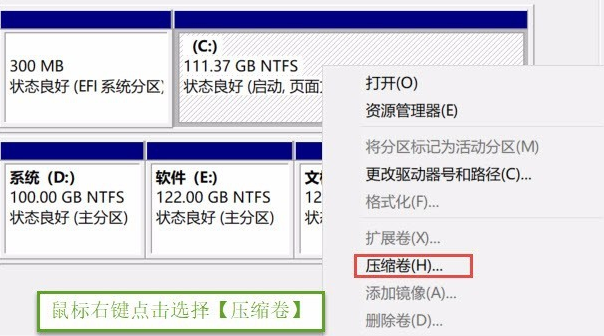
3. Select the disk that needs to be partitioned in the right window, right-click and click. The steps for operating the picture are as follows
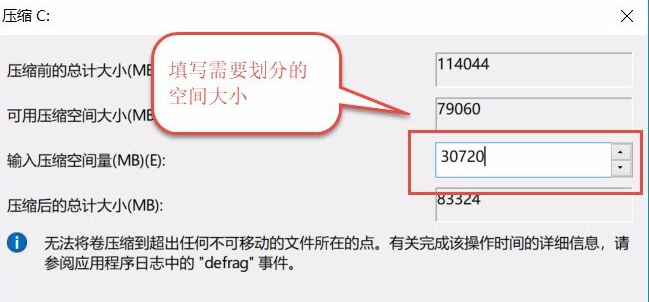
4. After clicking, enter the amount of compressed space (MB) and fill in the amount of space to be compressed. For example, if you compress 30G, you must fill in 30G*1024MB. After filling in, click Compress. The steps to operate the picture are as follows.
5. After the compression is completed, a partition disk will appear. Right-click and select. The operation is as follows
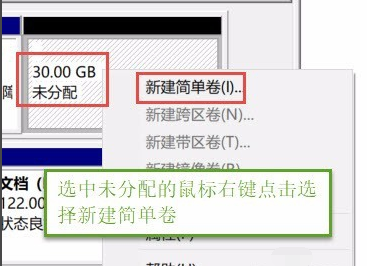
6. Enter the New Simple Volume Wizard, click, fill in the disk capacity, fill in the drive letter, fill in the file system and select NTFS, fill in and click Finish. The steps in the operation picture are as follows
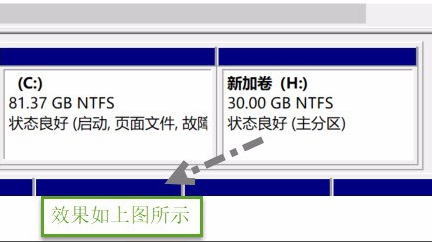
The above is the detailed content of How to partition a disk using the software that comes with Windows 10. For more information, please follow other related articles on the PHP Chinese website!


