The corner effect will weaken the relatively hard environmental artistic conception in the photo, make the subject of the photo more prominent, and can better focus the focus of the picture. It is an effect often used when processing photos or posters. So how to add a vignetting effect to pictures in CorelDRAW? Specifically, the editor will use the transparency tool to create the vignetting effect. Let’s take a look!
1. Open CorelDRAW software to import the picture, use the rectangle tool to create a rectangle of the same size above the image and fill it with black

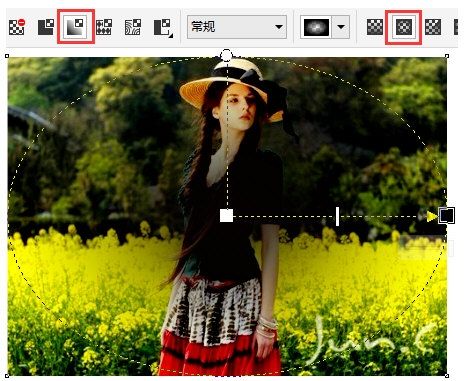
2. Click the transparency tool, set the transparency type [Gradient Transparency] in the property bar, and set the gradient type to [Oval Gradient Transparency]

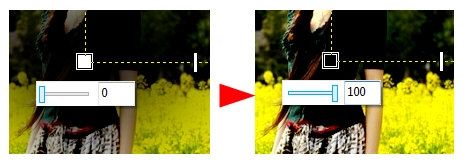
3. Reverse the color, click the small white square with the left mouse button, and [Node Transparency] will appear. Drag the value slider to increase the value. Adjust the value to 0 at the position of the small black square, where white represents opaque and black represents transparency, and the dotted line in the middle is the translucent area

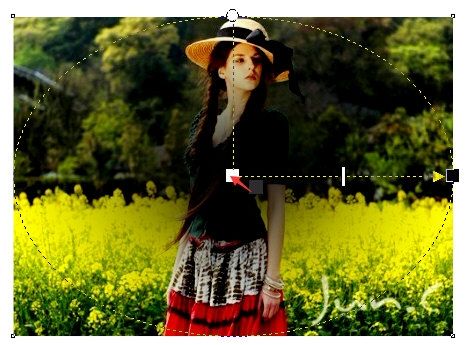
4. Or use the left mouse button to drag the black block in the palette to the white small area of [Gradient]. On the block, release the mouse when a black arrow appears. In the same way, replace the small black square of [Gradient] with white

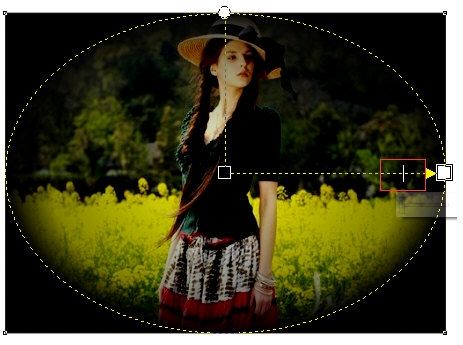
5. Use the transparency tool to drag the white rectangular adjustment button in the control line to change the transparency depth of the object. .

#In this process, you have to manually debug it many times until you create an effect that satisfies you. Weak vignetting often brings visual balancing benefits to photos containing large pale areas, while larger vignetting reduces the chance of background elements being distracting. The above is the CorelDRAW related usage tutorial brought by the editor, I hope it can help everyone.
The above is the detailed content of How to create vignetting effect in CorelDRAW. For more information, please follow other related articles on the PHP Chinese website!


