
Excel tables are widely used in life and work. Sometimes partial printing is required for a long time. When we print, it involves setting a printing area. So how to set only a part of the printing area? Many users are confused. Below, the editor will introduce to you the skills of setting the print area in Excel.
In the process of printing using Excel, the default printing setting is to print the entire document. Sometimes we only want to print a part of the content. Many users feel that the Excel print area setting is very awkward. In fact, as long as We have mastered the operation skills. For this reason, the editor has brought you pictures and texts on how to set the print area in Excel.
How to set the print area in Excel
Temporary partial print settings:
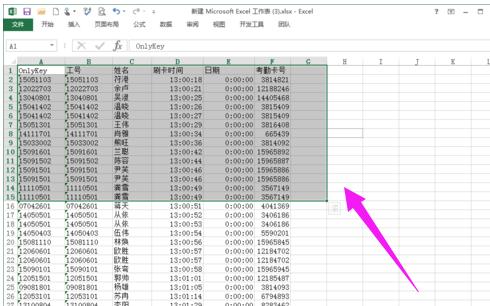
As a demonstration, only the attendance records of the first 15 people need to be printed
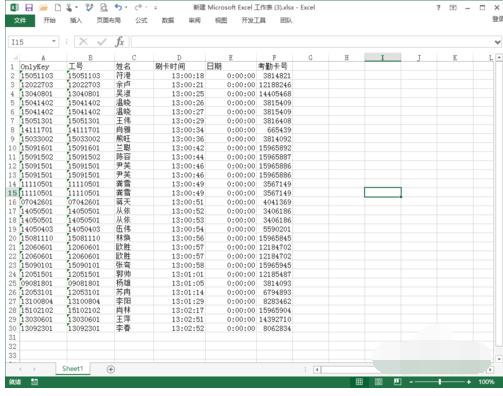
Print area map-1
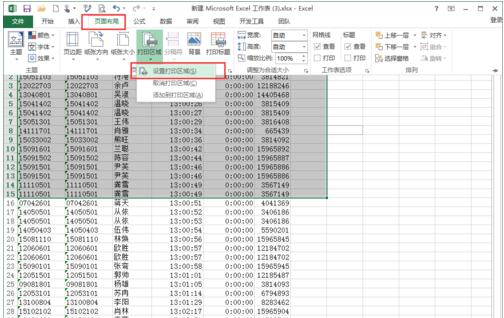
Use the mouse to select the printing area, click on file,
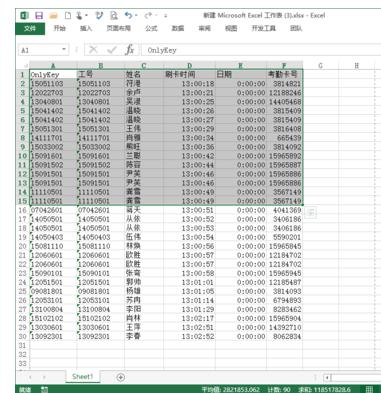
excel chart-2
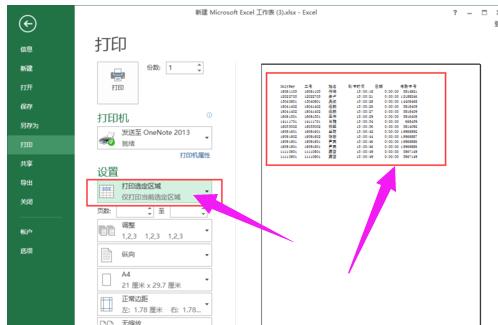
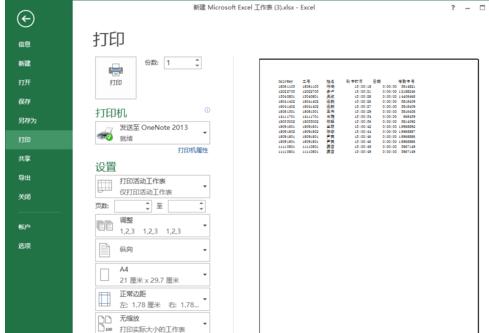
Click: Print
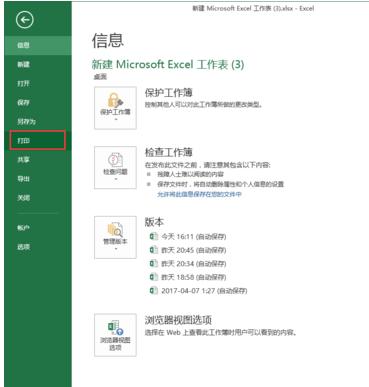
Set printing picture-3
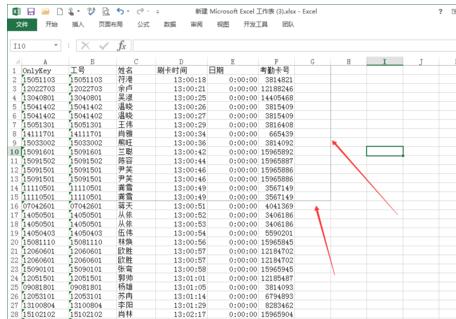
After setting this, the printed content will become the area we selected,
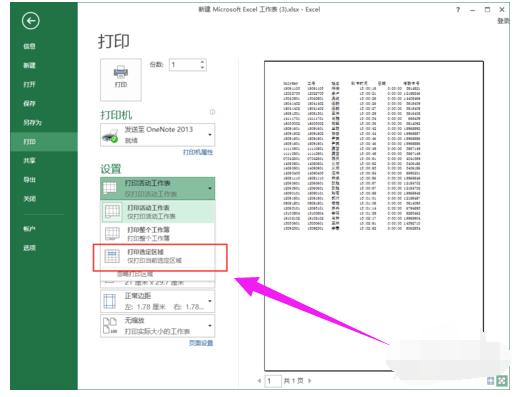
Print area map-4
That is, the first 15 records
The above is the detailed content of How to set the printing range in Excel. A simple tutorial to teach you how to set the printing range in Excel.. For more information, please follow other related articles on the PHP Chinese website!
 Compare the similarities and differences between two columns of data in excel
 excel duplicate item filter color
 How to copy an Excel table to make it the same size as the original
 Excel table slash divided into two
 Excel diagonal header is divided into two
 Absolute reference input method
 java export excel
 Excel input value is illegal


