

Optimize memory usage of Google Chrome

php editor Baicao brings you a guide on how to reduce the memory usage of Google Chrome. With the development of the Internet, we increasingly rely on browsers for various operations. However, the high memory usage of browsers has also become a major problem that troubles us. This article will share some simple and effective methods to help you reduce the memory usage of Google Chrome and improve system performance and browser running speed. Let’s take a look!
How to reduce the memory usage of Google Chrome
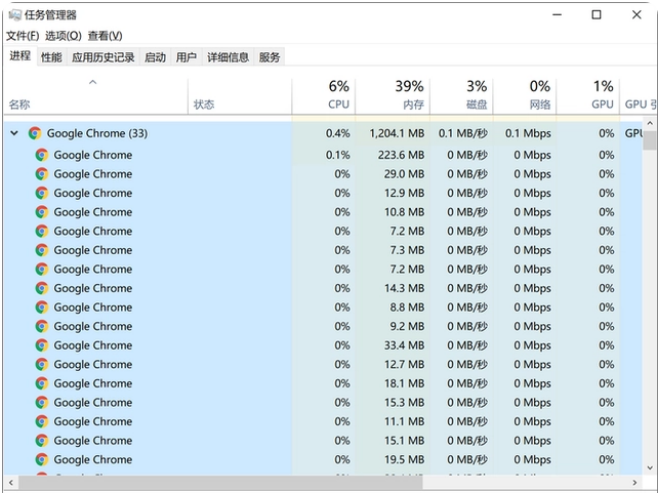
Officially stated that the memory occupied by the Win10 Chrome browser process can be reduced by up to 22%, and the renderer is reduced 8%, GPU usage can be reduced by 3%. Not only that, Google has also improved the browser’s response speed, which is 9% faster than before. Google used its own developed PartitionAlloc memory allocation tool to achieve this improvement, which can effectively reduce latency, improve memory space utilization efficiency and enhance security.
The latest version of Chrome also brings the tab freezing function. Reduce memory usage by optimizing the foreground and background tab processes. Google said that the new technology can reduce the memory usage of each tab page by 100MB on average, and reduce the memory usage by up to 20% on some popular websites.
It was learned that the new version of the browser can automatically reclaim the memory space occupied by web images when they slide out of the window. In addition, the macOS version of Chrome can also reduce the memory usage of background tabs.
Google said that there is still some work to be done in the future to make the Chrome browser more efficient and competitive.
The above is the detailed content of Optimize memory usage of Google Chrome. For more information, please follow other related articles on the PHP Chinese website!

Hot AI Tools

Undresser.AI Undress
AI-powered app for creating realistic nude photos

AI Clothes Remover
Online AI tool for removing clothes from photos.

Undress AI Tool
Undress images for free

Clothoff.io
AI clothes remover

AI Hentai Generator
Generate AI Hentai for free.

Hot Article
Hot Tools

Notepad++7.3.1
Easy-to-use and free code editor

SublimeText3 Chinese version
Chinese version, very easy to use

Zend Studio 13.0.1
Powerful PHP integrated development environment

Dreamweaver CS6
Visual web development tools

SublimeText3 Mac version
God-level code editing software (SublimeText3)
Hot Topics
 1382
1382
 52
52

 How to add trusted sites in Google Chrome
Jul 19, 2024 pm 04:14 PM
How to add trusted sites in Google Chrome
Jul 19, 2024 pm 04:14 PM
How to add trusted sites in Google Chrome? Some users cannot browse the web normally because the page prompts that it is not secure when surfing the Internet. At this time, they can add the website as a trusted site, and we can access it normally and surf the Internet smoothly. The editor below will bring you the steps to add a trusted site in Google Chrome. The steps are simple and easy to operate, and even beginners can easily get started. Friends who need it can learn about it together. How to add a trusted site in Google Chrome: 1. Open Google Chrome and click the three dots in the upper right corner. Click [Settings]. Choose privacy settings and security. (As shown in the picture) 2. Click Website Settings at the bottom of the page. (As shown in the picture) 3. Click on the unsafe content at the bottom of the page. (As shown in the picture) 4. Click the Add button to the right of the Allow option. (As shown in the picture) 5. Lose
 How to fine-tune deepseek locally
Feb 19, 2025 pm 05:21 PM
How to fine-tune deepseek locally
Feb 19, 2025 pm 05:21 PM
Local fine-tuning of DeepSeek class models faces the challenge of insufficient computing resources and expertise. To address these challenges, the following strategies can be adopted: Model quantization: convert model parameters into low-precision integers, reducing memory footprint. Use smaller models: Select a pretrained model with smaller parameters for easier local fine-tuning. Data selection and preprocessing: Select high-quality data and perform appropriate preprocessing to avoid poor data quality affecting model effectiveness. Batch training: For large data sets, load data in batches for training to avoid memory overflow. Acceleration with GPU: Use independent graphics cards to accelerate the training process and shorten the training time.
 How to install postman on Google Chrome
Jul 01, 2024 pm 02:18 PM
How to install postman on Google Chrome
Jul 01, 2024 pm 02:18 PM
How to install postman on Google Chrome? Google Chrome is a very powerful browser tool. In this browser, users can freely install various plug-ins according to their own needs. Among them, the postman plug-in is mainly designed for interface testing, and many users need to use it. This plug-in is used for interface testing, so how to install the postman plug-in in Google Chrome. Next, let the editor introduce to you the tutorial on installing the postman plug-in in Google Chrome. Friends who are not sure about the specific steps should hurry up and take a look at the details. Tutorial introduction to installing the postman plug-in in Google Chrome 1. We first open the Google Chrome installed on the computer, and then click More in the upper right corner of the browser
 What should I do if Win10 cannot turn on the mobile hotspot network? What should I do if Win10 cannot turn on the mobile hotspot switch?
Jun 26, 2024 am 12:33 AM
What should I do if Win10 cannot turn on the mobile hotspot network? What should I do if Win10 cannot turn on the mobile hotspot switch?
Jun 26, 2024 am 12:33 AM
Mobile hotspots can help users quickly connect their devices to the Internet, but many users are asking what to do if Win10 cannot turn on the mobile hotspot switch? Let this site carefully introduce to users the solution to the problem that Win10 cannot turn on the mobile hotspot switch. Solution to the problem that Win10 cannot turn on the mobile hotspot switch 1. In the device manager, find the network adapter and display hidden hardware devices. 2. Find the disabled MicrosoftWi-FiDirectVirtualAdapter device and re-enable it. 3. Try turning on the mobile hotspot again and return to normal.
 How to solve the problem that two accounts are displayed when Windows 10 is started and two accounts are logged in?
Jun 26, 2024 am 12:07 AM
How to solve the problem that two accounts are displayed when Windows 10 is started and two accounts are logged in?
Jun 26, 2024 am 12:07 AM
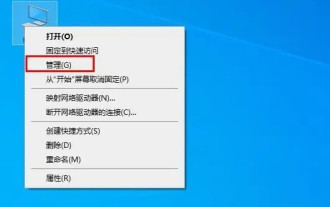
After the computer is turned on, two user login names are displayed. This may be because someone has added a new account to the computer. So what should I do if the Win10 computer displays two accounts when it is turned on? Let this site give users a detailed introduction to the problem of two accounts showing when Windows 10 starts up. Analysis of the problem that two accounts are displayed when Windows 10 starts up 1. First, right-click on "This Computer" or "My Computer" and select "Manage". 2. In "Computer Management (Local)". 3. Select "Local Users and Groups". 4. Select “User&rdq”
 How to pay using Google Chrome
Jul 30, 2024 pm 01:55 PM
How to pay using Google Chrome
Jul 30, 2024 pm 01:55 PM
How to pay with Google Chrome? The Internet is developing rapidly, and we can already use Google Chrome to search and shop online. But some friends also want to know how to set up payment methods on Google Chrome so that we can pay for online shopping faster. The following is a tutorial on setting up payment methods on Google Chrome. Friends, you can start your online shopping journey by choosing a payment method that suits you. Tutorial on setting payment method on Google Chrome 1. Double-click to open the software and click on the three dots icon in the upper right corner. (As shown in the picture) 2. Then click "Settings" in the option list below. (As shown in the picture) 3. In the window interface that opens, click the "You and Google" option in the left column. (As shown in the picture
 How to turn off tablet mode in win10? Tutorial on exiting tablet mode in win10
Jun 26, 2024 am 01:10 AM
How to turn off tablet mode in win10? Tutorial on exiting tablet mode in win10
Jun 26, 2024 am 01:10 AM
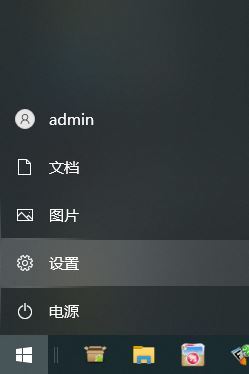
How to exit tablet mode on Win10 computer? In Win10 computer operation, users do not need to use the tablet mode function. I want to know how to successfully turn off this function? First, the user opens the system settings option, finds the tablet option, and finally selects to never save in tablet mode. The following is a detailed introduction to the steps to turn off Windows 10 tablet mode. How to turn off tablet mode in win10 Method 1: Turn off through settings 1. Click the settings function in the start menu in the lower left corner. 2. In the windows settings page that opens, click the [System] option. 3. In the system settings page, find the [Tablet PC] option in the left column and click it. 4. On the tablet page on the right, click [When I sign in] under
 How to enable periodic virus scanning function in win10 system? How to enable periodic virus scanning function in win10 system
Jun 26, 2024 am 12:06 AM
How to enable periodic virus scanning function in win10 system? How to enable periodic virus scanning function in win10 system
Jun 26, 2024 am 12:06 AM
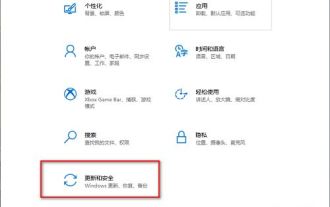
How to turn on the regular virus scanning function in Windows 10? This function can very well help us define and clean up viruses on our computers. Many friends don’t know where to set up and use them. In response to this problem, this win10 tutorial will share detailed steps for users. Let’s take a look. Here’s the complete setup method. Tutorial on enabling periodic virus scanning in Windows 10 1. Enter the “Settings” interface using the “win+i” shortcut key and click on the “Update and Security” option. 2. After entering the new window interface, click "Windows Security Center" in the left column. 3. Then click&l on the right
