php editor Yuzai today brings you a tutorial on how to use Apple shared photo albums. I believe many iPhone users have encountered the problem of wanting to share photos with others but not knowing how to do it. Sharing photo albums is a very convenient way to easily share photos and videos with friends and family, allowing everyone to share beautiful moments together. This article will introduce in detail how to create a shared photo album on iPhone so that everyone can easily use this feature. If you also want to know the specific steps, you may wish to continue reading below, I believe it will be helpful to you.
When eating a big meal or traveling with friends, it is inevitable to take photos. When organizing photos, you can use the iPhone shared album function to share photos with friends and never miss any of the wonderful moments captured by everyone.
This function allows each participant to freely upload or download photos and videos, as well as a like function. Let’s take a look:
Open the “Shared Album”
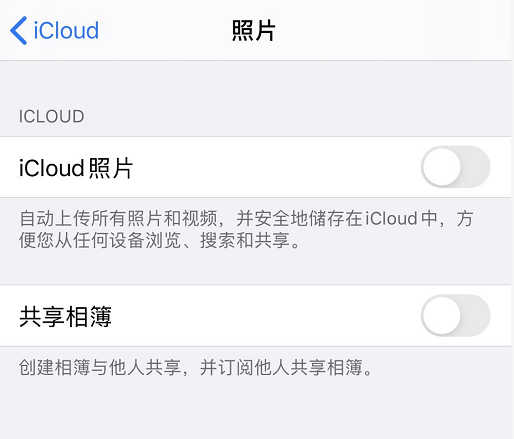
On iPhone, go to "Settings" - "Apple ID" - "iCloud" - "Photos" and then turn on "Shared Album".


When this feature is turned on, you can view the same photo content on any device logged in with the same Apple ID, and Updates can be edited and synced on these devices at any time.
Create a new "Shared Album" in the Photos app
Open the Photos app, tap " " on the Album tab, and then tap "New Shared Album".


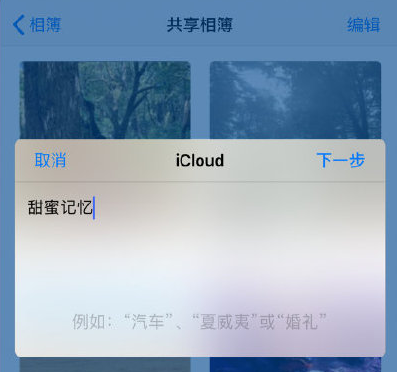
Next you can name the shared album:


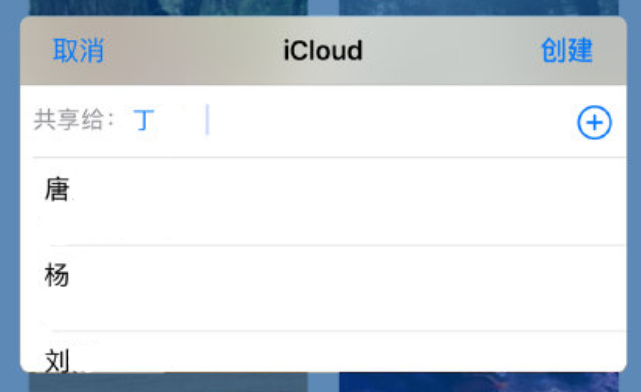
Select the contacts you want to share the album with and tap "Create".


The above is the detailed content of How to use Apple shared photo albums Detailed introduction: Tutorial on creating shared photo albums on iPhone. For more information, please follow other related articles on the PHP Chinese website!
 How to turn off win10 upgrade prompt
 The difference between lightweight application servers and cloud servers
 CMD close port command
 The difference between external screen and internal screen broken
 How to jump with parameters in vue.js
 Cell sum
 How to intercept harassing calls
 virtual digital currency


