The split-screen function in Win10 tablet mode provides users with a more convenient multi-tasking method, allowing users to use two applications for operations at the same time. Split-screen operation in Win10 tablet mode is also very simple, just follow the following methods. First, enter tablet mode and make sure your device has been switched to tablet mode. Then, on the title bar above the app you want to split screen, find and click the Window icon. Next, select the Split Screen option and the system will automatically pin the app to one side of the screen and display a list of other apps to choose from. Finally, select the app you want to display with it and the system will place it on the other side of the screen. In this way, users can use two applications on the screen at the same time, improving work efficiency. The above is the split screen method in Win10 tablet mode. I hope it will be helpful to everyone.
How to split screen in Win10 tablet mode
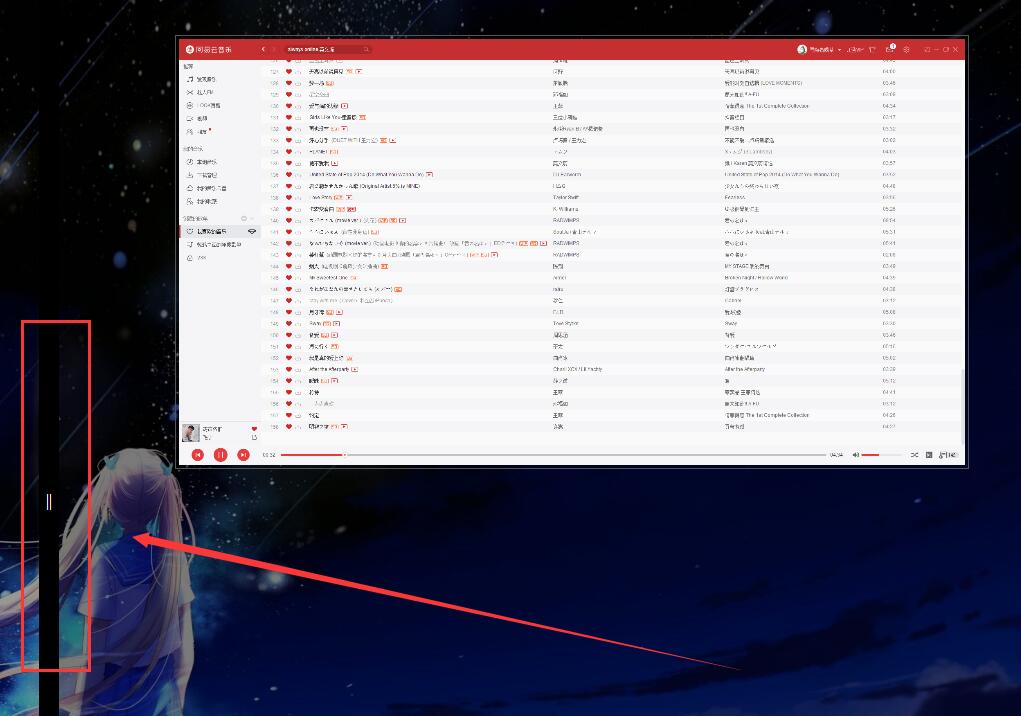
1. After we select the software window with the mouse, drag it to the far left. A window will be vaguely displayed, and we will let go of the mouse.

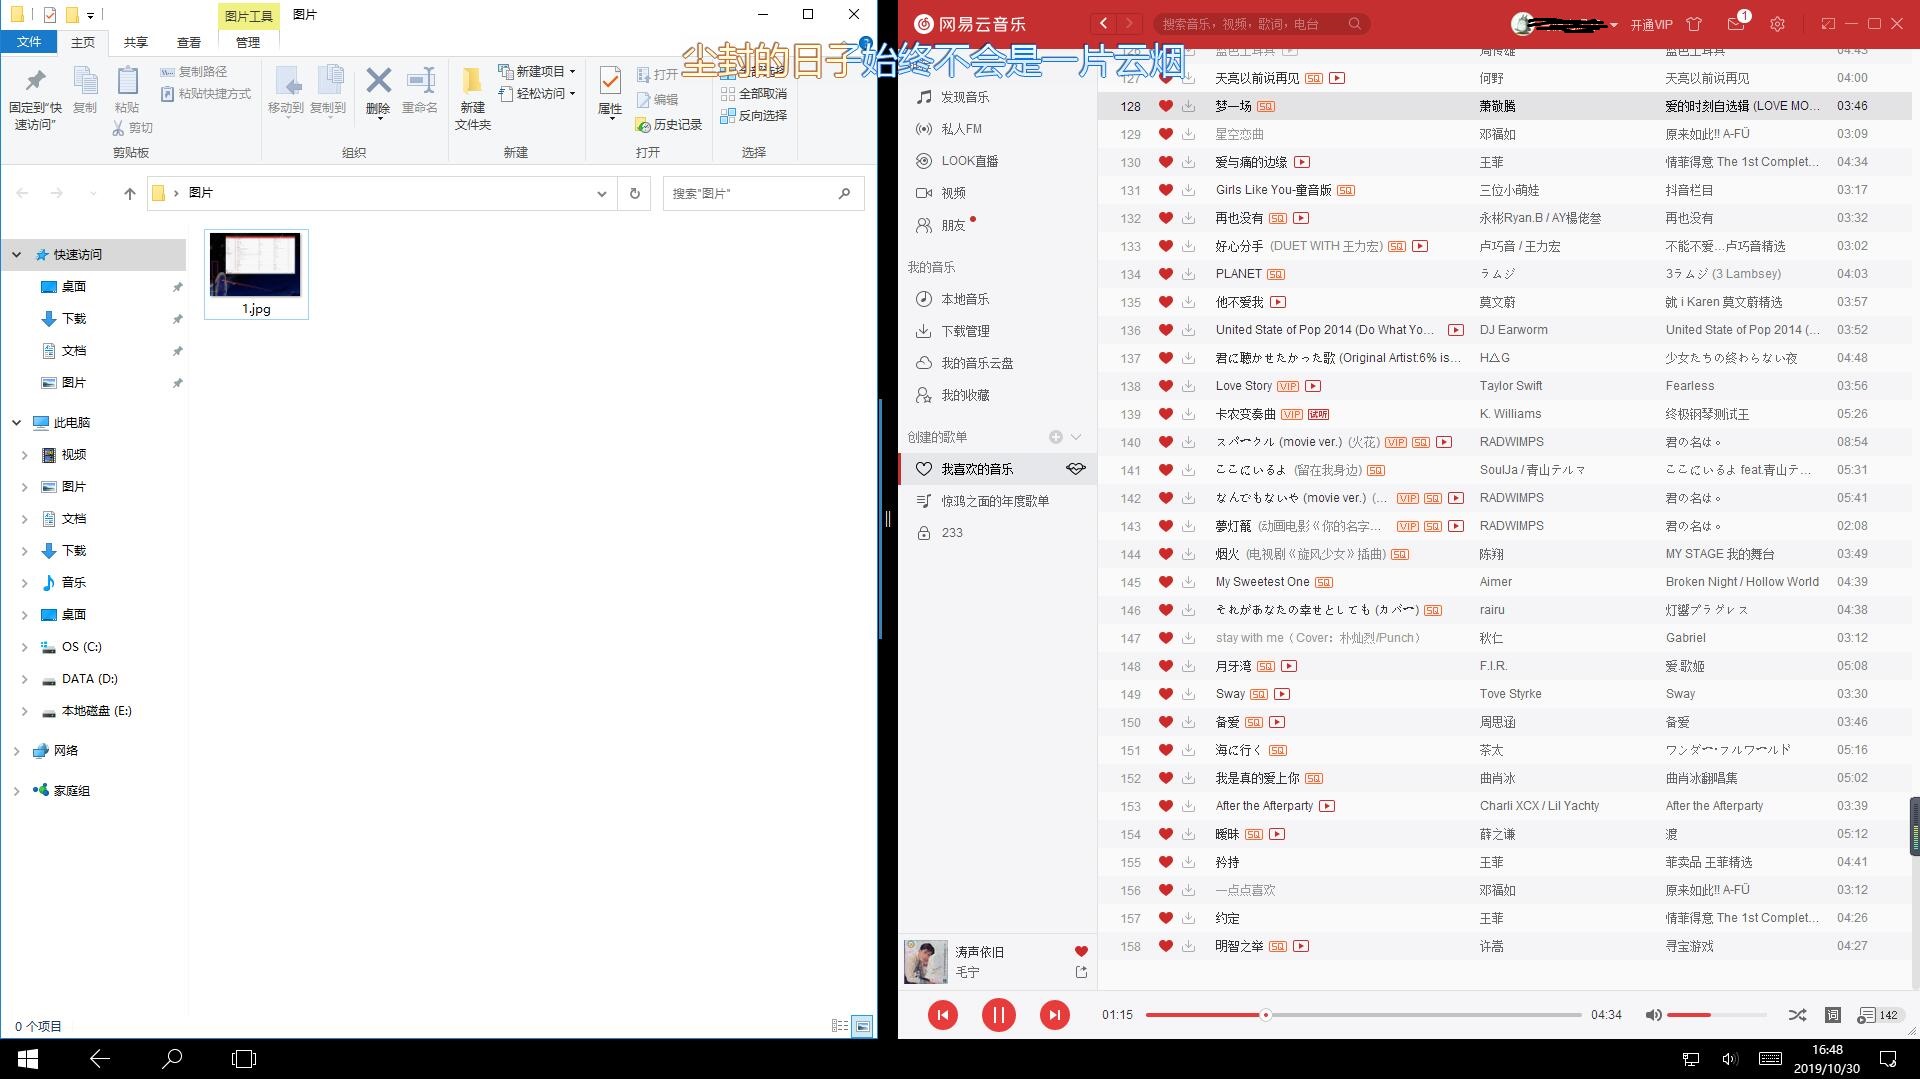
#2. Then we can select the window we want to display on the other side.

The above is the detailed content of How to split screen in Win10 tablet mode? How to split screen in Win10 tablet mode. For more information, please follow other related articles on the PHP Chinese website!
 win10 bluetooth switch is missing
 Why do all the icons in the lower right corner of win10 show up?
 The difference between win10 sleep and hibernation
 Win10 pauses updates
 What to do if the Bluetooth switch is missing in Windows 10
 win10 connect to shared printer
 Clean up junk in win10
 How to share printer in win10


