
php editor Strawberry will help you easily learn the skills to accurately adjust the size of the inserted shape in WPS2019. When using WPS2019 to create documents or slides, inserting shapes is one of the common operations. However, sometimes we need to make precise adjustments to the inserted shape to fit our requirements. This article will teach you how to easily complete this task in WPS2019, making your documents or slides more professional and beautiful. Follow the editor's steps and you will easily become a master of WPS2019!
1. Open WPS2019, create a new file, click Insert - Shape
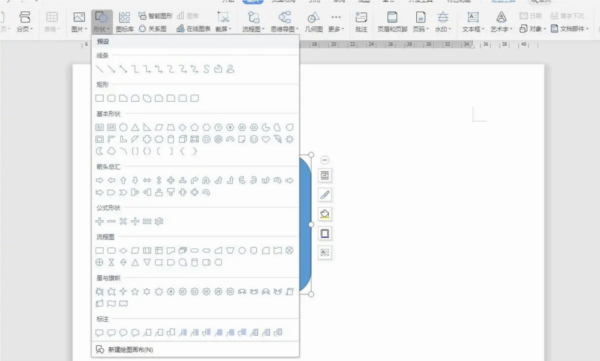
2. Click the Insert tab, Select one of the rounded rectangles, drag to draw, and then select any side and drag to resize.
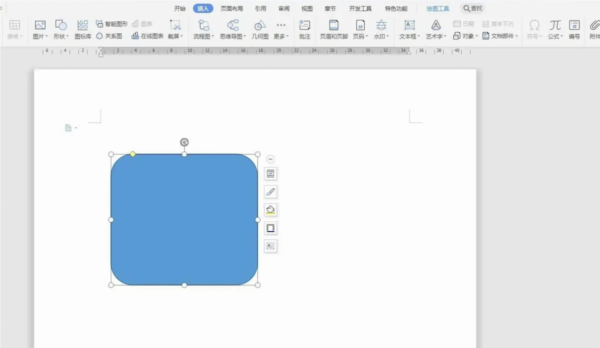
#3. After clicking on the graphic, a drawing tool option will appear on the tab, and there is a width and height setting on the right side of the ribbon.
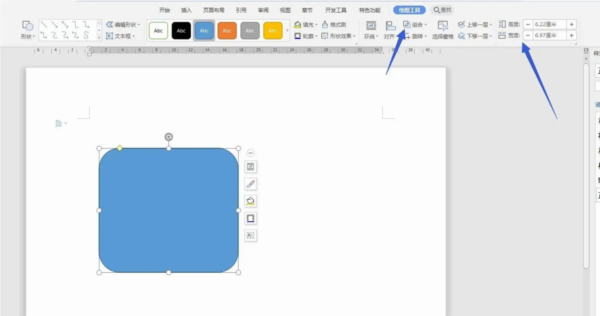
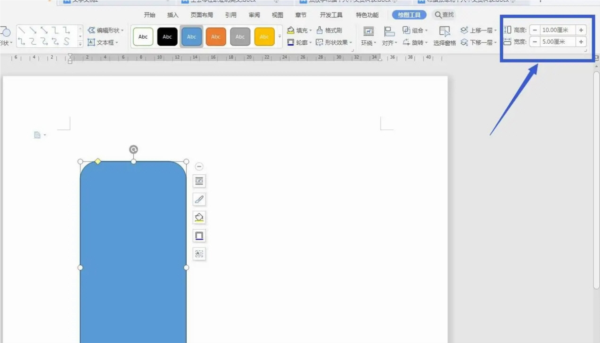
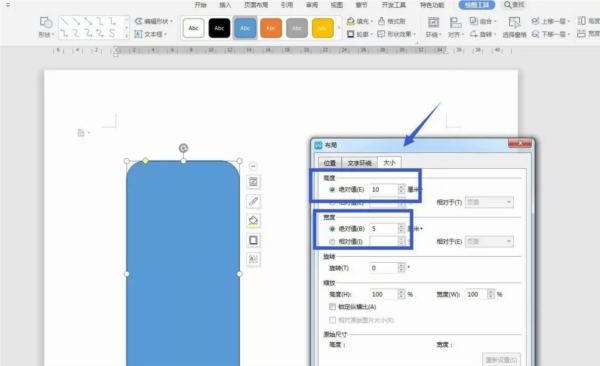
#4. We can directly enter the values in the width and height. For example, I set 10 and 5. Click OK to see the effect.
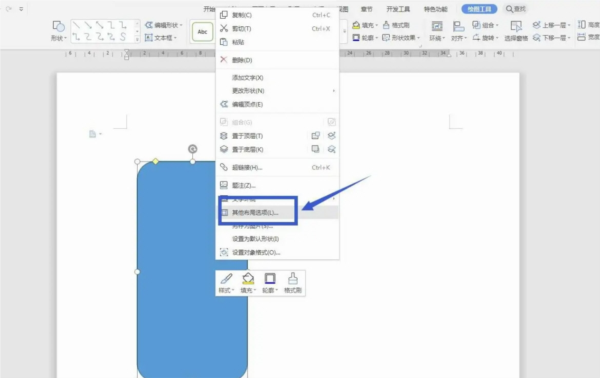
#5. Select the shape, then right-click the mouse to find other layout options and open a panel settings.
#6. Select the size item in the opened panel, and then you can also set the width, height, and unit here.
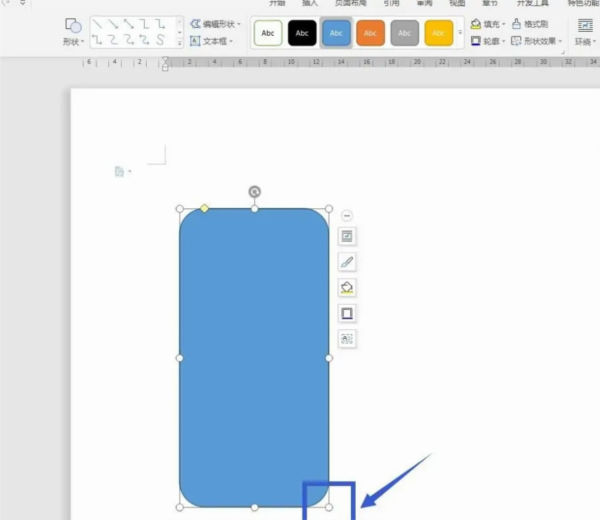
#7. We can select the graphic, then hold down the SHIFT key and drag one of the points with the mouse to scale it proportionally.
The above is the detailed content of How to accurately adjust the size of inserted shapes in WPS2019. You will learn after reading this. For more information, please follow other related articles on the PHP Chinese website!


