

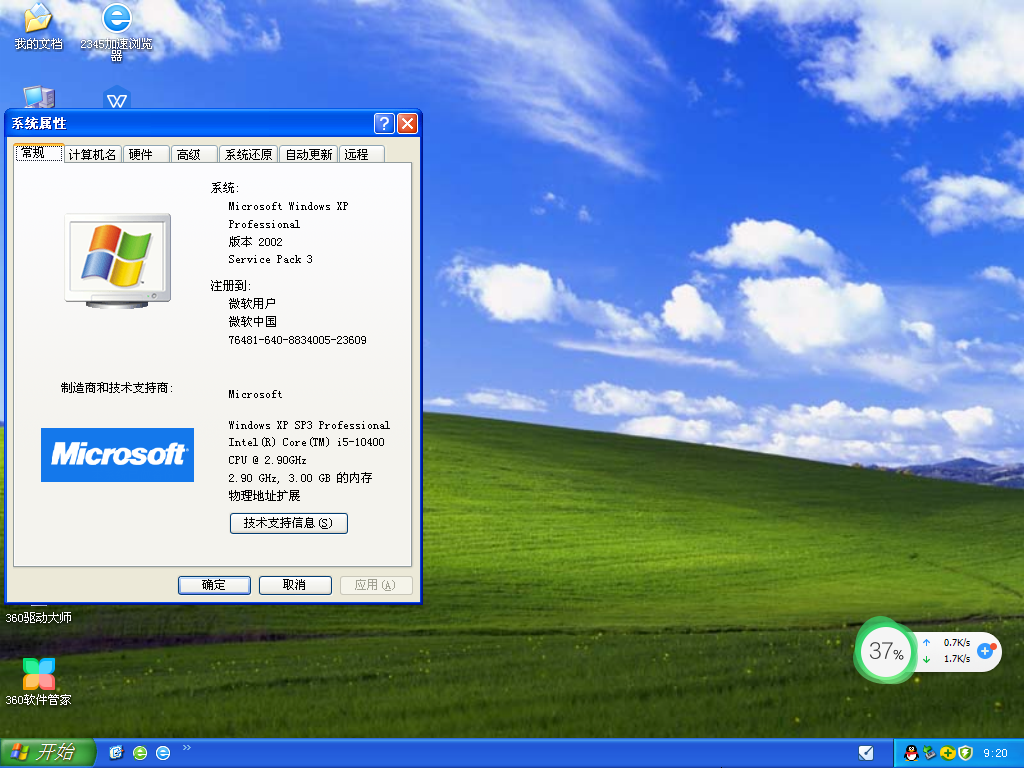
XP system hard disk installation tutorial

As a veteran computer system, Windows XP system has many loyal fans. This system has many excellent versions, such as home version, professional version, media center version, entry version, embedded version, etc. Each version has its own characteristics, and users can choose according to their needs. So in the face of so many versions, how to use the hard disk to reinstall the win xp system? The following will bring you the xp system hard disk installation tutorial.

Recommended: U disk xp system reinstallation guide
Win xp system hard disk installation guide
1. Click on the xp provided by this site System local download, xp system download address: https://www.53xt.com/winxp/.
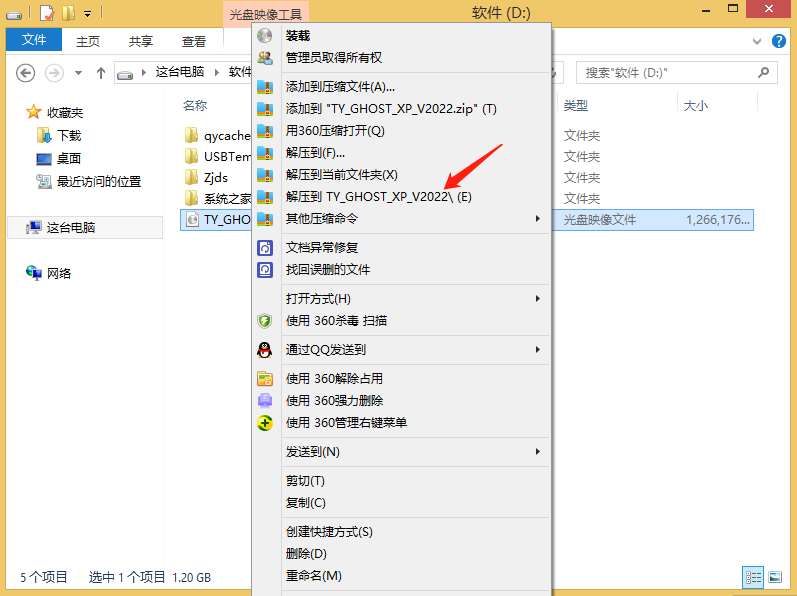
2. Exit the security software and decompress the downloaded system image file (note: it cannot be stored on the system disk or desktop).
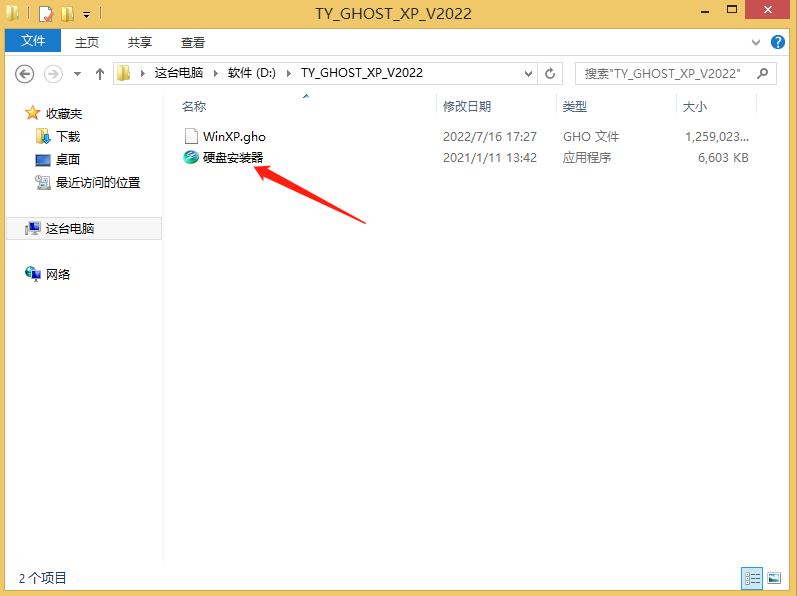
3. Open the decompressed system image folder and click "Hard Disk Installer" (XP system only supports older models).
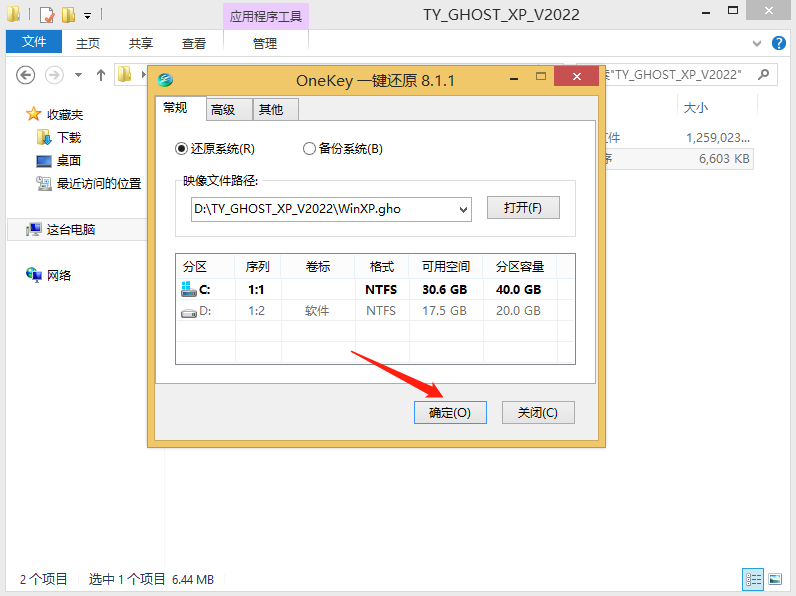
4. Confirm the system partition and click "OK".
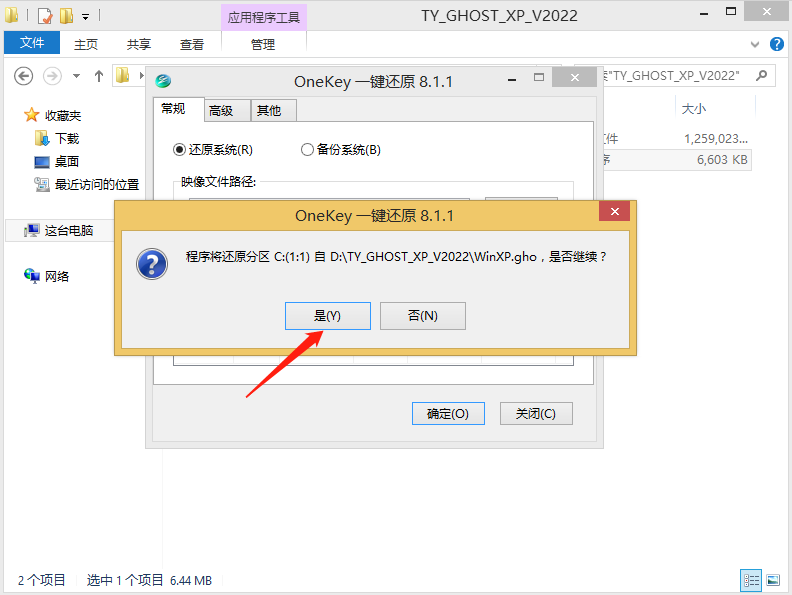
5. Confirm to reinstall the system and click "Yes"
(Note: System disk and desktop data need to be formatted when reinstalling the system and need to be backed up. Back up in advance to avoid unnecessary losses).
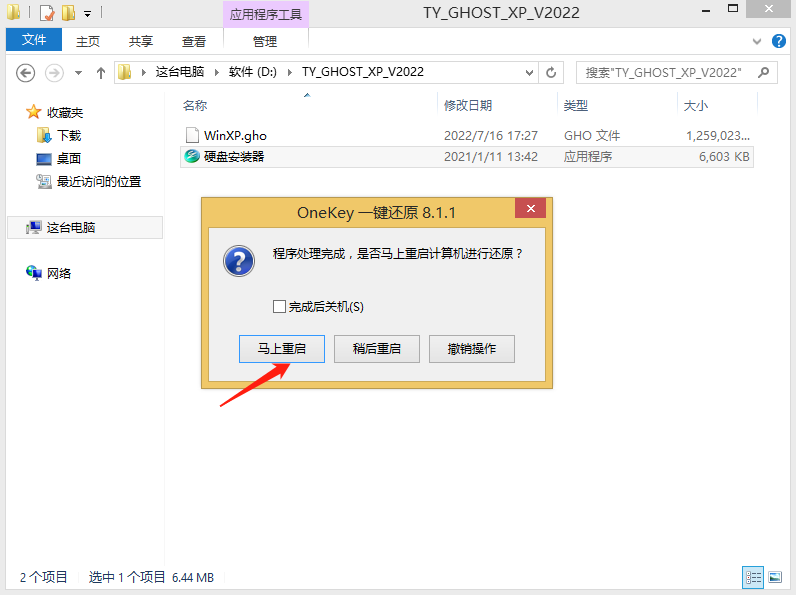
6. Click "Restart Now".
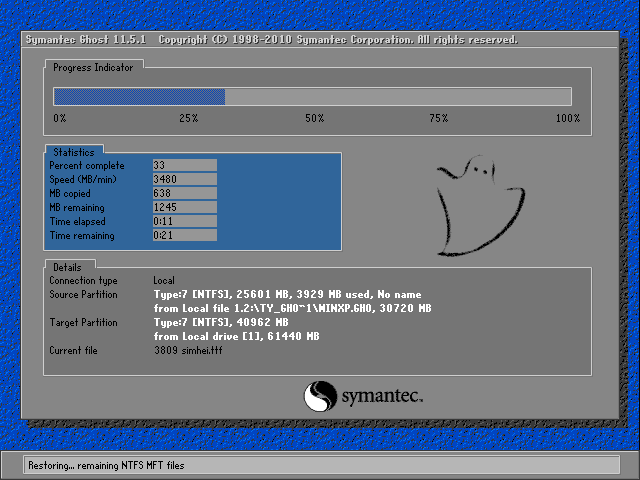
7. The computer automatically restarts and enters the system reinstallation process.
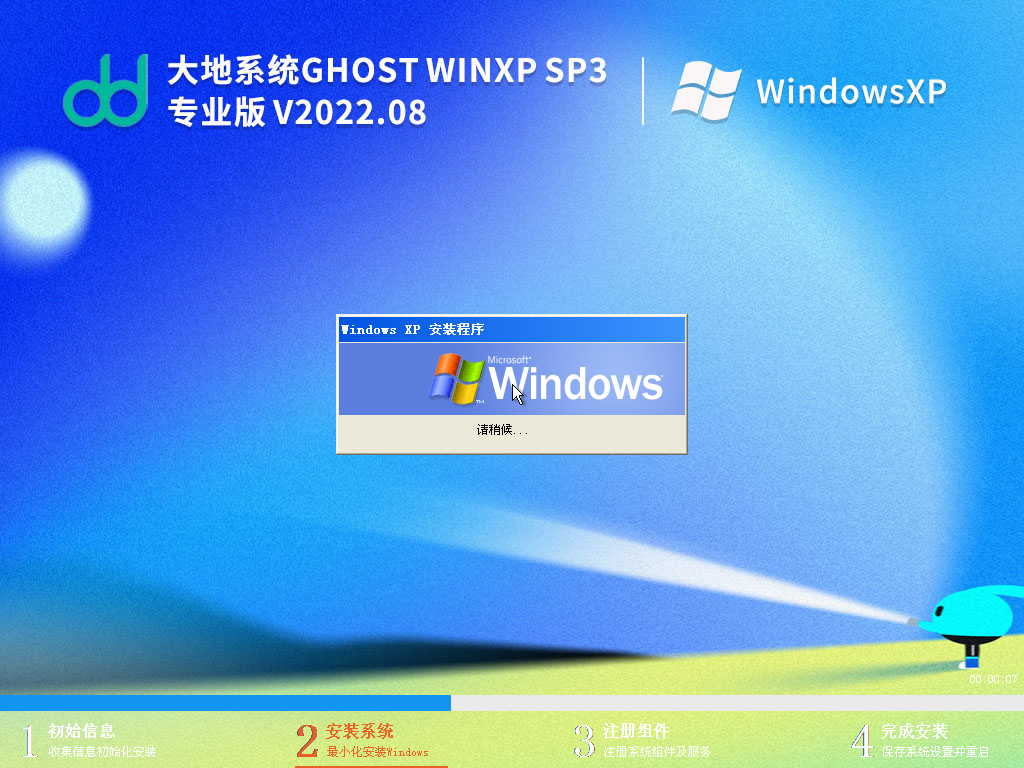
8. Install system programs and necessary driver components.
9. The installation is completed.
The above is the detailed content of XP system hard disk installation tutorial. For more information, please follow other related articles on the PHP Chinese website!

Hot AI Tools

Undresser.AI Undress
AI-powered app for creating realistic nude photos

AI Clothes Remover
Online AI tool for removing clothes from photos.

Undress AI Tool
Undress images for free

Clothoff.io
AI clothes remover

Video Face Swap
Swap faces in any video effortlessly with our completely free AI face swap tool!

Hot Article
Hot Tools

Notepad++7.3.1
Easy-to-use and free code editor

SublimeText3 Chinese version
Chinese version, very easy to use

Zend Studio 13.0.1
Powerful PHP integrated development environment

Dreamweaver CS6
Visual web development tools

SublimeText3 Mac version
God-level code editing software (SublimeText3)
Hot Topics
 1387
1387
 52
52

 When I turn on the computer, it always stops at the motherboard logo screen. Nothing happens when I press anything, and I can't enter the bios?
Apr 23, 2024 am 09:13 AM
When I turn on the computer, it always stops at the motherboard logo screen. Nothing happens when I press anything, and I can't enter the bios?
Apr 23, 2024 am 09:13 AM
When I turn on the computer, it always stops at the motherboard logo screen. Nothing happens when I press anything, and I can't enter the bios? This is usually because the BIOS battery voltage is too low, and the system time has returned to the BIOS preset time, such as 2000.1.1, 00:00. You can use it after pressing F1 to enter the bios and set the time. Do not turn off the AC power after shutting down at night. Generally, the system time will not be lost when you turn on the computer the next day, and you can still enter the system normally. If the AC power is cut off, the battery voltage cannot sustain the power consumption of the bios, and the computer will be in the same state again the next day when it is turned on. Replacing the bios battery is the ultimate solution. Win11 is stuck on the motherboard logo interface when booting? 1. It is a problem with bios settings. We only need to find the corresponding setting items.
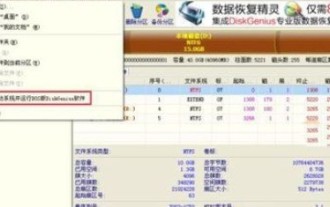 Specific steps for expanding the C drive using the partition tool diskgenius
May 08, 2024 pm 08:04 PM
Specific steps for expanding the C drive using the partition tool diskgenius
May 08, 2024 pm 08:04 PM
First, download and install the [DiskGenius] tool on your computer, then open the tool, then click [File Menu] at the top, and then click [Restart the system and run the DiskGenius software], as shown in the figure. Then click [OK] in the pop-up prompt box, as shown in the figure. After that, the computer will restart and then enter the Diskgen hard disk partition interface. At this time, if we want to expand the C drive, we only need to right-click the D drive next to the logical partition and click "Adjust Partition Size" in the pop-up menu, as shown in the figure shown. Then you need to adjust the size of the D drive partition. For example, the current capacity of the D drive is 14.99GB, as shown in the figure below. At this time, we can adjust the installment of the D drive. For example, if we want to allocate 1.03GB to the C drive, we only need to allocate 1.03GB to the C drive.
 How to install Windows system on tablet computer
May 03, 2024 pm 01:04 PM
How to install Windows system on tablet computer
May 03, 2024 pm 01:04 PM
How to flash the Windows system on BBK tablet? The first way is to install the system on the hard disk. As long as the computer system does not crash, you can enter the system and download things, you can use the computer hard drive to install the system. The method is as follows: Depending on your computer configuration, you can install the WIN7 operating system. We choose to download Xiaobai's one-click reinstallation system in vivopad to install it. First, select the system version suitable for your computer, and click "Install this system" to next step. Then we wait patiently for the installation resources to be downloaded, and then wait for the environment to be deployed and restarted. The steps to install win11 on vivopad are: first use the software to check whether win11 can be installed. After passing the system detection, enter the system settings. Select the Update & Security option there. Click
 How to skip the network installation system in win11 24h2? The latest version of win11 24h2 skips the online installation tutorial
May 03, 2024 pm 09:13 PM
How to skip the network installation system in win11 24h2? The latest version of win11 24h2 skips the online installation tutorial
May 03, 2024 pm 09:13 PM
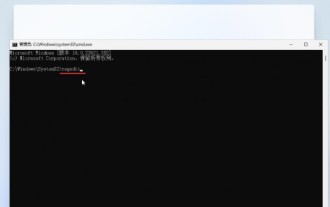
The 24h2 version is the latest operating system released by Microsoft. I believe many users have seen some download packages on the Internet. So how can win1124h2 skip the Internet installation system? Let this site carefully introduce the latest version of win1124h2 to users. Skip the Internet installation tutorial. The latest version of win1124h2 skips the online installation tutorial. Method 1: Skip by modifying the registry. 1. Press the Shift+F10 keys to bring up the cmd command prompt window and enter the following command: regedit and press Enter to quickly open the registry editor. If users feel that the 24h2 version is not used to the operation, they can click on the 23h2 version below to reinstall it. Win1123H22263
 Tutorial on assembling a computer and installing a system? How to install win11 system when assembling a computer?
Apr 27, 2024 pm 03:38 PM
Tutorial on assembling a computer and installing a system? How to install win11 system when assembling a computer?
Apr 27, 2024 pm 03:38 PM
Tutorial on assembling a computer and installing a system? Nowadays, the system installation for assembling computers is very simple and convenient, and only requires a CD. First enter the bios settings, set the computer to boot first with the CD-ROM drive, then restart the computer and load the system CD into the CD-ROM drive. The CD will automatically enter the installation state. At this time, you only need to manually repartition the partitions, and the rest will be completed automatically. How to install win11 system when assembling a computer? 1. First, we need to download a win11 image file from this site before installing it. 2. The win11 image file has undergone a large number of professional tests to ensure stable installation and smooth operation. 3. After the download is completed, load the folder in the download path and run the "windowssetup" process in it.
 How to check the graphics card of your laptop
May 07, 2024 pm 03:40 PM
How to check the graphics card of your laptop
May 07, 2024 pm 03:40 PM
Where to find the laptop graphics card? The laptop graphics card can be viewed in my "My Computer". After opening My Computer, click Properties and select Display. Click Advanced Options on the display page to see the graphics card information. Enter "dxdiag" in run. If a DirectX Diagnostic Tool dialog box pops up, prompting us if we want to check, click OK. Check the computer configuration information through the DirectX diagnostic tool interface that pops up: a. The red box in the picture below shows the cpu and memory information. Question 2: How to quickly check whether the laptop graphics card is a discrete graphics card? The easiest way: right-click "My Computer" and select "Manage", then select "Device Manager" and open the "Display Card" branch on the right. Here you can
 5000 computer assembly host configuration? The best assembly for a 5,000 yuan budget computer?
Apr 24, 2024 am 08:22 AM
5000 computer assembly host configuration? The best assembly for a 5,000 yuan budget computer?
Apr 24, 2024 am 08:22 AM
5000 computer assembly host configuration? A budget of 5,000 yuan. According to the current computer market, the configuration of an assembled computer with a budget of 5,000 yuan is already quite good. It can basically meet the needs of games and graphics. I think the following configurations are not disappointing: CPU: Ryzen R7- 3700X eight-core 16-thread radiator: Tianji Fengbingmo 120 all-in-one water-cooled RGB motherboard: MSI B550MPRO-VDHWIFI (4 memory slots) memory module: Kingston 16G\DDR4\2666 Solid state drive: Samsung 970EVOplus-500GM.2-nvme2280 graphics card: MSI GTX16504GD5VENTUSXSOC Ventus Power Supply: Antec BP500 rated 50
 What is the appropriate temperature for playing Apex computer?
May 06, 2024 am 09:31 AM
What is the appropriate temperature for playing Apex computer?
May 06, 2024 am 09:31 AM
What is the appropriate temperature for playing Apex computer? 80 degrees is suitable. When running large-scale games or playing high-definition videos, the temperature can reach about 80°C. Generally, it is considered normal to not exceed 90°C under high load. Graphics cards are generally the hardware that generates the most heat among computer hardware. Generally, it is normal for the temperature of a graphics card to be around 30℃-80℃. Due to external temperature, it is normal for most graphics card temperatures to be between 50℃-85℃ in summer. range, if you are running large-scale 3D games or playing high-definition videos for a long time, the highest temperature may reach about 95°C. This temperature range will affect the life of the computer hardware. No matter how high the temperature is, you must consider strengthening heat dissipation and cleaning dust. How to play with the apex handle and the computer ? Method/step-by-step reading: 1. Use wired or wireless
