

Master Linux recording commands to protect your work

In daily work and study, we often need to use recording commands to record terminal operations or demonstrate some technical operations. As a Linux user, these recording commands are also essential. In this article, we will introduce several commonly used Linux recording commands so that you can operate more efficiently and conveniently.
Required in advance
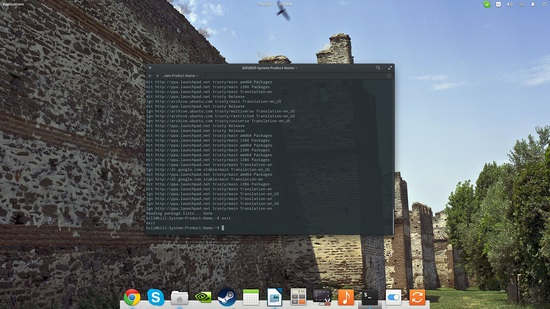
If you just want to record your terminal session and play it back in the terminal or share it with others, then you only need a software called: ttyrec. Ubuntu users can install it by running this line of code:
sudo apt-get install ttyrec
If you want to convert the generated video into a gif file so that it can be shared with people who don't use a terminal and can be published to the website, or you just want to make a gif for ease of use without writing commands. Then you need to install two additional packages. The first one is imagemagick, you can install it with the following command:
sudo apt-get install imagemagick
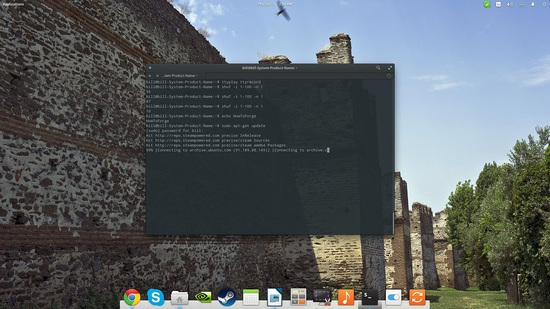
The second software package is: tty2gif.py, visit its project website to download. This package requires the following dependencies to be installed:
sudo apt-get install python-opster
Content recording
To start recording terminal operations, all you need is to type ttyprec and press Enter. This command will run a real-time logging tool in the background. We can stop by typing exit or ctrl d. ttyrec will create a ttyrecord file in the home directory by default.

Playback
Playing back this file is very simple. You just need to open a terminal and use the ttyplay command to open the ttyrecord file. (In this example, we use ttyrecord as the file name, of course, you can also change it to your own file name)
Then you can start playing the file. This video records all operations, including your deletions and modifications. This looks like a self-aware terminal, but the process of executing this command is not just for the system to see, but for better display to people.
Note that the playback of this record is completely controllable. You can click or - to speed up and slow down, or 0 and 1 to pause and resume playback.
Export to GIF
For convenience, we usually convert video records to gif format, and this is very easy to do. Here’s how:
Copy the previously downloaded tty2gif.py file to the same directory as the ttyprecord file (or the video file you named), then open a terminal in this directory and enter the command:
python tty2gif.py typing ttyrecord
If an error occurs, check whether you have installed the python-opster package. If there are still errors, use the following command to eliminate them.
sudo apt-get install xdotool
export WINDOWID=$(xdotool getwindowfocus)
Then repeat this command python tty2gif.py and you will see some more gif files in the ttyrecord directory.
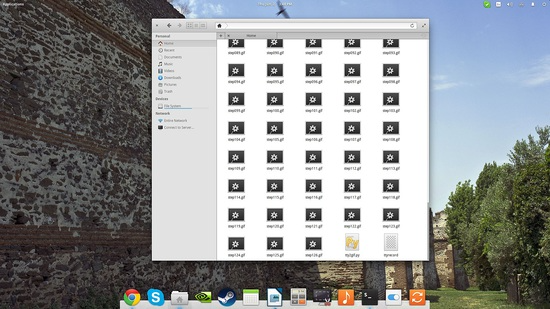
The next step is to integrate all the gif files and package them into one gif file. We do this by using the imagemagick tool. Enter the following command:
convert -delay 25 -loop 0 *.gif example.gif
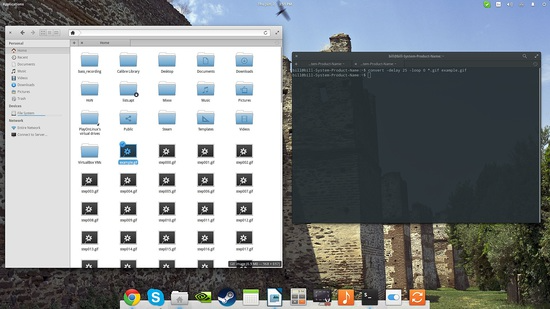
You can use any file name, I used example.gif. And, you can change this delay and loop time. Enjoy.
In short, the Linux recording command is a very practical tool for us. Through the several commands introduced in this article, I believe you can already master how to use recording commands to record your operations, making your work more efficient and convenient. Whether you're at school or at work, take advantage of these commands to increase your productivity and performance levels.
The above is the detailed content of Master Linux recording commands to protect your work. For more information, please follow other related articles on the PHP Chinese website!

Hot AI Tools

Undresser.AI Undress
AI-powered app for creating realistic nude photos

AI Clothes Remover
Online AI tool for removing clothes from photos.

Undress AI Tool
Undress images for free

Clothoff.io
AI clothes remover

AI Hentai Generator
Generate AI Hentai for free.

Hot Article
Hot Tools

Notepad++7.3.1
Easy-to-use and free code editor

SublimeText3 Chinese version
Chinese version, very easy to use

Zend Studio 13.0.1
Powerful PHP integrated development environment

Dreamweaver CS6
Visual web development tools

SublimeText3 Mac version
God-level code editing software (SublimeText3)
Hot Topics
 1378
1378
 52
52

 How to start apache
Apr 13, 2025 pm 01:06 PM
How to start apache
Apr 13, 2025 pm 01:06 PM
The steps to start Apache are as follows: Install Apache (command: sudo apt-get install apache2 or download it from the official website) Start Apache (Linux: sudo systemctl start apache2; Windows: Right-click the "Apache2.4" service and select "Start") Check whether it has been started (Linux: sudo systemctl status apache2; Windows: Check the status of the "Apache2.4" service in the service manager) Enable boot automatically (optional, Linux: sudo systemctl
 What to do if the apache80 port is occupied
Apr 13, 2025 pm 01:24 PM
What to do if the apache80 port is occupied
Apr 13, 2025 pm 01:24 PM
When the Apache 80 port is occupied, the solution is as follows: find out the process that occupies the port and close it. Check the firewall settings to make sure Apache is not blocked. If the above method does not work, please reconfigure Apache to use a different port. Restart the Apache service.
 How to monitor Nginx SSL performance on Debian
Apr 12, 2025 pm 10:18 PM
How to monitor Nginx SSL performance on Debian
Apr 12, 2025 pm 10:18 PM
This article describes how to effectively monitor the SSL performance of Nginx servers on Debian systems. We will use NginxExporter to export Nginx status data to Prometheus and then visually display it through Grafana. Step 1: Configuring Nginx First, we need to enable the stub_status module in the Nginx configuration file to obtain the status information of Nginx. Add the following snippet in your Nginx configuration file (usually located in /etc/nginx/nginx.conf or its include file): location/nginx_status{stub_status
 How to set up a recycling bin in Debian system
Apr 12, 2025 pm 10:51 PM
How to set up a recycling bin in Debian system
Apr 12, 2025 pm 10:51 PM
This article introduces two methods of configuring a recycling bin in a Debian system: a graphical interface and a command line. Method 1: Use the Nautilus graphical interface to open the file manager: Find and start the Nautilus file manager (usually called "File") in the desktop or application menu. Find the Recycle Bin: Look for the Recycle Bin folder in the left navigation bar. If it is not found, try clicking "Other Location" or "Computer" to search. Configure Recycle Bin properties: Right-click "Recycle Bin" and select "Properties". In the Properties window, you can adjust the following settings: Maximum Size: Limit the disk space available in the Recycle Bin. Retention time: Set the preservation before the file is automatically deleted in the recycling bin
 How to optimize the performance of debian readdir
Apr 13, 2025 am 08:48 AM
How to optimize the performance of debian readdir
Apr 13, 2025 am 08:48 AM
In Debian systems, readdir system calls are used to read directory contents. If its performance is not good, try the following optimization strategy: Simplify the number of directory files: Split large directories into multiple small directories as much as possible, reducing the number of items processed per readdir call. Enable directory content caching: build a cache mechanism, update the cache regularly or when directory content changes, and reduce frequent calls to readdir. Memory caches (such as Memcached or Redis) or local caches (such as files or databases) can be considered. Adopt efficient data structure: If you implement directory traversal by yourself, select more efficient data structures (such as hash tables instead of linear search) to store and access directory information
 How to restart the apache server
Apr 13, 2025 pm 01:12 PM
How to restart the apache server
Apr 13, 2025 pm 01:12 PM
To restart the Apache server, follow these steps: Linux/macOS: Run sudo systemctl restart apache2. Windows: Run net stop Apache2.4 and then net start Apache2.4. Run netstat -a | findstr 80 to check the server status.
 How debian readdir integrates with other tools
Apr 13, 2025 am 09:42 AM
How debian readdir integrates with other tools
Apr 13, 2025 am 09:42 AM
The readdir function in the Debian system is a system call used to read directory contents and is often used in C programming. This article will explain how to integrate readdir with other tools to enhance its functionality. Method 1: Combining C language program and pipeline First, write a C program to call the readdir function and output the result: #include#include#include#includeintmain(intargc,char*argv[]){DIR*dir;structdirent*entry;if(argc!=2){
 How to solve the problem that apache cannot be started
Apr 13, 2025 pm 01:21 PM
How to solve the problem that apache cannot be started
Apr 13, 2025 pm 01:21 PM
Apache cannot start because the following reasons may be: Configuration file syntax error. Conflict with other application ports. Permissions issue. Out of memory. Process deadlock. Daemon failure. SELinux permissions issues. Firewall problem. Software conflict.
