
php editor Xigua introduces you to two methods of setting password protection for PDF. In the digital information age, protecting personal privacy and file security is crucial. By setting a password, you can effectively prevent unauthorized access and use and ensure that file contents are not leaked. This article will introduce in detail two simple and easy methods so that you can easily master PDF file protection techniques.
In order to protect the file content, you can set an opening password. The PDF file can only be opened after entering the correct password.
The password setting function of the PDF editor is located under the [Protect] option in the menu. Through the [Password Encryption] function, you can set an "open password" to ensure file security.

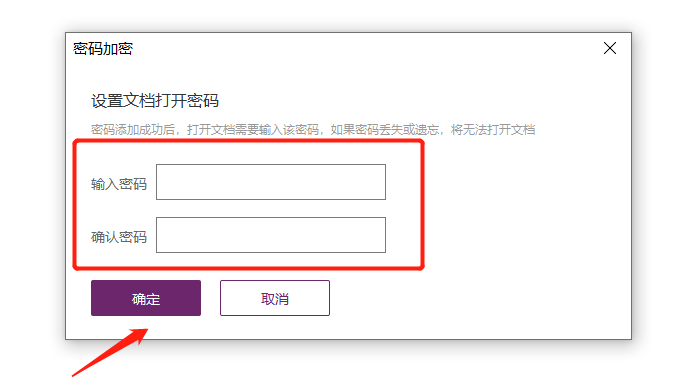
After the password dialog box pops up, enter the password you want to set twice in the blank box. After clicking [OK], the "open password" of the PDF file will be set.
If you don’t have a PDF editor, we can also try the tools mentioned at the end of the article.
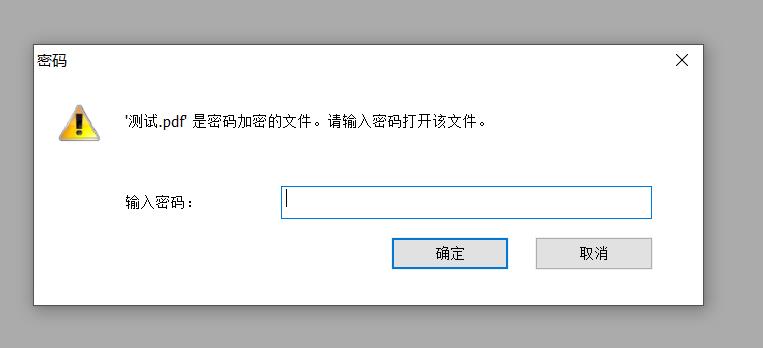
After setting up, you can see that as long as you open a PDF file, a dialog box prompting [Please enter the password to open the file] will appear.
If we need to protect the file content from being edited and modified at will, we can set an "editing password" for the PDF. In addition to being unable to edit at will, it can also prohibit copying, printing, etc.
Also open the PDF file through the PDF editor, and then find [Restrict Editing] under the [Protect] option in the menu;

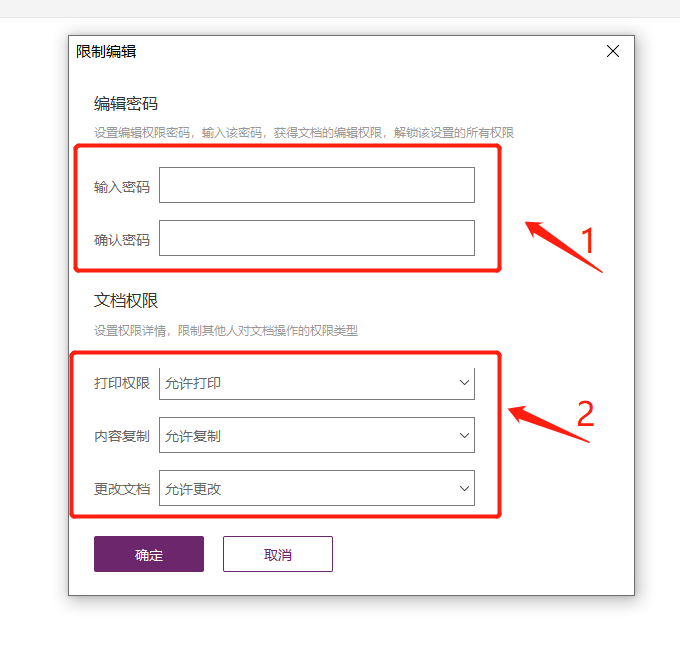
After the dialog box pops up, enter the password you want to set twice in [Edit Password], and check the options that need to be restricted in [Document Permissions], such as whether to prohibit printing, copying, or changing content. Click [OK] again, and the "restriction password" of the PDF will be set.
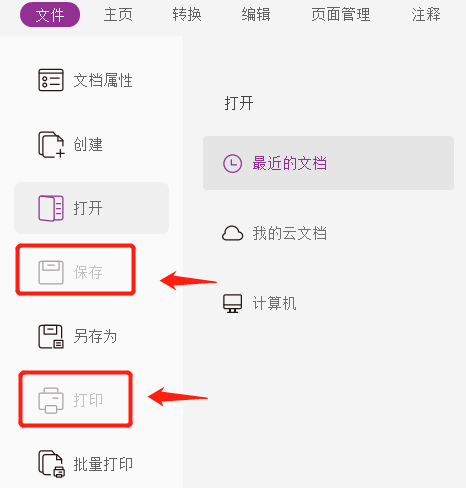
After setting up, you can see that the relevant options are gray and cannot be clicked.

Unable to save and print the file.
If file protection is no longer needed in the future, we can also cancel the "open password" and "restrict password" at the same time.
Also in PDF editing, click [Delete Security Settings] under the [Protect] option in the menu.

After the dialog box pops up, enter the originally set "restriction password" to cancel the "open password" and "restriction password" at the same time.
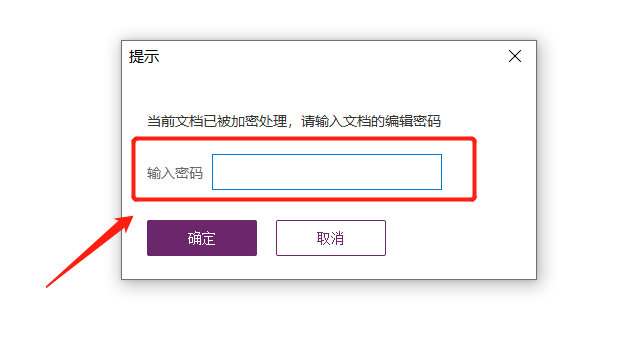
The above means that the file no longer needs to be protected. If you don’t want to do the "enter password" step every time, you can use the above method to remove the password.
If you forget your password, you cannot directly remove it. There is no option to retrieve the password in the PDF editor.
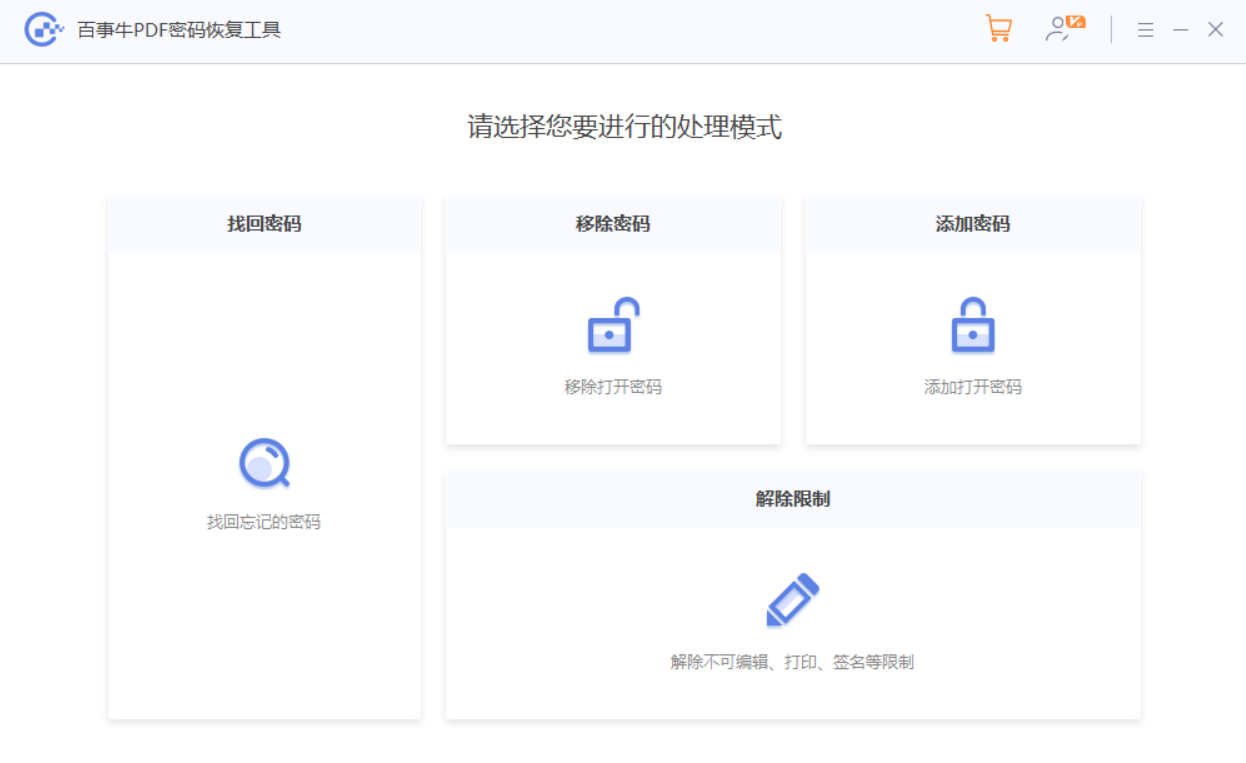
In this case, we might as well try other tools, taking Pepsi Niu PDF Password Recovery Tool as an example, you can set an "open password" for PDF through the [Add Password] module; forget the "open password" Although it cannot be removed directly, you can retrieve the "open password" through the "Retrieve Password" module; if you forget the "restriction password", you can directly remove the password through the "Unrestriction" module.
You only need to select the corresponding module in the tool and follow the prompts.
Tool link: Pepsi Niu PDF Password Recovery Tool
The above is the detailed content of Two methods to set password protection for PDF. For more information, please follow other related articles on the PHP Chinese website!
 How to turn off win10 upgrade prompt
 The difference between lightweight application servers and cloud servers
 CMD close port command
 The difference between external screen and internal screen broken
 How to jump with parameters in vue.js
 Cell sum
 How to intercept harassing calls
 virtual digital currency


