

Manage users through user groups in Linux systems!

In Linux, this is completely achievable. But first you must understand how to manage users through user groups and access control lists (ACLs).
We'll start with simple users and work our way up to complex access control lists (ACLs). You can do everything you need to do in the Linux distribution of your choice. The focus of this article is user groups, so basic knowledge about users will not be covered.
For demonstration purposes, I will assume:
You need to create two new users with the following two usernames:
- olivia
- nathan
You need to create the following two user groups:
- readers
- editors
olivia belongs to the editors group and nathan belongs to the readers group. The reader user group only has read permissions on the /DATA directory, while the editors user group has both read and write permissions on the /DATA directory. Granted, this is a very small task, but it will give you the basic information and you can expand this task to fit your other, larger needs.
I will demonstrate on Ubuntu 16.04 Server platform. These commands are common, the only difference is that if you do not use the sudo command in your distribution, you must switch to the root user to execute these commands.
The first thing we need to do is create two users for our experiment. You can use the useradd command to create a user. We don't just simply create a user, but we also need to create the user and their home directory, and then set a password for them.
sudo useradd -m olivia
sudo useradd -m nathan
We have now created two users, and if you look in the /home directory, you can find their home directories (because we used the -m option to create their home directories at the same time as the user was created.
Afterwards, we can set passwords for them with the following command:
sudo passwd olivia
sudo passwd nathan
In this way, we created two users.
Now we will create the readers and editors user groups and then add users to them. The command to create a user group is:
addgroup readers
addgroup editors
(LCTT Translation: When you use some Linux distributions such as CentOS, the system may not have the addgroup command. It is recommended to use the groupadd command to replace the addgroup command to achieve the same effect)
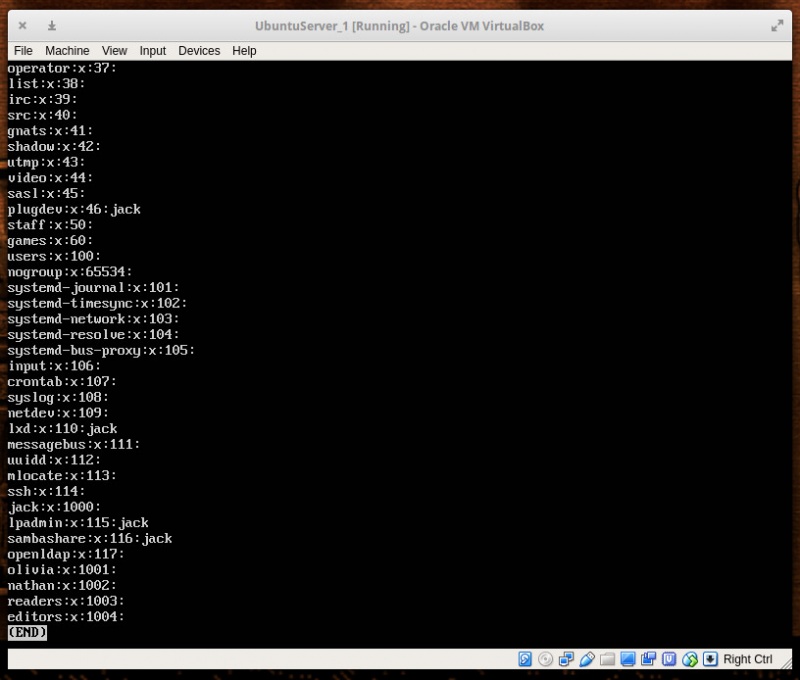
Figure 1: We can use the new user group we just created.
After creating the user group, we need to add our users to these two user groups. We use the following command to add user nathan to the readers user group:
sudo usermod -a -G readers nathan
Add olivia to the editors user group using the following command:
sudo usermod -a -G editors olivia
Now we can manage users through user groups.
Suppose you have a directory /READERS and allow all members of the readers group to access this directory. First, we execute the following command to change the user group to which the directory belongs:
sudo chown -R :readers /READERS
Next, execute the following command to revoke the write permissions of the user group to which the directory belongs:
sudo chmod -R g-w /READERS
Then we execute the following command to revoke other users’ access rights to this directory (to prevent any user who is not in the readers group from accessing files in this directory):
sudo chmod -R o-x /READERS
At this time, only the owner of the directory (root) and users in the user group reader can access the files in /READES.
Suppose you have a directory /EDITORS. You need to give members of the user group editors read and write permissions to this directory. In order to achieve this purpose, it is necessary to execute the following commands:
sudo chown -R :editors /EDITORS
sudo chmod -R g+w /EDITORS
sudo chmod -R o-x /EDITORS
At this time, all members of the editors user group can access and modify the files in it. Otherwise no other user (except root) can access any files in /EDITORS.
The problem with using this method is that you can only operate one group and one directory at a time. This is where access control lists (ACLs) come in handy.
现在,让我们把这个问题变得棘手一点。假设你有一个目录 /DATA 并且你想给 readers 用户组的成员读取权限,并同时给 editors 用户组的成员读和写的权限。为此,你必须要用到 setfacl 命令。setfacl 命令可以为文件或文件夹设置一个访问控制表(ACL)。
这个命令的结构如下:
setfacl OPTION X:NAME:Y /DIRECTORY
其中 OPTION 是可选选项,X 可以是 u(用户)或者是 g (用户组),NAME 是用户或者用户组的名字,/DIRECTORY 是要用到的目录。我们将使用 -m 选项进行修改。因此,我们给 readers 用户组添加读取权限的命令是:
sudo setfacl -m g:readers:rx -R /DATA
现在 readers 用户组里面的每一个用户都可以读取 /DATA 目录里的文件了,但是他们不能修改里面的内容。
为了给 editors 用户组里面的用户读写权限,我们执行了以下命令:
sudo setfacl -m g:editors:rwx -R /DATA
上述命令将赋予 editors 用户组中的任何成员读取权限,同时保留 readers 用户组的只读权限。
使用访问控制表(ACL),你可以实现你所需的权限控制。你可以添加用户到用户组,并且灵活地控制这些用户组对每个目录的权限以达到你的需求。如果想了解上述工具的更多信息,可以执行下列的命令:
- man usradd
- man addgroup
- man usermod
- man sefacl
- man chown
- man chmod
The above is the detailed content of Manage users through user groups in Linux systems!. For more information, please follow other related articles on the PHP Chinese website!

Hot AI Tools

Undresser.AI Undress
AI-powered app for creating realistic nude photos

AI Clothes Remover
Online AI tool for removing clothes from photos.

Undress AI Tool
Undress images for free

Clothoff.io
AI clothes remover

Video Face Swap
Swap faces in any video effortlessly with our completely free AI face swap tool!

Hot Article
Hot Tools

Notepad++7.3.1
Easy-to-use and free code editor

SublimeText3 Chinese version
Chinese version, very easy to use

Zend Studio 13.0.1
Powerful PHP integrated development environment

Dreamweaver CS6
Visual web development tools

SublimeText3 Mac version
God-level code editing software (SublimeText3)
Hot Topics
 1393
1393
 52
1207
24
52
1207
24

 What computer configuration is required for vscode
Apr 15, 2025 pm 09:48 PM
What computer configuration is required for vscode
Apr 15, 2025 pm 09:48 PM
VS Code system requirements: Operating system: Windows 10 and above, macOS 10.12 and above, Linux distribution processor: minimum 1.6 GHz, recommended 2.0 GHz and above memory: minimum 512 MB, recommended 4 GB and above storage space: minimum 250 MB, recommended 1 GB and above other requirements: stable network connection, Xorg/Wayland (Linux)
 vscode cannot install extension
Apr 15, 2025 pm 07:18 PM
vscode cannot install extension
Apr 15, 2025 pm 07:18 PM
The reasons for the installation of VS Code extensions may be: network instability, insufficient permissions, system compatibility issues, VS Code version is too old, antivirus software or firewall interference. By checking network connections, permissions, log files, updating VS Code, disabling security software, and restarting VS Code or computers, you can gradually troubleshoot and resolve issues.
 How to run java code in notepad
Apr 16, 2025 pm 07:39 PM
How to run java code in notepad
Apr 16, 2025 pm 07:39 PM
Although Notepad cannot run Java code directly, it can be achieved by using other tools: using the command line compiler (javac) to generate a bytecode file (filename.class). Use the Java interpreter (java) to interpret bytecode, execute the code, and output the result.
 Can vscode be used for mac
Apr 15, 2025 pm 07:36 PM
Can vscode be used for mac
Apr 15, 2025 pm 07:36 PM
VS Code is available on Mac. It has powerful extensions, Git integration, terminal and debugger, and also offers a wealth of setup options. However, for particularly large projects or highly professional development, VS Code may have performance or functional limitations.
 What is vscode What is vscode for?
Apr 15, 2025 pm 06:45 PM
What is vscode What is vscode for?
Apr 15, 2025 pm 06:45 PM
VS Code is the full name Visual Studio Code, which is a free and open source cross-platform code editor and development environment developed by Microsoft. It supports a wide range of programming languages and provides syntax highlighting, code automatic completion, code snippets and smart prompts to improve development efficiency. Through a rich extension ecosystem, users can add extensions to specific needs and languages, such as debuggers, code formatting tools, and Git integrations. VS Code also includes an intuitive debugger that helps quickly find and resolve bugs in your code.
 How to use VSCode
Apr 15, 2025 pm 11:21 PM
How to use VSCode
Apr 15, 2025 pm 11:21 PM
Visual Studio Code (VSCode) is a cross-platform, open source and free code editor developed by Microsoft. It is known for its lightweight, scalability and support for a wide range of programming languages. To install VSCode, please visit the official website to download and run the installer. When using VSCode, you can create new projects, edit code, debug code, navigate projects, expand VSCode, and manage settings. VSCode is available for Windows, macOS, and Linux, supports multiple programming languages and provides various extensions through Marketplace. Its advantages include lightweight, scalability, extensive language support, rich features and version
 What is the main purpose of Linux?
Apr 16, 2025 am 12:19 AM
What is the main purpose of Linux?
Apr 16, 2025 am 12:19 AM
The main uses of Linux include: 1. Server operating system, 2. Embedded system, 3. Desktop operating system, 4. Development and testing environment. Linux excels in these areas, providing stability, security and efficient development tools.
 How to check the warehouse address of git
Apr 17, 2025 pm 01:54 PM
How to check the warehouse address of git
Apr 17, 2025 pm 01:54 PM
To view the Git repository address, perform the following steps: 1. Open the command line and navigate to the repository directory; 2. Run the "git remote -v" command; 3. View the repository name in the output and its corresponding address.
