
php editor Banana will share with you how to draw a rectangular grid in Adobe Illustrator CS6. In the design process, rectangular grid is one of the commonly used graphic elements. Mastering drawing skills can add more visual effects to the work. With simple steps and operations, you can easily draw beautiful rectangular grids, adding more creativity and beauty to your design works. Next, let’s learn about the detailed drawing method!
Open the Adobe Illustrator CS6 software on the desktop
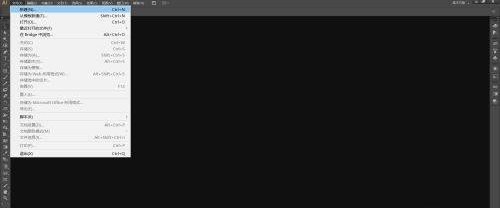
Find it in the menu bar and click [File], [New]
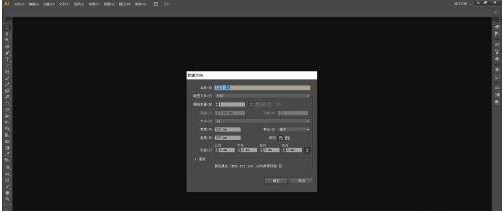
Set the parameters in the pop-up window and click [OK] to create a new document.
Find and long press the [Line Segment Tool] in the left toolbar to open the drop-down list
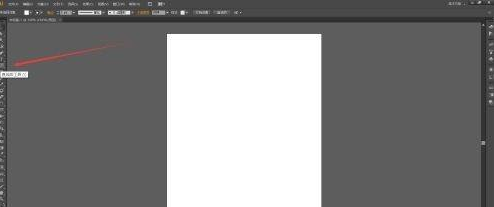
Select [Rectangular Grid Tool] from the drop-down list
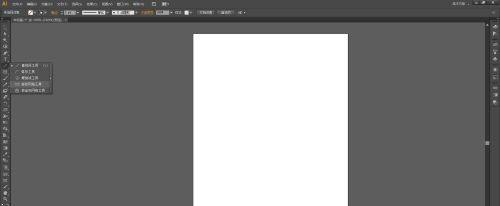
Use the [Rectangular Grid Tool] to click and drag on the canvas, then release, and the rectangular grid will be drawn.
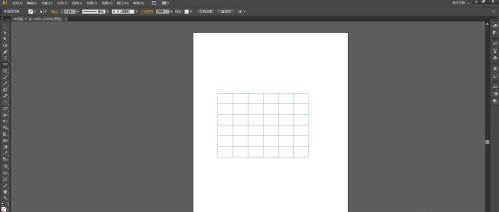
After setting the parameters, click [OK], and the rectangular grid will be drawn.
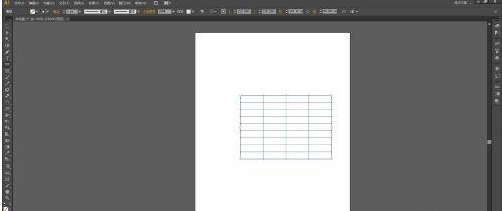
The above is the detailed content of How to draw a rectangular grid in Adobe Illustrator CS6 - How to draw a rectangular grid in Adobe Illustrator CS6. For more information, please follow other related articles on the PHP Chinese website!
 How to learn go language from 0 basics
 What currency is BTC?
 Characteristics of relational databases
 What is machine language
 c/s architecture and b/s architecture
 Reasons why ping fails
 What is a servo motor
 The difference between win10 home version and professional version
 How do mysql and redis ensure double-write consistency?


