 Software Tutorial
 Computer Software
 How to create grass in the Chinese version of Adobe PhotoShop CS6 - How to create grass in the Chinese version of Adobe PhotoShop CS6
How to create grass in the Chinese version of Adobe PhotoShop CS6 - How to create grass in the Chinese version of Adobe PhotoShop CS6
php editor Xinyi introduces to you how to create grass in the Chinese version of Adobe PhotoShop CS6. Grass is one of the common elements in design, and creating a realistic grass effect can add vividness to the work. This tutorial will show you how to use the tools and techniques of the Chinese version of PhotoShop CS6 to create detailed and realistic grass textures, making your design works more vivid and interesting.
Create a new document, set the foreground color to white and the background color to black, and go to Filter - Render - Clouds.

Fill grass green.
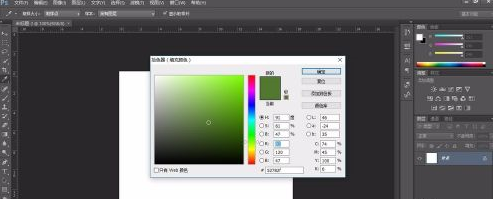
Select "Filter - Noise - Add Noise", set the amount to 30%, Gaussian distribution, and check Monochrome.
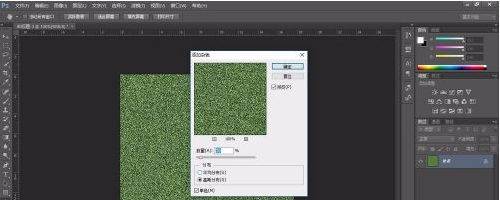
Execute "Filter - Blur - Gaussian Blur".

Select "Filter - Stylize - Wind" and set the method as shown in the figure below.
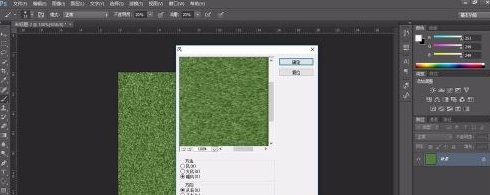
Turn the grass layer into a Smart Object again and rotate it 90 degrees. Execute "Filter - Stylize - Wind" again, set the method to "Hurricane", and the direction is from the left. Then rotate the smart object again, rotating -90 degrees.
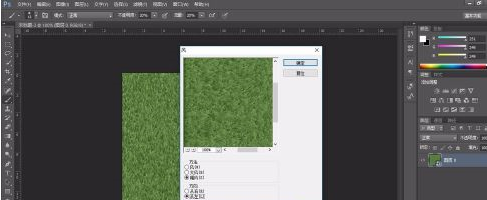
Adjust the contrast of the grass by adjusting the levels.
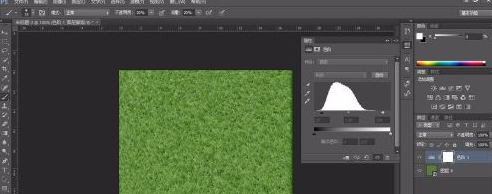
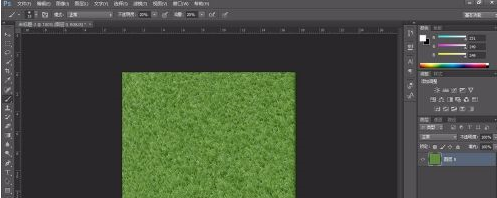
Merge visible layers.
The above is the detailed content of How to create grass in the Chinese version of Adobe PhotoShop CS6 - How to create grass in the Chinese version of Adobe PhotoShop CS6. For more information, please follow other related articles on the PHP Chinese website!

Hot AI Tools

Undresser.AI Undress
AI-powered app for creating realistic nude photos

AI Clothes Remover
Online AI tool for removing clothes from photos.

Undress AI Tool
Undress images for free

Clothoff.io
AI clothes remover

AI Hentai Generator
Generate AI Hentai for free.

Hot Article

Hot Tools

Notepad++7.3.1
Easy-to-use and free code editor

SublimeText3 Chinese version
Chinese version, very easy to use

Zend Studio 13.0.1
Powerful PHP integrated development environment

Dreamweaver CS6
Visual web development tools

SublimeText3 Mac version
God-level code editing software (SublimeText3)

Hot Topics
 How to disable automatic updates in Adobe Acrobat Reader
Mar 14, 2024 pm 08:58 PM
AdobeAcrobatReader is a powerful tool for viewing and editing PDF files. The software is available in both free and paid versions. If you need to use Adobe Acrobat Reader to edit PDF files, you need to purchase its paid plan. To keep Adobe Acrobat Reader up to date with the latest enhancements and security fixes, the software enables automatic updates by default. However, you can choose to disable automatic updates if you wish. This article will show you how to disable automatic updates in Adobe Acrobat Reader. How to disable automatic updates in Adobe Acrobat Reader us
 How to center the WPS Word table
Mar 21, 2024 pm 02:21 PM
When using word in WPS, you often need to insert pictures, tables, etc., but if the inserted table is not centered, it will affect the beauty of the entire document. So how to set the centering of the WPS table? Today I will teach you how to make adjustments. The specific steps are as follows. Come and take a look! 1. The table in the picture is not in the middle of the page, which is not very beautiful. I want it to be centered. 2. First, right-click the mouse in the table (as shown in the picture). 3. Then click [Select All Tables] in the right-click menu (as shown by the red arrow in the figure). 4. After clicking, the table will be fully selected (as shown in the figure below). 5. At this time, click to open the [Start] tab of wps text (as shown by the red arrow in the figure). 6 o'clock
 How to insert pictures in Adobe Acrobat Pro9-How to insert pictures in Adobe Acrobat Pro9
Mar 04, 2024 pm 11:50 PM
Are you also using Adobe Acrobat Pro 9 software in your office? But do you know how to insert pictures in Adobe Acrobat Pro 9? Below, the editor will bring you the method of inserting pictures in Adobe Acrobat Pro 9. If you are interested, take a look below. Open the Sample.pdf document in Adobe Acrobat Pro9, click "Tools" - "Content" - select "Edit Object" on the right side of the document, and the mouse cursor changes to a solid arrow + a small box in the lower right corner. Right-click in an empty space of the document and select Insert Image. A dialog box will pop up, then select the ElenaGilbert.JPEG image file in the dialog box (please confirm
 How to split cells in Microsoft Excel-How to split cells in Microsoft Excel
Mar 05, 2024 pm 09:31 PM
Do you know how to split cells in Microsoft Excel? Below, the editor will bring you the method of splitting cells in Microsoft Excel. I hope it will be helpful to you. Let’s learn with the editor! 1. First open the merged cells Excel table, as shown below. 2. Select the merged cells and click the "Merge Center" button with the downward arrow at the top, as shown in the figure below. 3. Then select "Unmerge Cells", as shown in the figure below. 4. Now you can find that the cells have been split, as shown in the figure below. The above is the entire content of how to split cells in Microsoft Excel brought to you by the editor. I hope it can be helpful to you.
 How to set the keyboard increment in Adobe Illustrator CS6 - How to set the keyboard increment in Adobe Illustrator CS6
Mar 04, 2024 pm 06:04 PM
Many users are using the Adobe Illustrator CS6 software in their offices, so do you know how to set the keyboard increment in Adobe Illustrator CS6? Then, the editor will bring you the method of setting the keyboard increment in Adobe Illustrator CS6. Interested users can take a look below. Step 1: Start Adobe Illustrator CS6 software, as shown in the figure below. Step 2: In the menu bar, click the [Edit] → [Preferences] → [General] command in sequence. Step 3: The [Keyboard Increment] dialog box pops up, enter the required number in the [Keyboard Increment] text box, and finally click the [OK] button. Step 4: Use the shortcut key [Ctrl]
 Adobe is shutting down two Android Photoshop apps, recommending users to use Photoshop Express
May 05, 2024 pm 12:43 PM
According to news on May 5, Adobe recently issued a notice to users indicating that it will officially close the Photoshop Mix and Photoshop Fix applications on the Android platform on June 4, 2024. In recent years, Adobe has shifted its Photoshop product strategy on mobile platforms, from launching independent tools for specific usage scenarios, such as PhotoshopMix and PhotoshopFix, to providing comprehensive Photoshop functions in the form of suites on Android, iOS, and the web. PhotoshopMix once made it possible for users to easily combine two or more pictures, while PhotoshopFix provides
 How to use Macromedia Flash 8 line tool - How to use Macromedia Flash 8 line tool
Mar 04, 2024 pm 05:40 PM
The article brought to you in this chapter is about the Macromedia Flash 8 software. Do you know how to use the Macromedia Flash 8 line tool? The following is the method of using the Macromedia Flash 8 line tool brought to you by the editor. Users who are interested in this, please come and take a look below. Bar. Click the flash workstage, then click the "Properties" key drop-down box to open the property control panel. Find the color selection box in the property control panel, click it to select the background color, enter "#99FF66" in the pop-up color selection box, and then type Press "ENTER" on the keyboard to apply color to find the tool selection bar, select the "Line" tool and find the color selection in the property control panel
 How to delete recently opened files in Adobe Reader XI - How to delete recently opened files in Adobe Reader XI
Mar 04, 2024 am 11:13 AM
Recently, many friends have asked me how to delete recently opened files in Adobe Reader XI. Next, let us learn how to delete recently opened files in Adobe Reader XI. I hope it can help everyone. Step 1: First, use the "win+R" shortcut key to open the run, enter "regedit", and press Enter to open it, as shown in the picture. Step 2: After entering the new interface, click "HKEY_CURRENT_USERSoftwareAdobeAcrobatReader11.0AVGeneralcRecentFiles" on the left, select "c1", right-click and select the "Delete" option, as shown in the figure. Step 3: Then pop up


