
php editor Banana brings you a tutorial on how to use a card reader to install the system. The card reader is a convenient tool for installing the system. The card reader can write the system image to the USB flash drive and then install the system. In this tutorial, we will introduce in detail how to operate the card reader correctly, write the system image to the USB flash drive, and boot the installation system through the USB flash drive. Following our steps, you will easily master the skills of using a card reader to install the system, making your computer upgrade easier and faster!
A computer that cannot be turned on at all needs a USB flash drive of 8g or above.
Students who have an SD card can take out their own SD card and add a card reader It can also be used as a USB flash drive, which is 8g or above.
However, after the USB flash drive is ready, it will not work. You must be prepared to clear all the things in the USB flash drive in a while.
Then we open it on a computer that can be booted
Select the system version that needs to be installed, you can choose the latest one or you can choose the previous version according to your own number
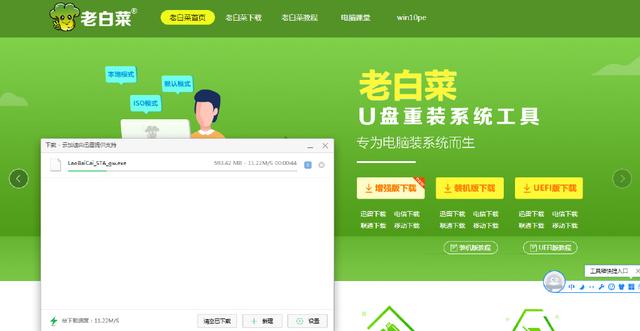
Next, we need Open Baidu search and search for "U disk boot disk creation tool". Make sure to download the correct tool, as some PE installation tools may pre-install a lot of software on the new system. Once the download is complete, open the USB flash drive creation tool and wait patiently for a few moments.

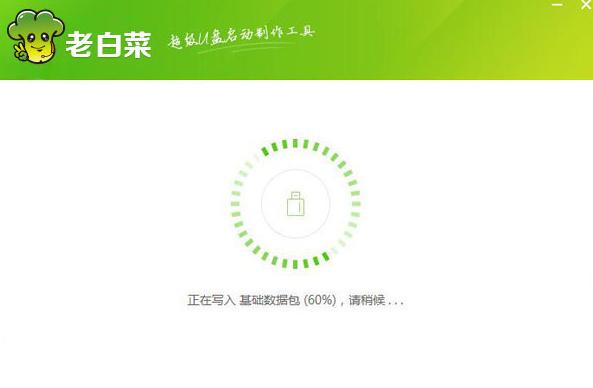
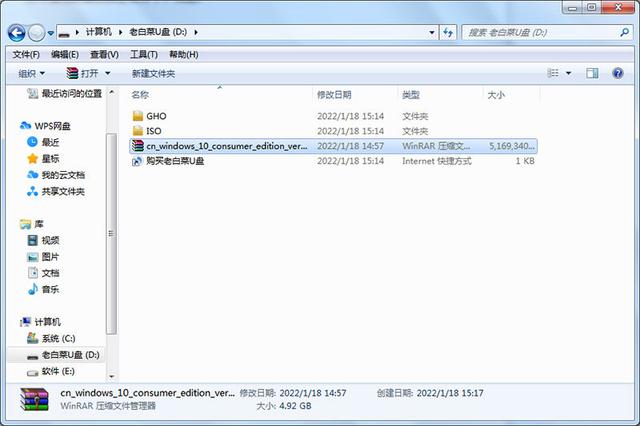
It is okay to place personal files in ordinary file storage areas. Now, we need to copy the system files we just downloaded to any USB flash drive. These are all our preparation steps.


The installation of the system has been completed. Next, you need to start the computer. Usually press the F12 key to enter the boot menu, select the USB flash drive to boot, find and click to confirm your USB flash drive.


You can press it all over again when turning on the computer. Please note that some keyboards require you to press fn before you can perform f 1-f12. The operation
Just try it yourself. If you open not the boot menu but the bios interface of the motherboard, you can choose the boot sequence of the hard disk according to my steps

Follow the tips below Just adjust the sequence of the USB disk to the first one and then restart. After completing the above steps, we can successfully enter the pe interface.

At this time, you have entered the pe interface. This is a very big step. After entering the pe interface, you can find the hard disk tool on the desktop. You can format or partition your own hard drive according to your needs. After partitioning or formatting your own hard drive, we can return to the desktop. Select the installation tool on the desktop, click on your own
, and then select your boot disk. This is usually the software that decides it. You don’t need to modify it, and then choose what you want. Select the system version under the system location of the installation system, select the required version, click Install and OK


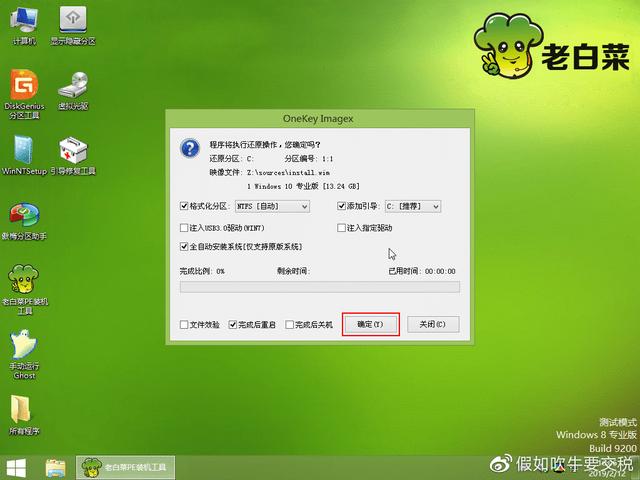
After waiting for the installation to be completed, shut down the computer and handle the USB flash drive so that students who have adjusted the startup sequence before do not have to adjust it again
directly After booting into the system, it will be ok. Wait for the system initialization, set your system username and password, and some general options, and then you can operate normally.
The above is the detailed content of Tutorial on how to use a card reader to install the system. For more information, please follow other related articles on the PHP Chinese website!
 What system is Honor?
 What versions of linux system are there?
 Solution to the problem of downloading software and installing it in win11
 What is the reason for DNS resolution failure?
 How to open WeChat html file
 A complete list of commonly used public dns
 python environment variable configuration
 How to change the font color in dreamweaver


