
php editor Banana will introduce you how to add a header in excel. When using excel tables, adding headers is a common operation that can make the file more professional and standardized. By setting the header, you can display the title, page number and other information when printing, improving the readability and aesthetics of the file. Next, we will introduce in detail how to add a header in excel so that you can easily master this technique.
1. Turn on the computer, create and open an excel file.
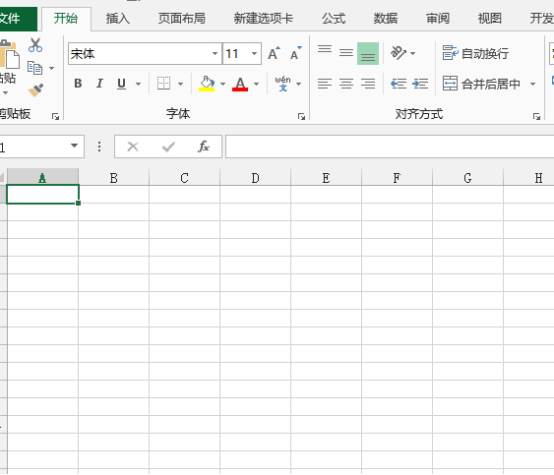
2. After entering the main interface of the software, we enter data in the form, and then click [Page Layout] in the top menu, and click [Page Layout] in the page layout menu bar. Page Settings], click the drop-down button below to enter the main page setting interface.
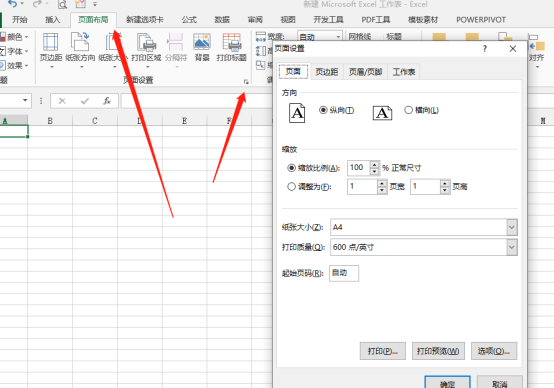
#3. After entering the main page setting interface, we find and click the [Header/Footer] option above to enter the header/footer setting interface.
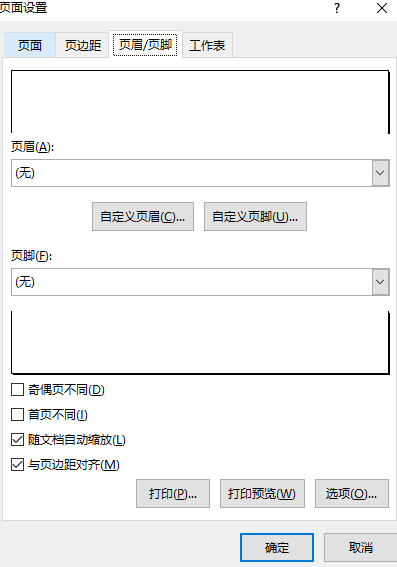
4. Below, set the header, click [Customize Header], and then enter the content. Custom content can be added in three positions. The time selected in the upper box , page numbers and other content can also be inserted as custom header content. After the settings are completed, click the OK button below.
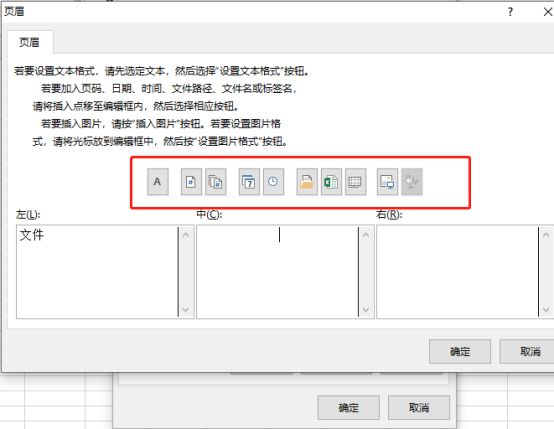
5. According to the same setting method, we set the footer. After entering the header and footer, set the main interface of the page and click OK at the bottom. button. At this time, we find that the main interface of Excel has not changed, and the header and footer are not displayed. At this time, click the file button at the top of the main interface, and we can see it in print preview.
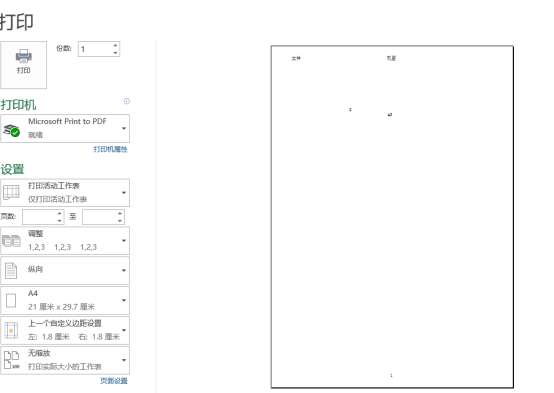
We have shared above how to add headers and footers in excel. If you have not added headers and footers to an excel table, please follow the steps. Add some practice! This is a very basic Excel table operation skill that must be truly learned and mastered!
The above is the detailed content of How to add header in excel. For more information, please follow other related articles on the PHP Chinese website!
 Compare the similarities and differences between two columns of data in excel
 excel duplicate item filter color
 How to copy an Excel table to make it the same size as the original
 Excel table slash divided into two
 Excel diagonal header is divided into two
 Absolute reference input method
 java export excel
 Excel input value is illegal


