
 Software Tutorial
Office Software
How to deal with the problem that the line spacing of articles in wps2019 cannot be adjusted
Software Tutorial
Office Software
How to deal with the problem that the line spacing of articles in wps2019 cannot be adjusted
How to deal with the problem that the line spacing of articles in wps2019 cannot be adjusted

php editor Xigua introduces to you "How to deal with the problem that the line spacing of wps2019 articles cannot be adjusted". When using WPS2019, sometimes the line spacing of articles cannot be adjusted, which affects document layout. Solving this problem is actually not complicated. You only need to follow specific steps to handle it easily. Next, let us learn about the specific processing methods.
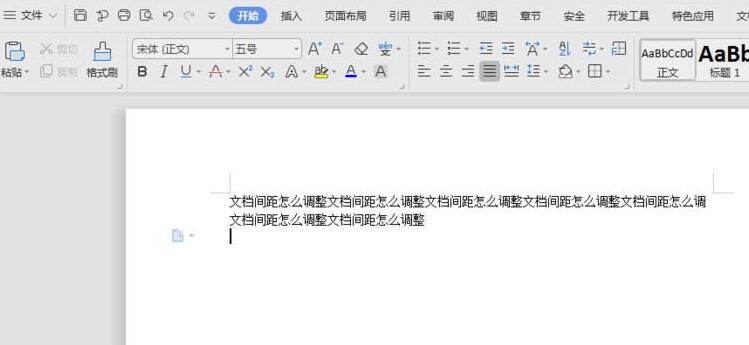
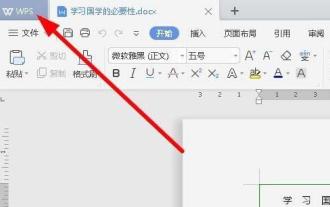
1. Open a blank document and enter a piece of content.
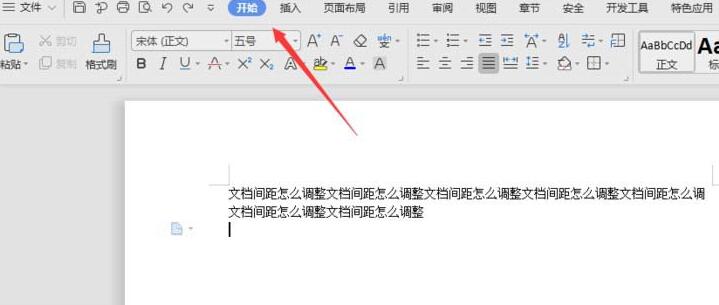
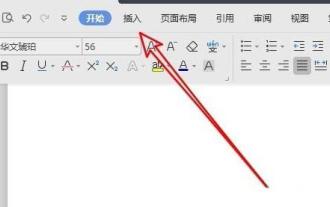
2. Click Start.
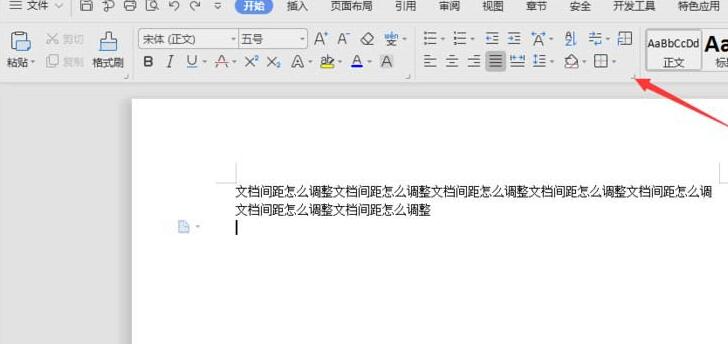
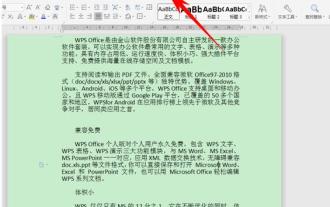
3. Select the paragraph tool.
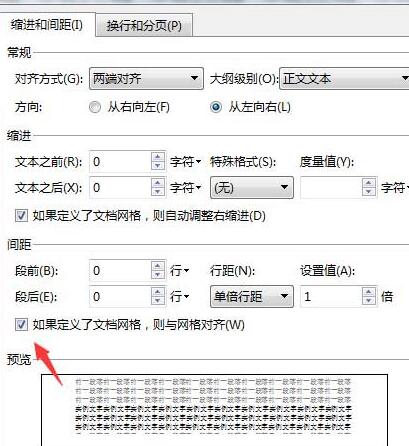
4. In the Paragraph window, select the Indents and Spacing tab.
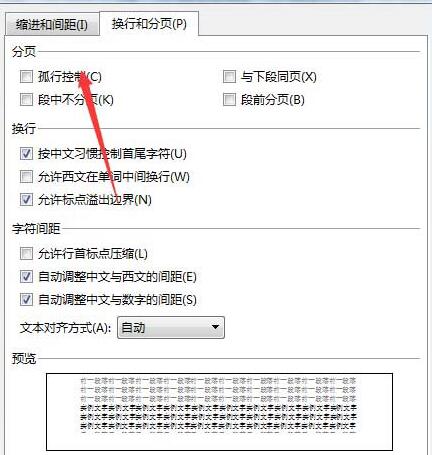
5. Then check if the document is defined and the network is checked before connecting to the network.
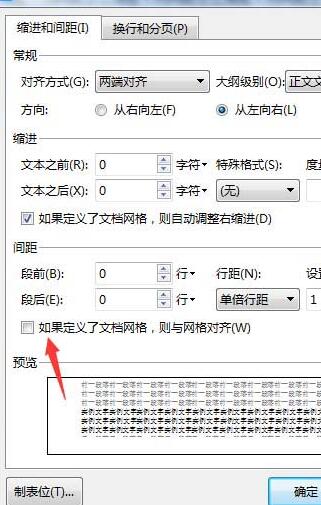
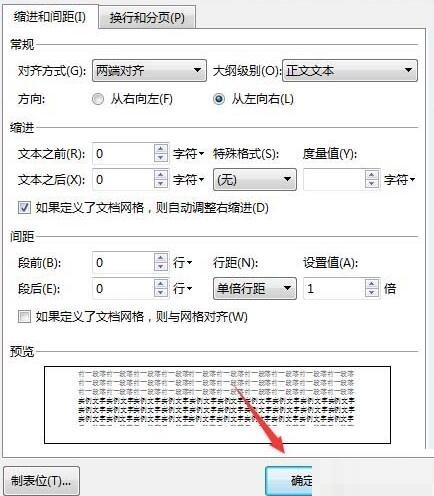
6. Uncheck the previous checkbox and click OK.
7. You can adjust the line spacing later.
The above is the detailed content of How to deal with the problem that the line spacing of articles in wps2019 cannot be adjusted. For more information, please follow other related articles on the PHP Chinese website!

Hot AI Tools

Undresser.AI Undress
AI-powered app for creating realistic nude photos

AI Clothes Remover
Online AI tool for removing clothes from photos.

Undress AI Tool
Undress images for free

Clothoff.io
AI clothes remover

AI Hentai Generator
Generate AI Hentai for free.

Hot Article
Hot Tools

Notepad++7.3.1
Easy-to-use and free code editor

SublimeText3 Chinese version
Chinese version, very easy to use

Zend Studio 13.0.1
Powerful PHP integrated development environment

Dreamweaver CS6
Visual web development tools

SublimeText3 Mac version
God-level code editing software (SublimeText3)
Hot Topics


 How to deal with the problem that the toolbar cannot be seen in WPS2019
Mar 27, 2024 pm 02:20 PM
How to deal with the problem that the toolbar cannot be seen in WPS2019
Mar 27, 2024 pm 02:20 PM
1. As shown in the picture below, after we open a WPS text software, we cannot see the required toolbar or ribbon. This is because we have hidden it. 2. Solution 1: We first click the Show/Hide Ribbon button in the upper right corner of the menu bar to hide or show the ribbon. 3. Click this button to display the ribbon. 4. Method 2: When the ribbon is hidden, we can place the mouse on the name of the ribbon, such as Start and Insert, to display the hidden ribbon. 5. But if we move the mouse to the editing area and do not move the mouse for a long time, as shown in the figure below, the ribbon will automatically hide again. This is because we have turned on the automatic hiding/showing function. 6. At this point we need to click the interface settings button in the upper right corner first. 7. Then click the drop-down menu
 How to make a concise business card in wps2019_How to make a concise business card in wps2019
Mar 28, 2024 am 09:36 AM
How to make a concise business card in wps2019_How to make a concise business card in wps2019
Mar 28, 2024 am 09:36 AM
1. Open wps2019 and enter the business card information you want to edit. 2. Then click the [Page Layout] menu item in the wps2019 menu bar. 3. Next, find the expand button of [Page Settings] on the toolbar of the opened page layout. 4. The page setup window will pop up. In the window, set all page margins to 05. Next, click the [Paper] tab in the page setup window that opens. 6. Then click the Paper Size drop-down button and select the [Custom Size] menu item in the pop-up menu. 7. Next we set the width to 9 cm and the height to 5.4 cm, and finally click the OK button. 8. The business card has been set up here. Just print it out.
 How to insert special symbols that are approximately equal to wps2019 files_How to insert special symbols that are approximately equal to
Mar 27, 2024 am 11:26 AM
How to insert special symbols that are approximately equal to wps2019 files_How to insert special symbols that are approximately equal to
Mar 27, 2024 am 11:26 AM
1. In the main interface of the opened wps2019 software, click the [Insert] menu in the menu bar. 2. On the open insertion toolbar, find the [Symbol] icon. 3. In the pop-up symbol drop-down menu, click the [Other Symbols] menu item. 4. The symbol window of wps2019 will pop up. Click the [Math Operator] menu item in the window. 5. In the opened mathematical operator window, click the [Approximately equal to] button, and finally click the OK button. 6. At this time, you can see the inserted approximately equal symbol in the editing area of wps2019.
 Detailed steps for adding borders to pictures in wps2019
Mar 27, 2024 pm 04:01 PM
Detailed steps for adding borders to pictures in wps2019
Mar 27, 2024 pm 04:01 PM
1. Open wps2019 and click the [Insert] menu item on the main interface of wps2019. 2. Click the drop-down button of [Picture] on the open insertion toolbar, and then select the picture to be inserted in the pop-up menu. 3. Return to the wps2019 document editing area, and you can see and select the inserted picture. 4. At this time, click the [Picture Tools] menu item on the wps2019 menu bar. 5. Click the [Picture Outline] button on the toolbar of the opened picture tool. 6. Return to the editing area of wps2019, and you can see that the outline has been added to the picture.
 A simple tutorial to disable automatic upgrade in wps2019
Mar 28, 2024 am 08:11 AM
A simple tutorial to disable automatic upgrade in wps2019
Mar 28, 2024 am 08:11 AM
1. After opening wps2019, click the [wps] menu in the upper left corner. 2. In the newly opened page, find and click the [Settings] button in the upper right corner. 3. In the settings drop-down menu that opens, click the [Configuration and Repair Tools] menu item. 4. The wpsOffice configuration tool window will open. Click the [Advanced] button in the window. 5. In the opened wpsOffice configuration tool window, click the [Upgrade Settings] option. 6. In the upgrade settings window that opens, click the [Turn off automatic upgrade] option.
 WPS2019 side-by-side comparison and implementation of synchronous sliding operation process
Mar 27, 2024 pm 07:31 PM
WPS2019 side-by-side comparison and implementation of synchronous sliding operation process
Mar 27, 2024 pm 07:31 PM
1. First, we see the following document. All the documents we have opened are displayed at the top, and they are displayed side by side in the form. 2. At this time, we click the side-by-side comparison option under the toolbar view. 3. A dialog box for side-by-side windows pops up. Select which document the current window will be compared with. Here we select document 4 and click OK. 4. In this way, we see that the two documents have been displayed in one window, but there is another problem, that is, we can only slide the interface in one window. What should we do? . 5. If you want to achieve synchronous sliding, click the synchronous sliding option next to side-by-side comparison. Click to make the text of the two documents slide at the same time when you pull the mouse.
 Operation tutorial for wps2019 articles displayed in three columns
Mar 28, 2024 pm 01:51 PM
Operation tutorial for wps2019 articles displayed in three columns
Mar 28, 2024 pm 01:51 PM
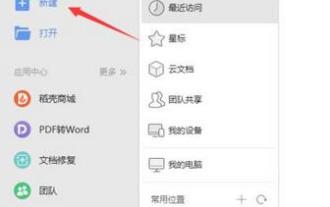
1. Open wps2019 and click New. 2. Select the text and click New Blank Document. 3. Enter the content. 4. Click Page Layout on the toolbar. 5. Select columns. 6. Under the columns, you can see column one, column two and column three. We just click on column three.
 The operation process of setting the top title row of wps2019 table
Mar 28, 2024 am 10:46 AM
The operation process of setting the top title row of wps2019 table
Mar 28, 2024 am 10:46 AM
1. Open wps2019, create a new blank document, select the [Insert] button on the menu bar, and then click [Table] to insert an 8*4 table (as shown below). 2. Enter some text in the first row of the table and set the font and font size. 3. Then enter the content of the table and process it beautifully. At this time, the table displays the content of 2 pages. The first page has a title, and the second page directly displays the data. 4. First select the first row of the first page, right-click, and select [Table Properties] from the pop-up options (as shown below). 5. In the pop-up dialog box, select [Row], then check the option [Repeat as a title at the top of each page], and click [OK]. 6. At this time, the title will be displayed on the second page of the document.
