 Software Tutorial
 Office Software
 Introduction to how to insert and crop pictures in WPS Office 2016
Introduction to how to insert and crop pictures in WPS Office 2016
1. Prepare the pictures to be inserted into wps, and remember the saving location of the pictures.
Open wps and create a blank document. Specific operation: Double-click the desktop wps icon, open wps, then close [My wps], and then click [New Blank Document] on the newly appeared page.
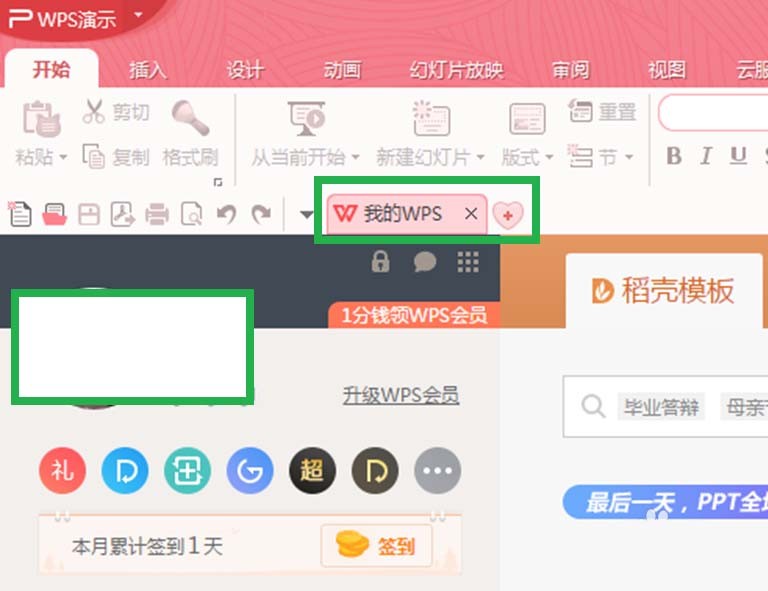
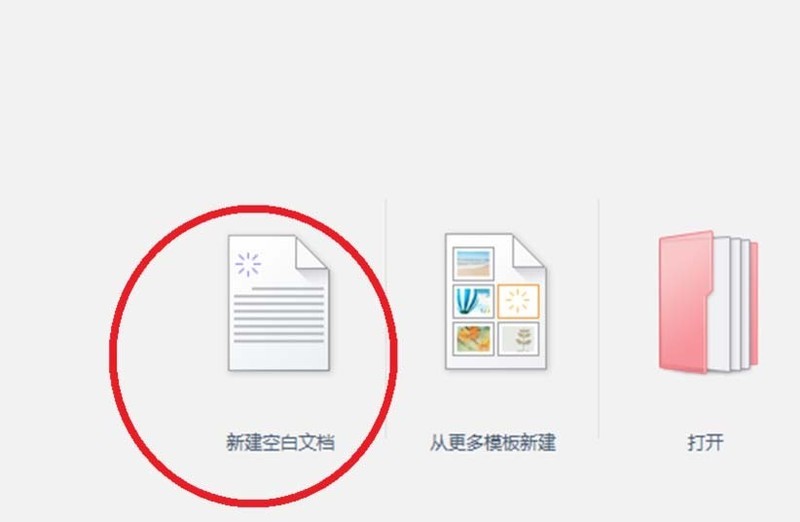
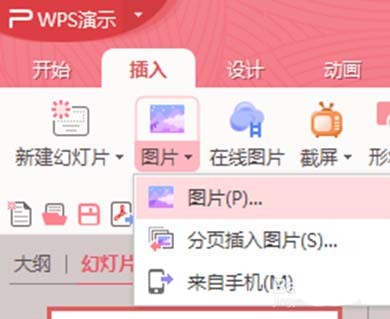
3. Click Insert in the toolbar above the presentation and select the image in the drop-down box.
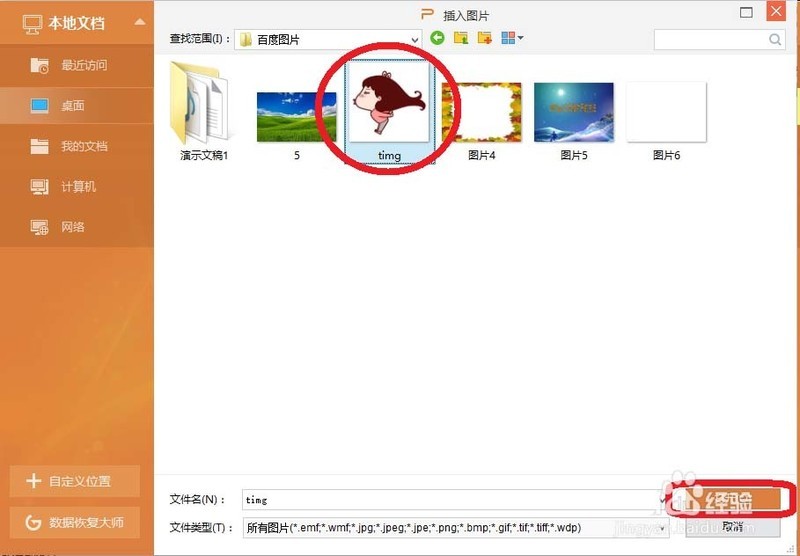
4. In the tab for inserting pictures, follow the saving path of the picture, find and select the picture, and finally click [Open].
2. Method of cropping pictures 1
1. Select the picture, and four tools arranged up and down will appear on the right side of the picture. The second one is the Crop tool.
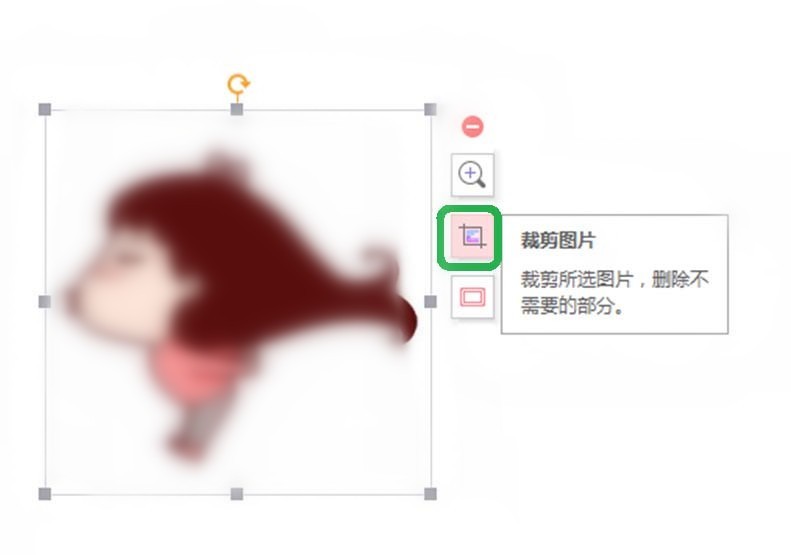
2. Click [Crop Image], and 8 cropping symbols will appear around the image.
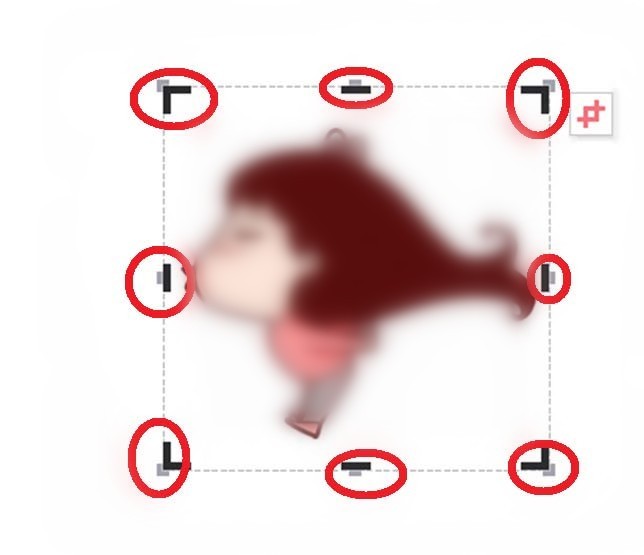
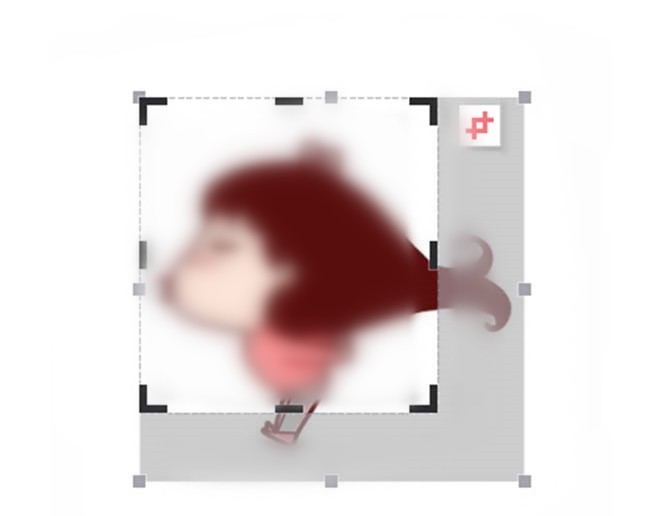
3. Select any cropping symbol, hold down the left mouse button, and drag the cropping symbol inward or outward until you are satisfied with it. When cropping is complete, just click the mouse outside the image.
3. Method of cropping pictures 2
1. You can also use the system tool - [Crop Template] to crop pictures.
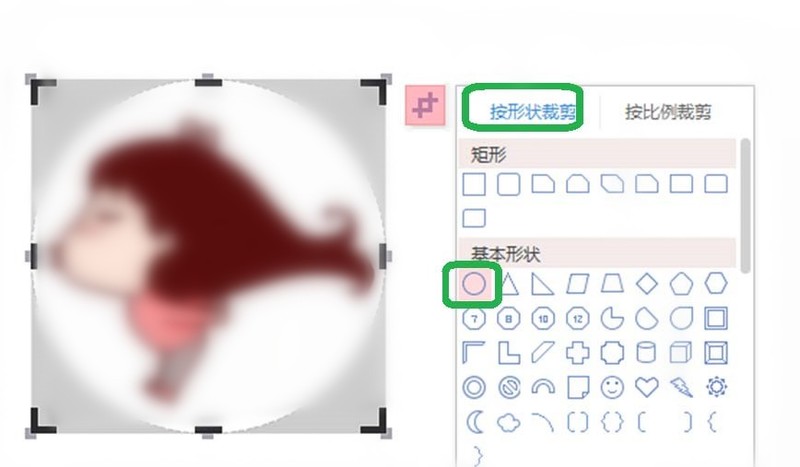
2. Select the image, click the crop image tool on the right, and then click the crop symbol that appears in the upper right corner of the image to expand the crop template.
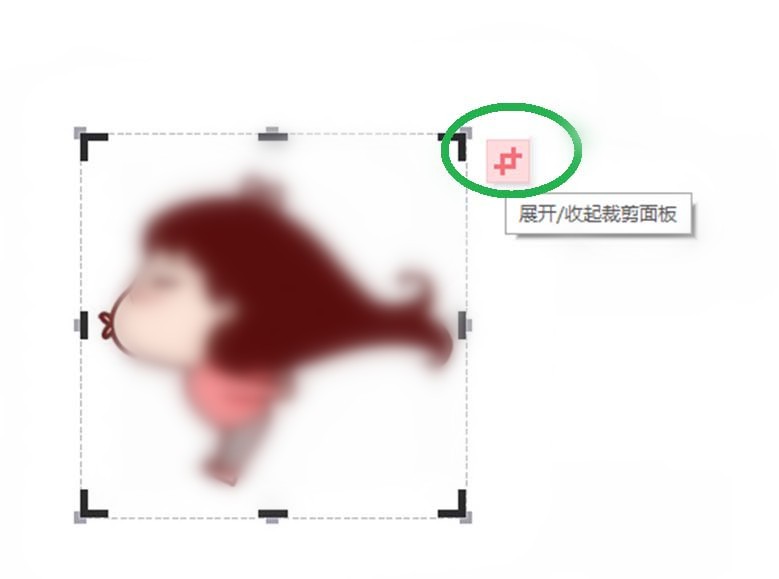
3. Select [Crop by shape] in the cropping template, click the circle in the basic shape, and you can see the circular cropped image generated. Select End and click the mouse outside the image to end cropping.
The above is the detailed content of Introduction to how to insert and crop pictures in WPS Office 2016. For more information, please follow other related articles on the PHP Chinese website!

Hot AI Tools

Undresser.AI Undress
AI-powered app for creating realistic nude photos

AI Clothes Remover
Online AI tool for removing clothes from photos.

Undress AI Tool
Undress images for free

Clothoff.io
AI clothes remover

Video Face Swap
Swap faces in any video effortlessly with our completely free AI face swap tool!

Hot Article

Hot Tools

Notepad++7.3.1
Easy-to-use and free code editor

SublimeText3 Chinese version
Chinese version, very easy to use

Zend Studio 13.0.1
Powerful PHP integrated development environment

Dreamweaver CS6
Visual web development tools

SublimeText3 Mac version
God-level code editing software (SublimeText3)

Hot Topics
 1386
1386
 52
52
 Do I need to use flexbox in the center of the Bootstrap picture?
Apr 07, 2025 am 09:06 AM
There are many ways to center Bootstrap pictures, and you don’t have to use Flexbox. If you only need to center horizontally, the text-center class is enough; if you need to center vertically or multiple elements, Flexbox or Grid is more suitable. Flexbox is less compatible and may increase complexity, while Grid is more powerful and has a higher learning cost. When choosing a method, you should weigh the pros and cons and choose the most suitable method according to your needs and preferences.
 Download ppt finished product. Easy to use ppt finished product website for free
Mar 11, 2025 am 10:24 AM
Still worried about finding high-quality PPT templates? This article recommends 15 excellent websites that provide PPT template downloads, including Microsoft Office Template Library, Canva, Slidesgo, Envato Elements, etc. These websites provide templates with diverse styles, strong compatibility, exquisite design and suitable for different scenarios (business, education, creative display, etc.), covering free and paid resources. Some websites also provide online editing and collaboration functions to meet your various PPT production needs and help you easily create amazing presentations. Click to view the detailed introduction and find your favorite template!
 Top 10 cryptocurrency trading platforms, top ten recommended currency trading platform apps
Mar 17, 2025 pm 06:03 PM
The top ten cryptocurrency trading platforms include: 1. OKX, 2. Binance, 3. Gate.io, 4. Kraken, 5. Huobi, 6. Coinbase, 7. KuCoin, 8. Crypto.com, 9. Bitfinex, 10. Gemini. Security, liquidity, handling fees, currency selection, user interface and customer support should be considered when choosing a platform.
 How to calculate c-subscript 3 subscript 5 c-subscript 3 subscript 5 algorithm tutorial
Apr 03, 2025 pm 10:33 PM
The calculation of C35 is essentially combinatorial mathematics, representing the number of combinations selected from 3 of 5 elements. The calculation formula is C53 = 5! / (3! * 2!), which can be directly calculated by loops to improve efficiency and avoid overflow. In addition, understanding the nature of combinations and mastering efficient calculation methods is crucial to solving many problems in the fields of probability statistics, cryptography, algorithm design, etc.
 Top 10 virtual currency trading platforms 2025 cryptocurrency trading apps ranking top ten
Mar 17, 2025 pm 05:54 PM
Top Ten Virtual Currency Trading Platforms 2025: 1. OKX, 2. Binance, 3. Gate.io, 4. Kraken, 5. Huobi, 6. Coinbase, 7. KuCoin, 8. Crypto.com, 9. Bitfinex, 10. Gemini. Security, liquidity, handling fees, currency selection, user interface and customer support should be considered when choosing a platform.
 What are the safe and reliable digital currency platforms?
Mar 17, 2025 pm 05:42 PM
A safe and reliable digital currency platform: 1. OKX, 2. Binance, 3. Gate.io, 4. Kraken, 5. Huobi, 6. Coinbase, 7. KuCoin, 8. Crypto.com, 9. Bitfinex, 10. Gemini. Security, liquidity, handling fees, currency selection, user interface and customer support should be considered when choosing a platform.
 Recommended safe virtual currency software apps Top 10 digital currency trading apps ranking 2025
Mar 17, 2025 pm 05:48 PM
Recommended safe virtual currency software apps: 1. OKX, 2. Binance, 3. Gate.io, 4. Kraken, 5. Huobi, 6. Coinbase, 7. KuCoin, 8. Crypto.com, 9. Bitfinex, 10. Gemini. Security, liquidity, handling fees, currency selection, user interface and customer support should be considered when choosing a platform.
 How to implement adaptive layout of Y-axis position in web annotation?
Apr 04, 2025 pm 11:30 PM
The Y-axis position adaptive algorithm for web annotation function This article will explore how to implement annotation functions similar to Word documents, especially how to deal with the interval between annotations...


