
php editor Yuzi introduces to you the detailed steps of drawing a pot of green plants in Excel spreadsheet. First, select the appropriate drawing tool in Excel, then draw the outline and leaves of the plant, then fill in green and adjust the details, and finally complete the drawing of the green plant. Through this article, I hope it can help you easily draw beautiful graphic effects in Excel.
1. Open a blank Excel table and click the small black triangle under [Shape] in [Insert] in the menu bar.


#2. In the shape drop-down menu, select [Free Curve].

3. Hold down the left mouse button and draw the shape you want in the table.


#4. After drawing multiple shapes, you can change the upper and lower order of multiple shapes through [Move One Level] in [Format] in the menu bar.
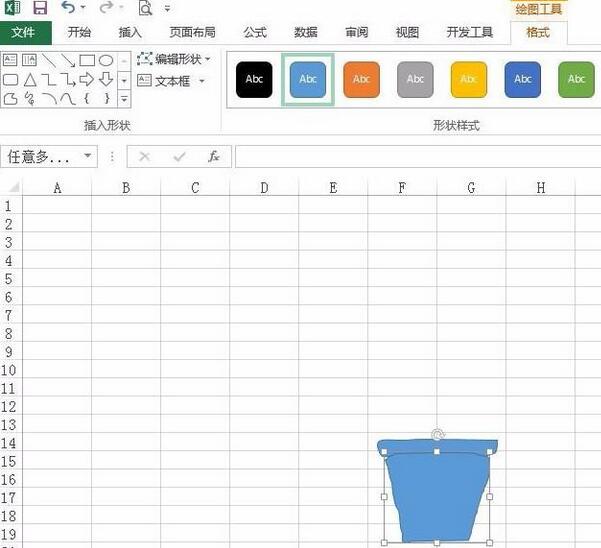
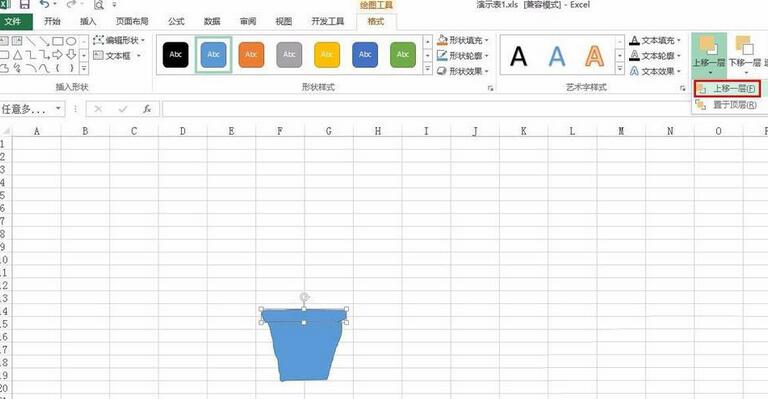
#5. Use [Free Curve] to draw the remaining parts according to your needs.
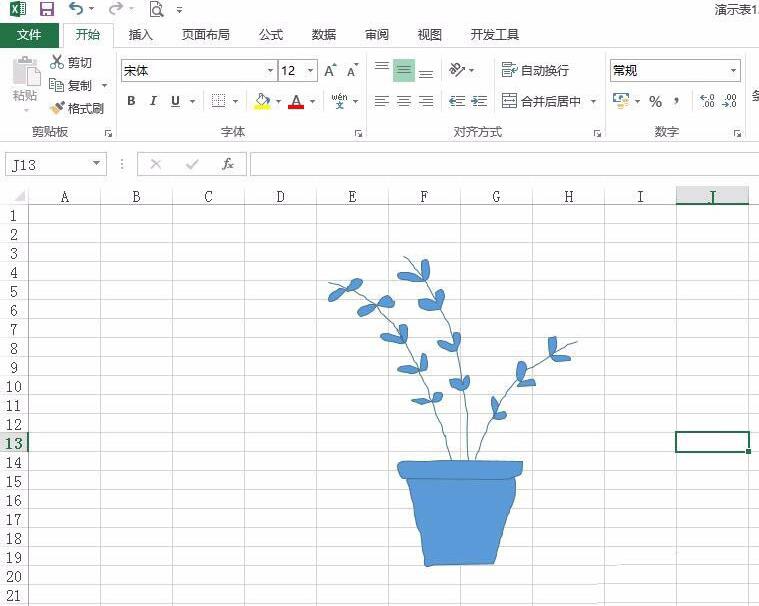
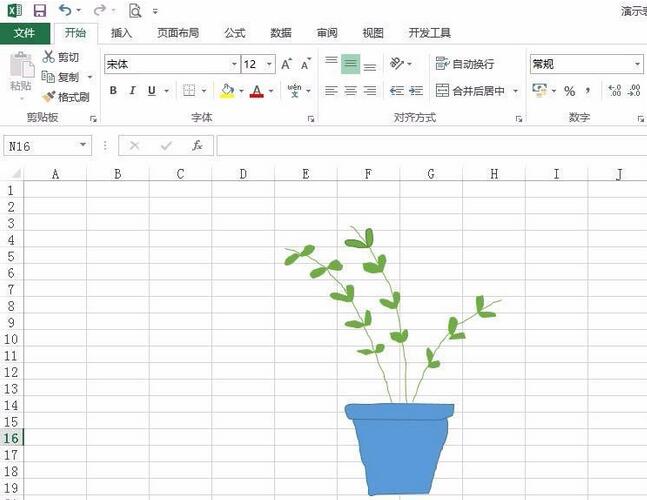
6. Select the drawn shape, switch to the [Format] menu, and select the color to be filled in the shape fill and shape outline.

7. As shown in the picture, the drawing is completed in the Excel table.
The above is the detailed content of Detailed steps to draw a pot of green plants in Excel table. For more information, please follow other related articles on the PHP Chinese website!


