
php editor Xinyi teaches you the detailed steps to create or delete folders with VBA in Excel. Using VBA to operate folders in Excel can achieve more efficient file management and data processing. Follow this article to learn and make your work more convenient!
1. Open the Excel table.
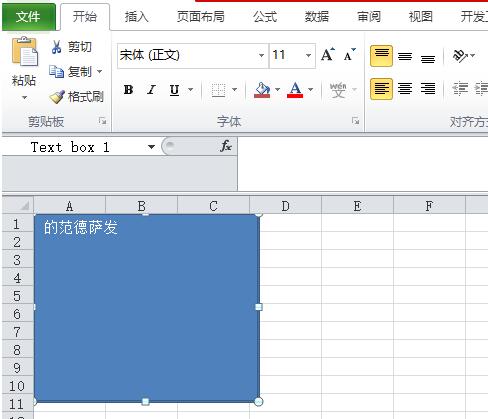
2. Enter the VBA programming interface.
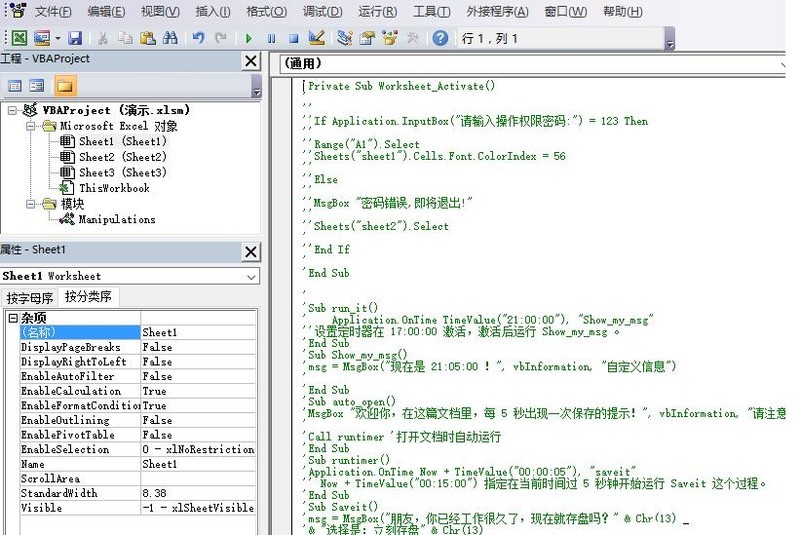
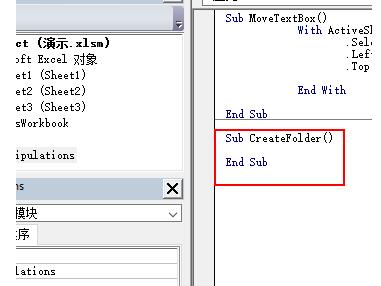
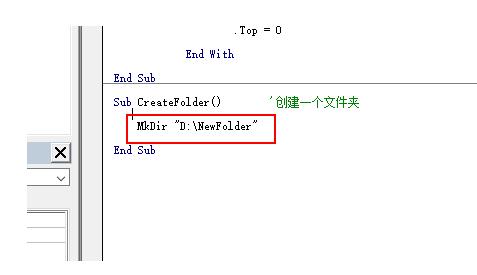
3. Create a new sub-process in any module and name it CreateFolder.
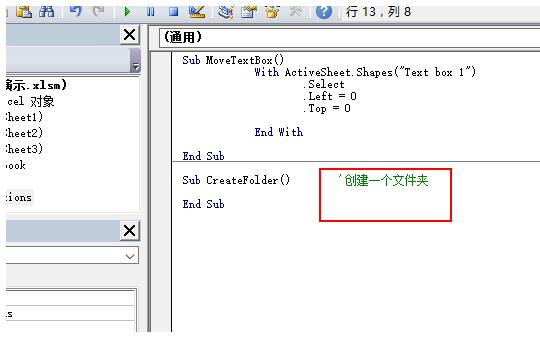
4. Add comments to this subroutine.
5. Use the MkDir function to create a folder. Note that the path must be correct.
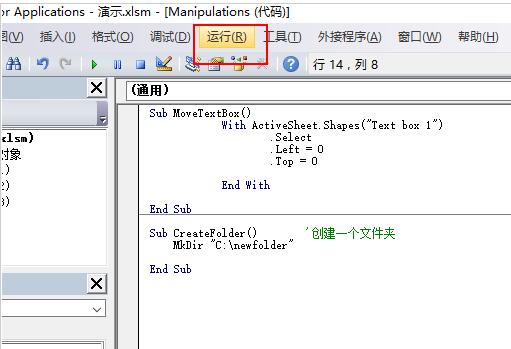
6. Save and click [Run].
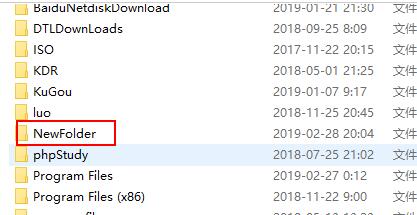
7. Now when you come to the D drive, a folder we just set has been created.
2. How to delete a folder with VBA
1. Open the Excel software.
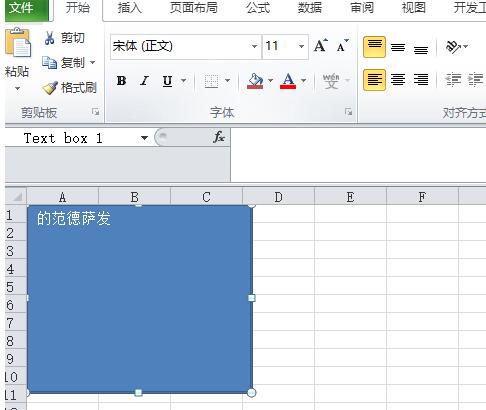
2. Enter the VBA programming interface.
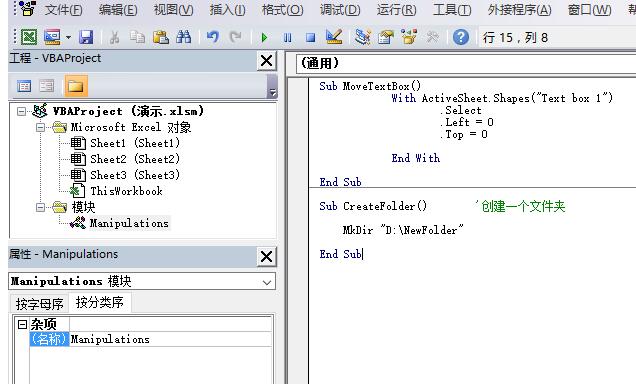
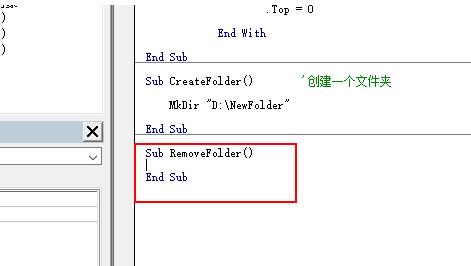
3. Select one of the modules, and then create a new subroutine named RemoveFolder. This can be customized.
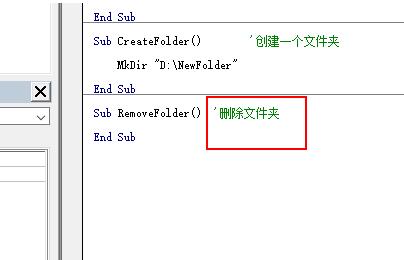
4. Add a comment content to this subroutine.
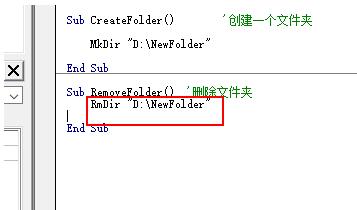
5. Delete the folder through the RmDir function that comes with VBA.
RmDir "D:NewFolder".
6. Select [Run].
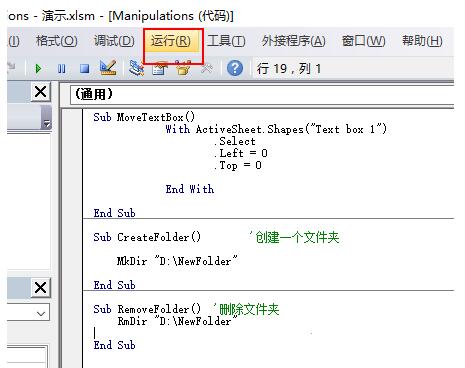
7. At this time, go back to the D drive and take a look and find that the previously created folder has been deleted.

The above is the detailed content of Detailed steps to create or delete folders with VBA in Excel. For more information, please follow other related articles on the PHP Chinese website!


