
php editor Xigua brings you an article about the detailed steps of creating an iron ring in C4D, allowing you to easily master the skills of making this effect. Creating hoops in Cinema 4D software can add a more vivid element to your design work while showcasing your creativity and technical prowess. Through the guidance of this article, you will learn how to use the tools and functions of C4D to quickly create a three-dimensional and realistic hoop effect.
1. Open the C4D software, enter the C4D work interface, and long press the brush tool at the top of the interface.
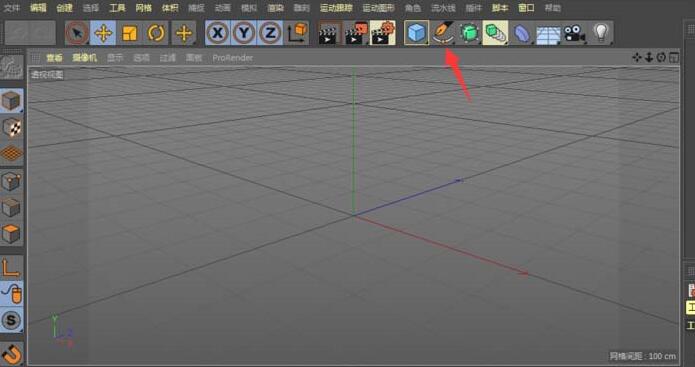
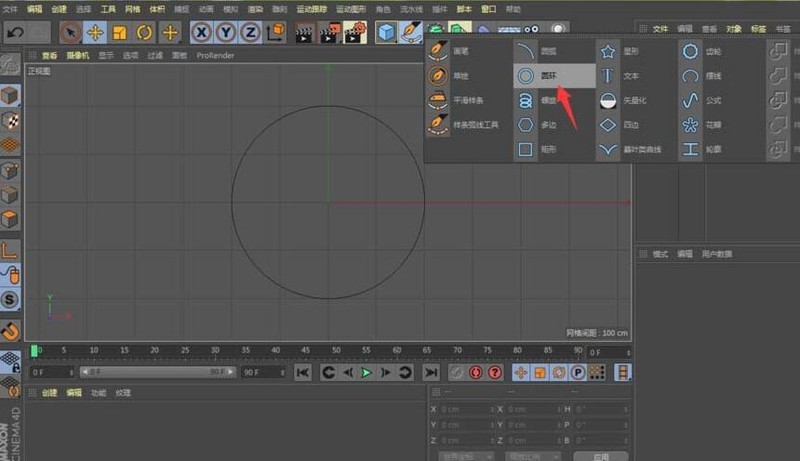
2. In the pop-up menu, find the ring and open it directly.
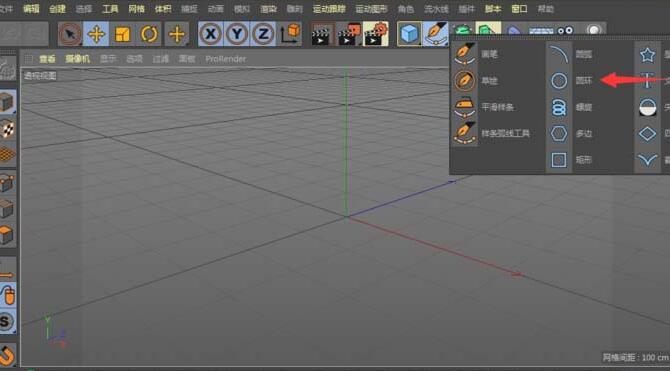
3. Create a circle in the C4D view, press the mouse wheel button, and switch to the four views.
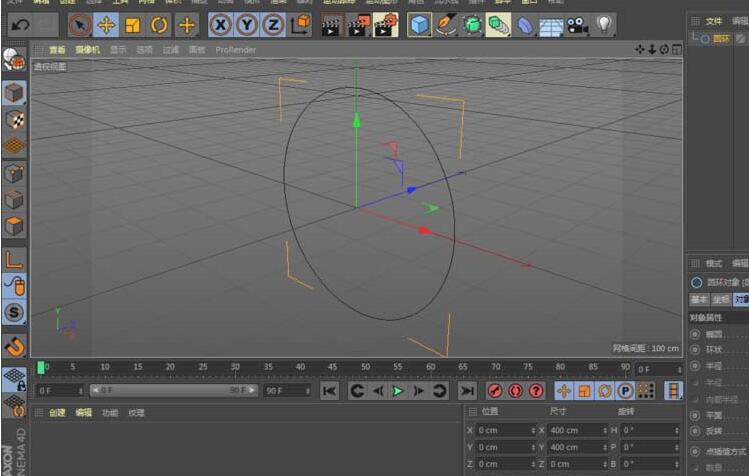
4. Click to select the front view and press the scroll wheel key.
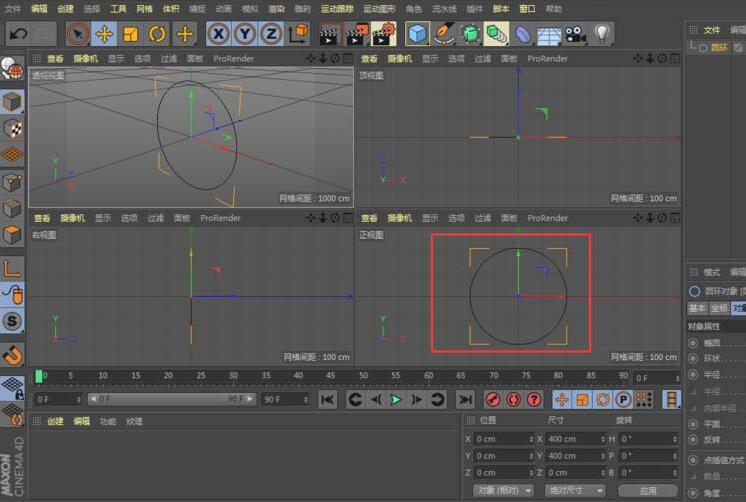
5. At this time, the view has been switched to the front view. Select the ring again to create one more ring graphic.
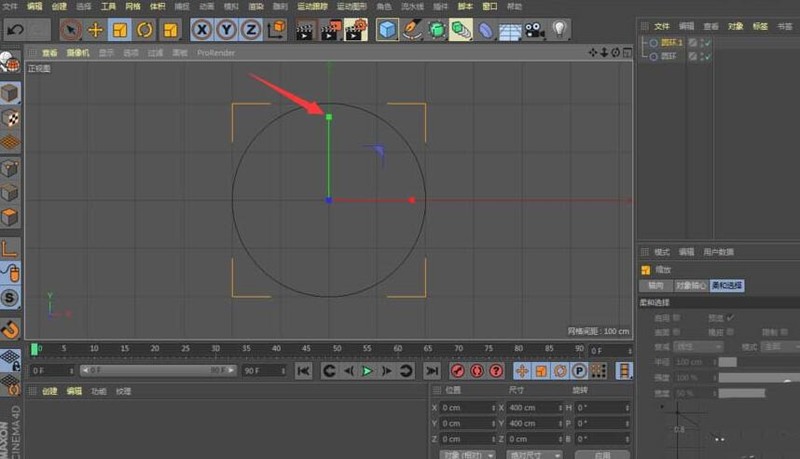
6. Press the keyboard shortcut T and switch to the zoom tool, or directly click the zoom tool at the top of the interface to zoom in on the circle 1 we just drew.
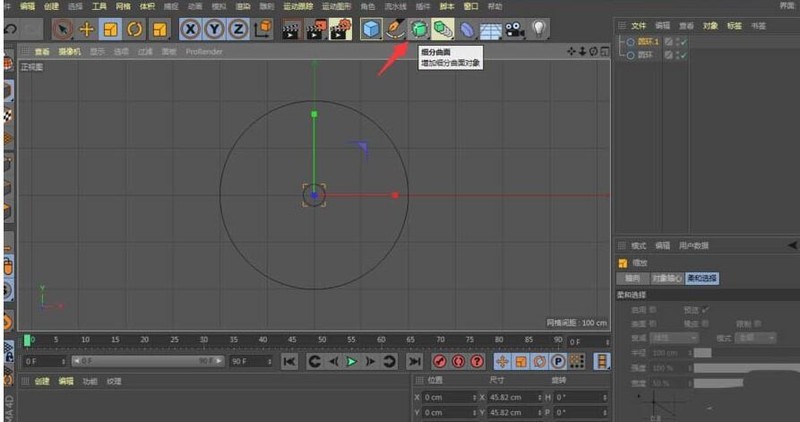
7. At this time, long press the subdivision surface icon at the top of the interface.
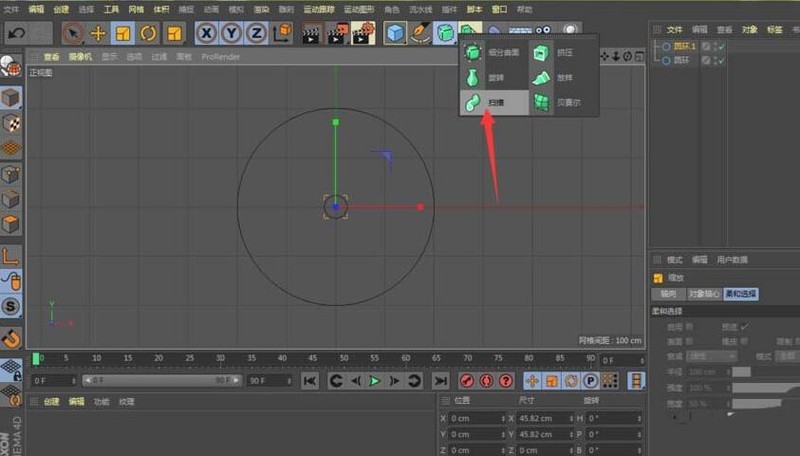
8. In the pop-up drop-down menu, click the Open Scan icon.
9. In the layer panel in the upper right corner of the interface, hold down the left mouse button on circle 1 and drag it into the scanned layer to form a parent-child relationship.
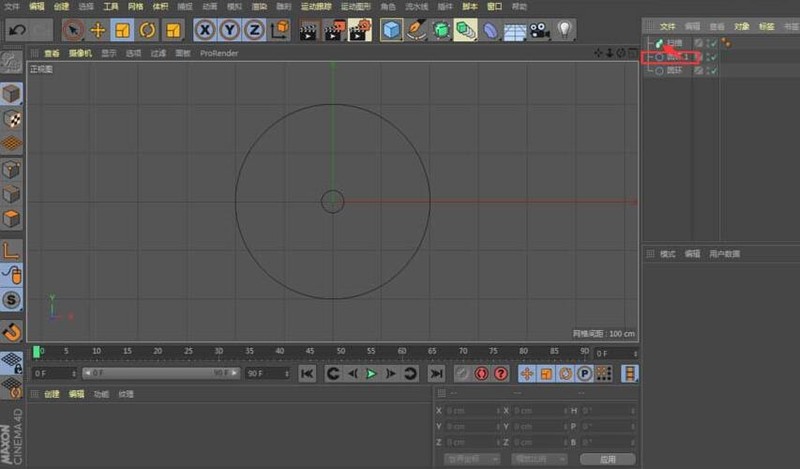
10. In the same way, drag the ring layer into the ring 1 layer to form a horizontal relationship with the ring 1 layer
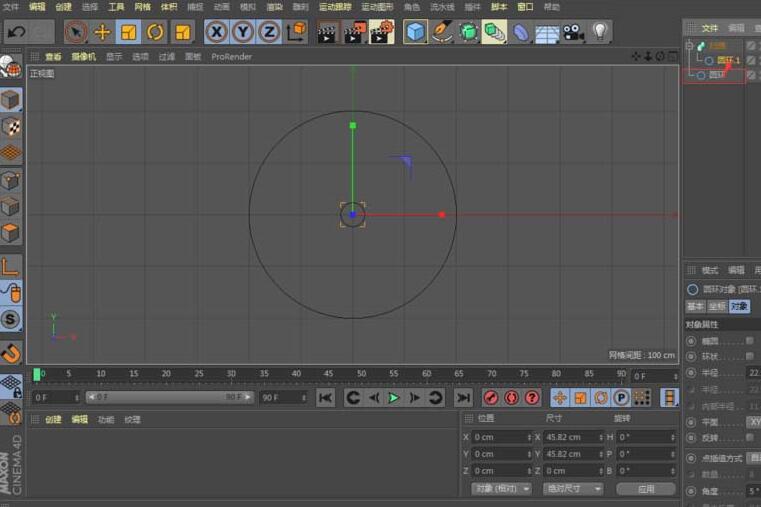
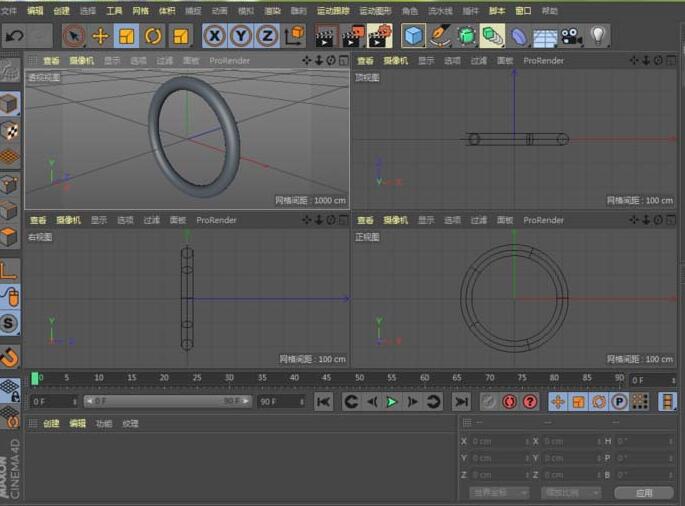
11. Press the mouse wheel button and switch to the four-view mode
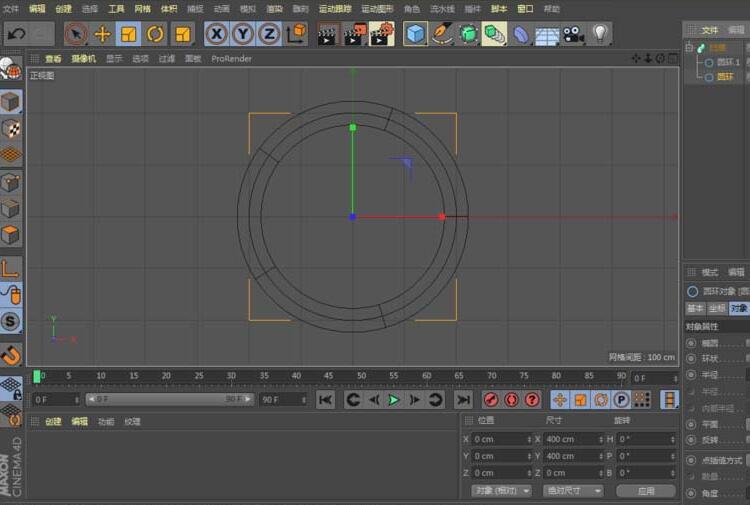
12. As shown in the picture, the hoop is drawn successfully
The above is the detailed content of Detailed steps for creating an iron ring in C4D. For more information, please follow other related articles on the PHP Chinese website!
 How to post text in WeChat Moments
 How to implement instant messaging on the front end
 How to optimize the performance of Tomcat
 What is the command to delete a column in sql
 How to solve the WerFault.exe application error
 Server evaluation software
 How to open exe file
 Introduction to the main work content of front-end engineers


