
php editor Strawberry brings you a tutorial called "Tutorial on quickly drawing a row of pine trees in Flash". Flash is a powerful, easy-to-learn and easy-to-use drawing software. It is one of the essential tools for many designers and animators. This tutorial will introduce you to how to use Flash to draw a row of pine trees, including how to draw tree trunks, how to draw branches, how to make and render leaves, etc. After studying this tutorial, I believe you will have more inspiration and creativity in drawing pine trees with Flash.
1. Open Flash and create a new Flash project.
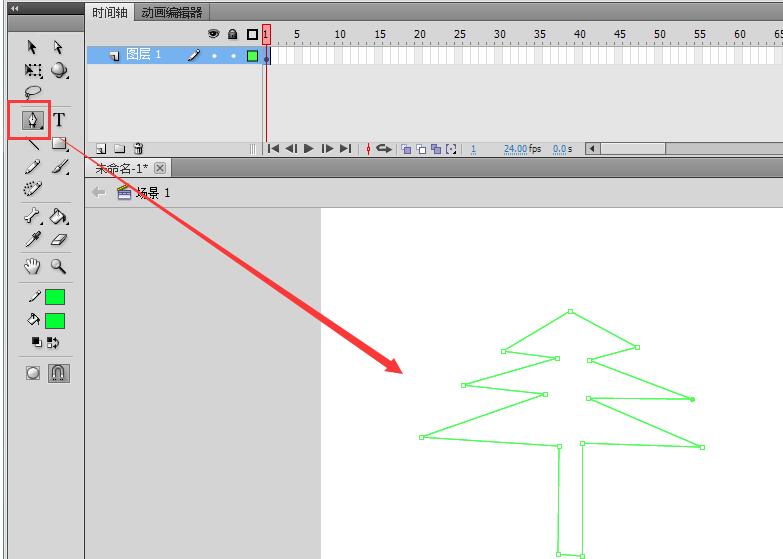
2. Select the pen tool in the left toolbar, use the pen tool to carefully construct anchor points, and draw the general shape of a small tree.
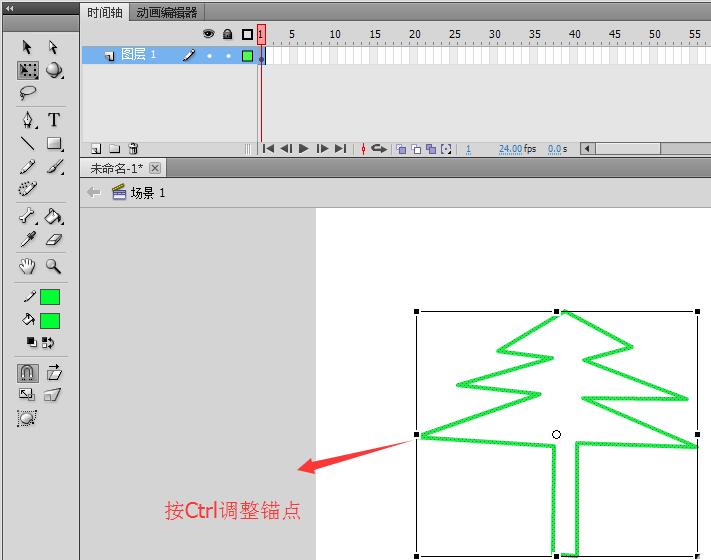
3. Press and hold the Ctrl key on the keyboard, move the mouse close to the anchor point of the small tree, and adjust the position of the anchor point to make it more like a small tree.
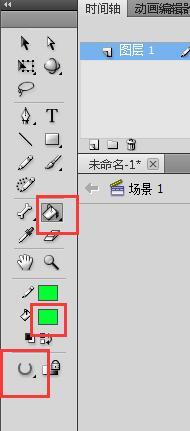
4. Set the fill color to green in the toolbar, select the Gap Size Tool, select Close Large Gap, and then select the Paint Bucket Tool.
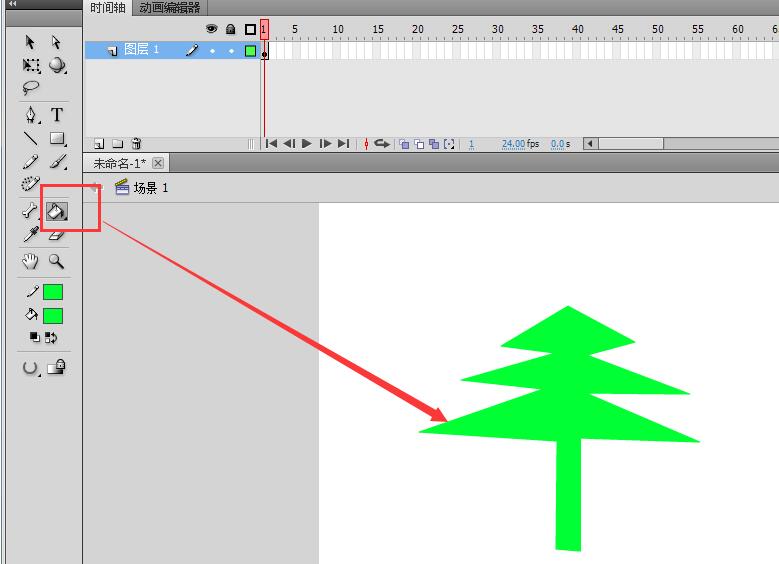
5. Use the paint bucket tool to click the fill color in the middle of the small tree and fill the small tree with green.
6. Use the selection tool box to select the entire small tree, press the alt key to copy a small tree, select any deformation tool on the copied small tree, shrink it, and move it to the appropriate location.
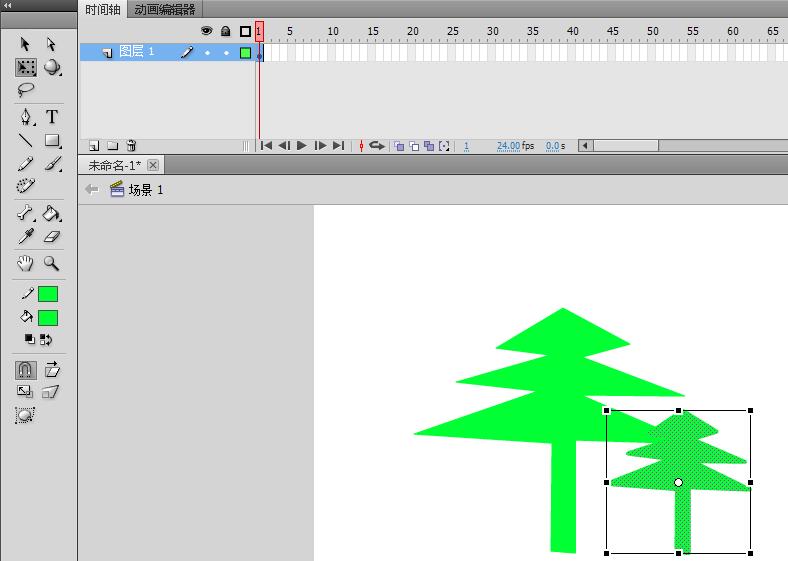
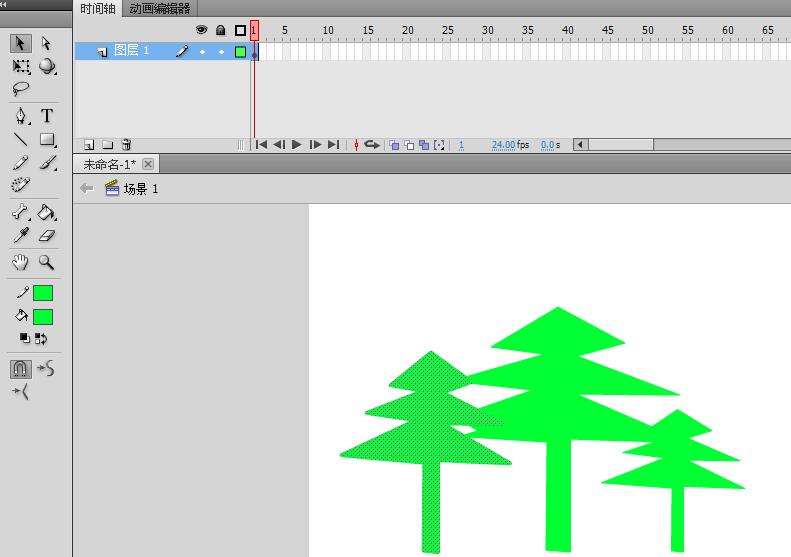
7. In the same way, copy a small tree, scale it and move it. In this way, a row of small trees is completed. If you feel that there are not enough small trees, you can still Just copy a few and make some adjustments individually.
The above is the detailed content of Flash tutorial to quickly draw a row of pine trees. For more information, please follow other related articles on the PHP Chinese website!


