
In the process of using the Windows 11 operating system, in order to avoid unnecessary consumption of network traffic and ensure stable system performance, sometimes we need to restrict network access permissions of certain applications. This requirement is particularly obvious when encountering certain malware or unnecessary applications that access the Internet without authorization. In order to help users effectively manage and control application networking behavior, this article will detail the steps on how to prohibit specific applications from networking in Windows 11 system. Let’s take a look.
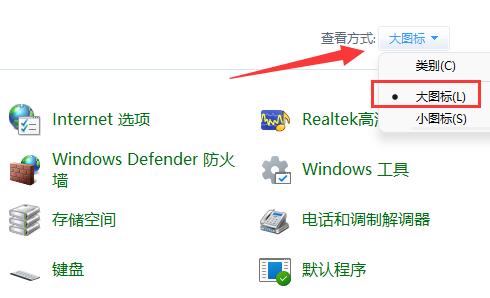
1. First, you need to enter the "Control Panel" interface, and then switch the "View Mode" in the upper right corner to "Large Icons".
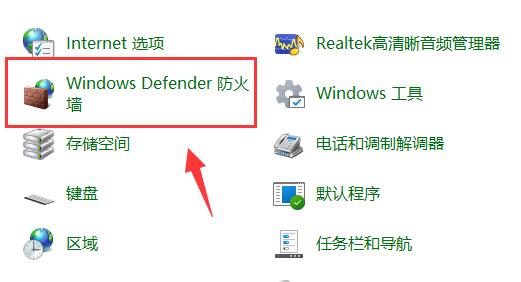
#2. Then click on the "Windows Defender Firewall" option.
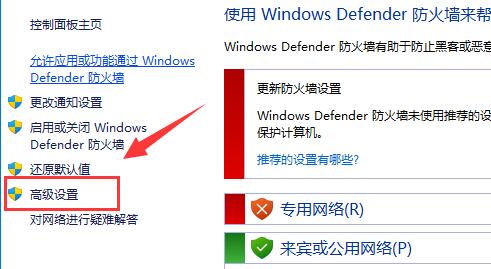
#3. After entering the new window interface, click the "Advanced Settings" option in the left column.
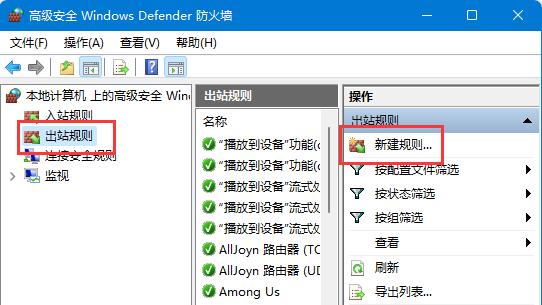
#4. Then click "Outbound Rules" in the left column, and then click "New Rule" in the right side.
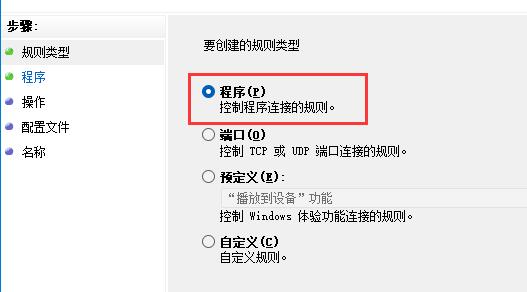
#5. Then check "Program" and click "Next".
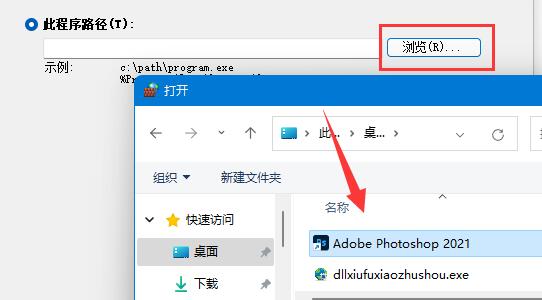
#6. Then click the "Browse" button to find the software you want to ban the Internet and open it.
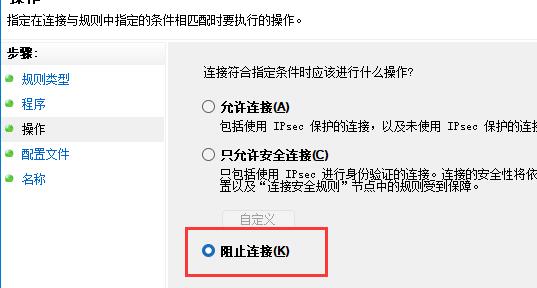
7. Then select "Block Connection" and click "Next".
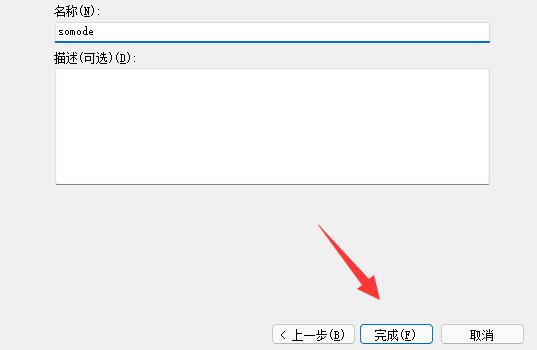
#8. Keep the default selections for other settings. Finally, set a name and click "Finish".
| Program Management | |||
| How to enable Hyper-V service | How to restore deleted photo viewer | Computer boot record | win11 system download software |
| win11 store installation | |||
The above is the detailed content of How to block apps from accessing the network in Windows 11. For more information, please follow other related articles on the PHP Chinese website!
 How to repair lsp
 There is no WLAN option in win11
 How to skip online activation in win11
 Win11 skips the tutorial to log in to Microsoft account
 How to open win11 control panel
 Introduction to win11 screenshot shortcut keys
 Windows 11 my computer transfer to the desktop tutorial
 Solution to the problem of downloading software and installing it in win11


