
这篇教程是向脚本之家的朋友分享用Photoshop制作超逼真的圆柱体方法,教程制作出来的圆柱体非常不错,方法也不是很难,喜欢的朋友可以跟着教程来学习下
学习Photoshop软件也是挺有意思的事,可以不断学习新的方法和新的技能,可以更好的发挥想象力和创造性。下面小编为大家分享Photoshop制作超逼真的圆柱体方法,不会的朋友快快来学习吧!

方法/步骤
在Photoshop上新建一个空白画布。
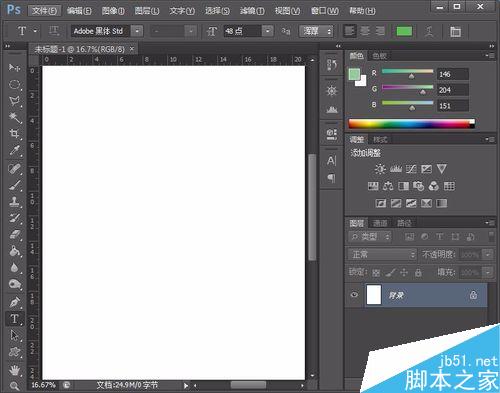
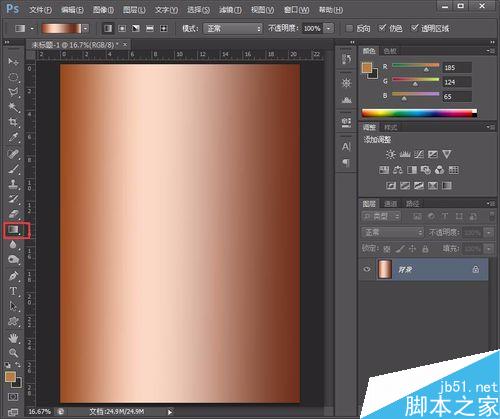
用渐变颜色给画布填充背景色。
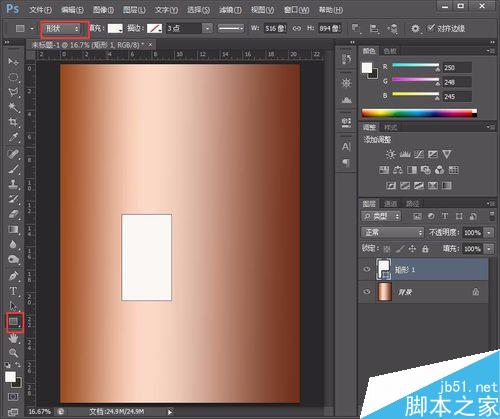
先新建图层,并用矩形形状或选取工具画矩形,先用白色填充。
然后用椭圆在下面画圆柱的底部。
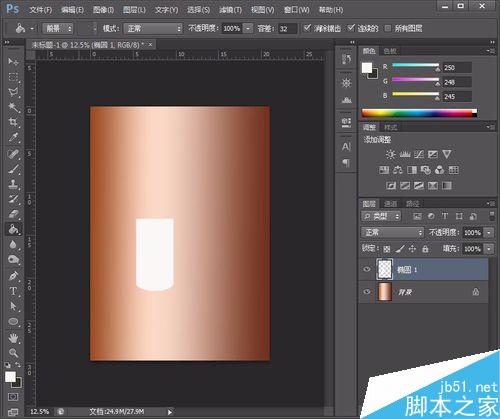
把圆柱体用渐变颜色涂上颜色。
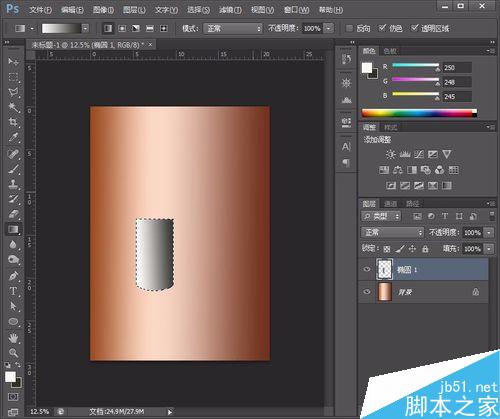
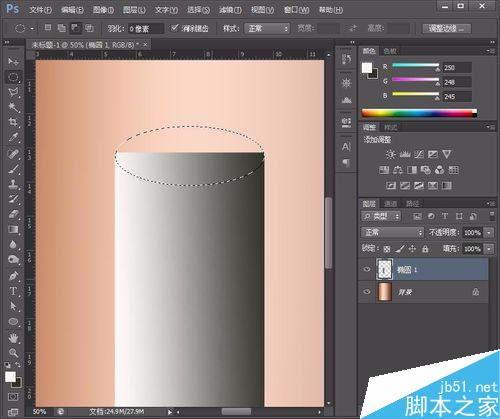
再用椭圆在圆柱上面画顶,并填充渐变颜色。
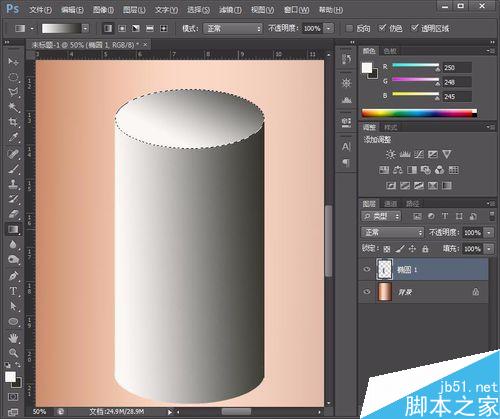
利用路径与斜切变换,画圆柱体的影子。
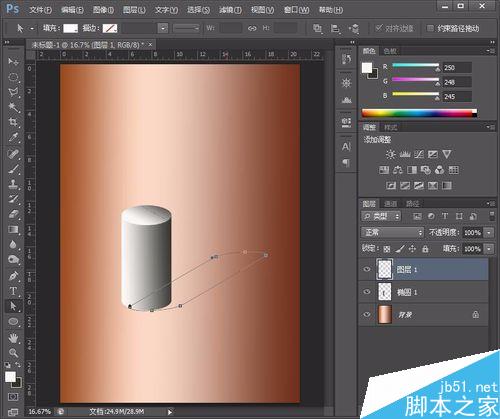
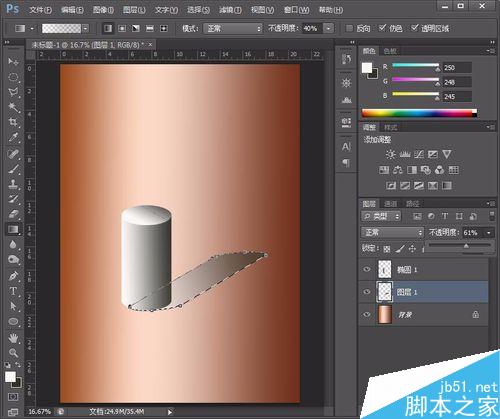
画完后将路径删除就可以了。
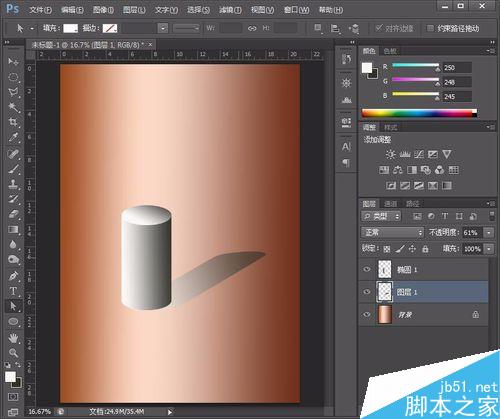
以上就是Photoshop制作超逼真的圆柱体方法介绍,操作不是很难,大家学会了吗?希望大家喜欢这篇文章!
 photoshop cs5 serial number
 What should I do if the ps temporary disk is full?
 What are the uses of vue.js slots?
 win10 bluetooth switch is missing
 How to check download history on TikTok
 windows cannot start
 How to open the terminal window in vscode
 What to do if the installation system cannot find the hard disk
 Alibaba Cloud Computer Usage


