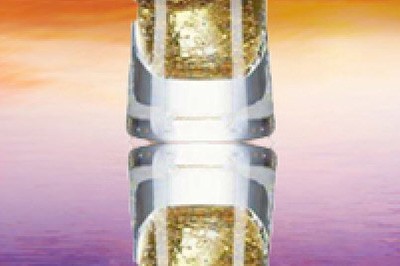
Want to add a realistic reflection effect to a cup, but don’t know where to start? This tutorial will guide you in detail in using Photoshop to create a reflection for a cup, from drawing to applying filters, step by step. Whether you are a novice in graphic design or an experienced designer, you can easily master this technique and improve the quality of your work.
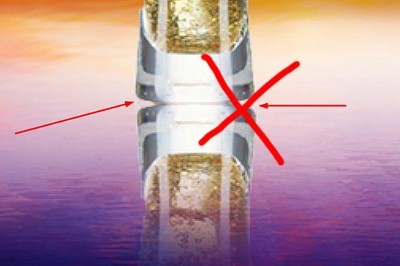
First demonstrate the wrong operation. After placing your cup on the background, copy the cup to a layer as a reflection layer. Use CTLR T on the cup for quick editing on the reflection layer.
Right click [Flip Vertical] and move it downward.

Use a mask on the reflection layer, and use the [Gradient Tool] to drag from bottom to top on the reflection layer. In this way, the reflection effect comes out, but such wrong operation makes the reflection look very disharmonious. Here is the correct operation method.

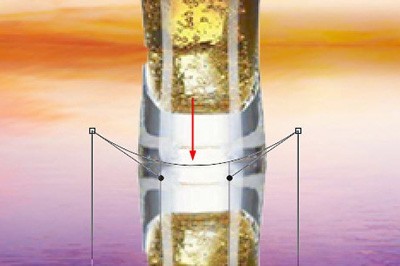
The steps are still the same as above, except that after [Vertical Flip] moves the flipped cup to the bottom, use [Deformation] again to fit the upper cup at the bottom.

Use the mask and gradient tools again, and the reflection effect will be very real.

The above is the detailed content of How to create a reflection on a cup using Photoshop. For more information, please follow other related articles on the PHP Chinese website!


