

教你如何用PS快速去水印方法

各位新手在使用PS时,利用网上找到的图片做素材的时候,往往都会有许多素材的是带有水印的,那么这个时候我们要怎么办呢,不用怕,下面小编就为大家详细介绍如何用PS快速去水印方法,一起来看看吧!
方法/步骤
1、首先你需要拥有PS软件,没有的请自行百度下载,小编用的是 PS cc版本

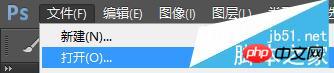
2、然后打开软件后,点击文件-打开,找到你需要去水印的图片,这边随意拿一张图做示例。
3、打开后如下图,在右下方有十分明显的水印

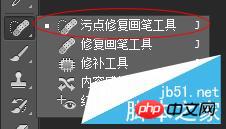
4、此时点击左边工具栏的污点修复画笔工具。
5、然后在上方调整画笔的大小具体数据。
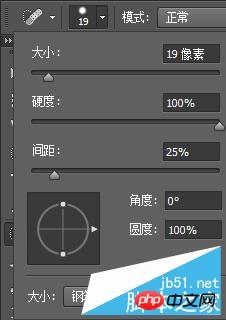
6、将画笔调整好对准水印处来回涂抹,效果图如下。(将画笔像素调小慢慢覆盖效果更好,但很花时间精力)

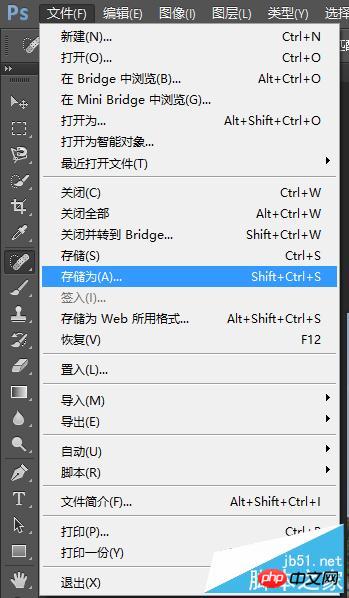
7、最后水印去除完成,别忘了点保存。大功告成!
注意事项
不适用于水印在色彩复杂的图案中
以上就是如何用PS快速去水印方法,大家学会了吗?方法很简单,希望能对大家有所帮助!

Hot AI Tools

Undresser.AI Undress
AI-powered app for creating realistic nude photos

AI Clothes Remover
Online AI tool for removing clothes from photos.

Undress AI Tool
Undress images for free

Clothoff.io
AI clothes remover

Video Face Swap
Swap faces in any video effortlessly with our completely free AI face swap tool!
Hot Article
Hot Tools

Notepad++7.3.1
Easy-to-use and free code editor

SublimeText3 Chinese version
Chinese version, very easy to use

Zend Studio 13.0.1
Powerful PHP integrated development environment

Dreamweaver CS6
Visual web development tools

SublimeText3 Mac version
God-level code editing software (SublimeText3)
Hot Topics
 1389
1389
 52
52

 ps serial number cs5 permanently free 2020
Jul 13, 2023 am 10:06 AM
ps serial number cs5 permanently free 2020
Jul 13, 2023 am 10:06 AM
PS serial numbers cs5 permanent free 2020 include: 1. 1330-1384-7388-4265-2355-8589 (Chinese); 2. 1330-1409-7892-5799-0412-7680 (Chinese); 3. 1330-1616-1993 -8375-9492-6951 (Chinese); 4. 1330-1971-2669-5043-0398-7801 (Chinese), etc.
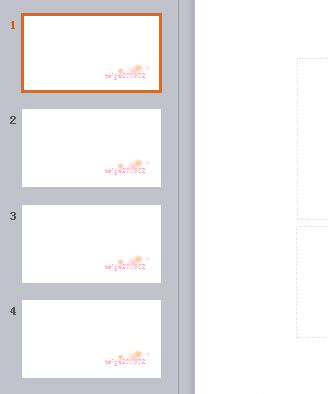 How to remove watermark from ppt
Mar 21, 2024 am 08:30 AM
How to remove watermark from ppt
Mar 21, 2024 am 08:30 AM
In fact, there are many beautiful ppt templates on the Internet. Sometimes the slides we make using ppt are not beautiful enough, so users will choose to search and download beautiful templates for use. However, some templates will have watermarks, which will affect our use. So How to remove watermark in ppt? Let’s take a look at the specific operation method. 1. Open the ppt slide, find the slide with watermark added, and find that all watermarks are added. 2. In the menu bar - click View - find the Slide Master. (The slide master is a slide that stores information about the design template of the application, including fonts, placeholder size or position, background design, and color scheme.) 3. After clicking on the slide master, find the first slide at the top piece. 4. Click on the inserted watermark and press del
 What to do if ps installation cannot write registry value error 160
Mar 22, 2023 pm 02:33 PM
What to do if ps installation cannot write registry value error 160
Mar 22, 2023 pm 02:33 PM
Solution to error 160 when ps installation cannot write registry value: 1. Check whether there is 2345 software on the computer, and if so, uninstall the software; 2. Press "Win+R" and enter "Regedit" to open the system registry, and then Find "Photoshop.exe" and delete the Photoshop item.
 Where is wink's watermark removal tool?
Feb 23, 2024 pm 04:10 PM
Where is wink's watermark removal tool?
Feb 23, 2024 pm 04:10 PM
Where is the watermark removal tool in Wink? You can find a watermark removal tool in Wink, but most friends don’t know how to find a watermark removal tool in Wink. Next, open the Wink watermark removal tool brought by the editor for players. Method graphic tutorials, interested users come and take a look! Where is wink's watermark removal tool? 1. First open winkAPP and enter the main page; 2. Then jump to the [Homepage] section on the main page; 3. Finally, in the multi-function page, click [Remove Watermark] to open the watermark. tool.
 Tutorial on how to remove watermark from clipping
Mar 26, 2024 pm 05:24 PM
Tutorial on how to remove watermark from clipping
Mar 26, 2024 pm 05:24 PM
1. Open the video clipping app, import the video that needs to be watermarked, and drag and drop the video onto the timeline. 2. Copy the original material, place it on the upper layer, and then click [Rectangular Mask] in the toolbar. 3. Place the rectangular mask where there is a watermark, and click [Blur Effect] in the special effects. 4. Finally, add the blur effect to the rectangular mask layer so that the watermark can be removed.
 How to delete selected area in ps
Aug 07, 2023 pm 01:46 PM
How to delete selected area in ps
Aug 07, 2023 pm 01:46 PM
Steps to delete the selected area in PS: 1. Open the picture you want to edit; 2. Use the appropriate tool to create a selection; 3. You can use a variety of methods to delete the content in the selection, use the "Delete" key, use the "Healing Brush Tool" , use "Content-Aware Fill", use the "Stamp Tool", etc.; 4. Use tools to repair any obvious traces or defects to make the picture look more natural; 5. After completing editing, click "File" > in the menu bar "Save" to save the editing results.
 Introduction to the process of extracting line drawings in PS
Apr 01, 2024 pm 12:51 PM
Introduction to the process of extracting line drawings in PS
Apr 01, 2024 pm 12:51 PM
1. Open the software and import a piece of material, as shown in the picture below. 2. Then ctrl+shift+u to remove color. 3. Then press ctrl+J to copy the layer. 4. Then reverse ctrl+I, and then set the layer blending mode to Color Dodge. 5. Click Filter--Others--Minimum. 6. In the pop-up dialog box, set the radius to 2 and click OK. 7. Finally, you can see the line draft extracted.
 What should I do if the PS interface font is too small?
Dec 01, 2022 am 11:31 AM
What should I do if the PS interface font is too small?
Dec 01, 2022 am 11:31 AM
How to fix the PS interface font that is too small: 1. Open PS, click the "Edit" button on the top menu bar of PS to expand the editing menu; 2. Click the "Preferences" button in the expanded editing menu, and then click "Interface. .." button; 3. In the interface settings, set the user interface font size to "Large", set the UI scaling to "200%" and save the settings, then restart PS to take effect.
