

Photoshop设计制作逼真精美的皮制日历图标

今天小编教大家如何使用Photoshop设计制作逼真精美的皮制日历图标,效果很美,喜欢的朋友可以一起来学习
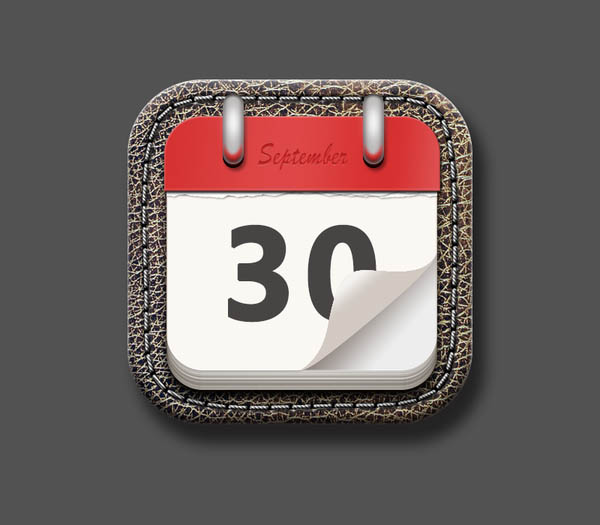
效果图为写实风格图标,制作之前需要找类似的图标或日历实物图参考一下;然后把实物拆分一下,并把各部分的光影,材质,细节等都掌握好;最后逐层刻画即可。
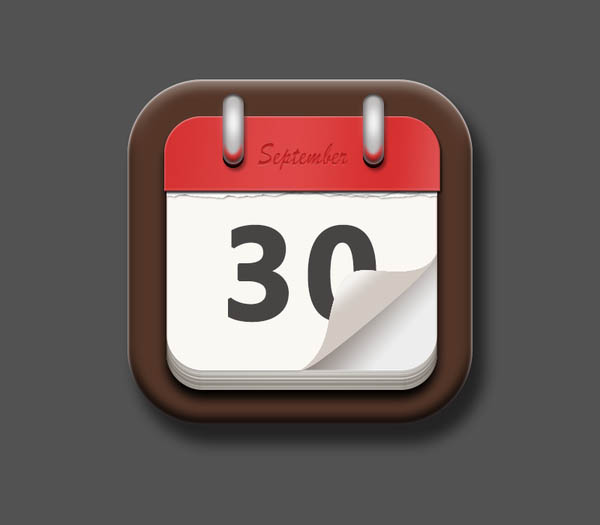
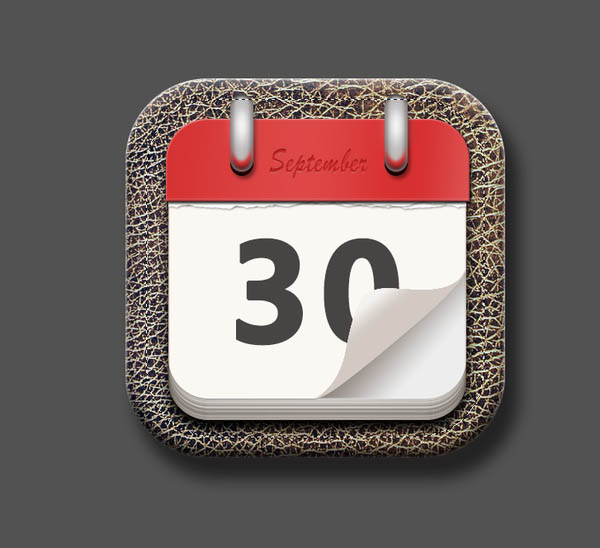
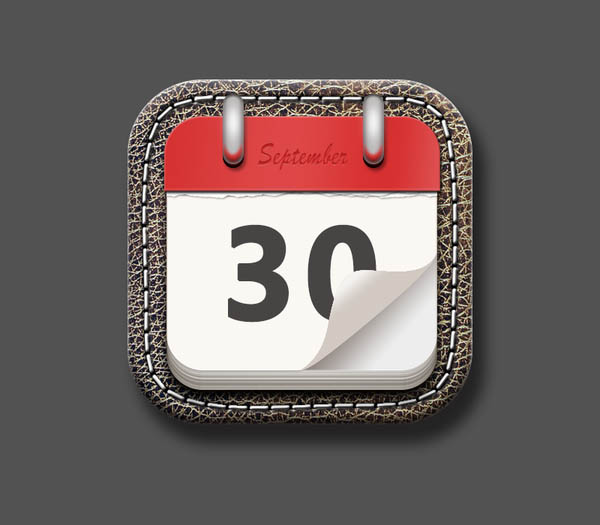
最终效果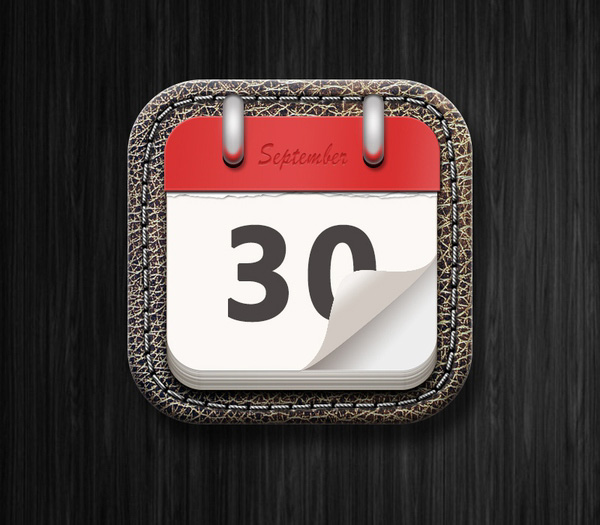
1、观察这个图标,我们将它分成三个部分来制作,如下图所示。①日历的卷页 ②日历的夹子和金属环 ③底座。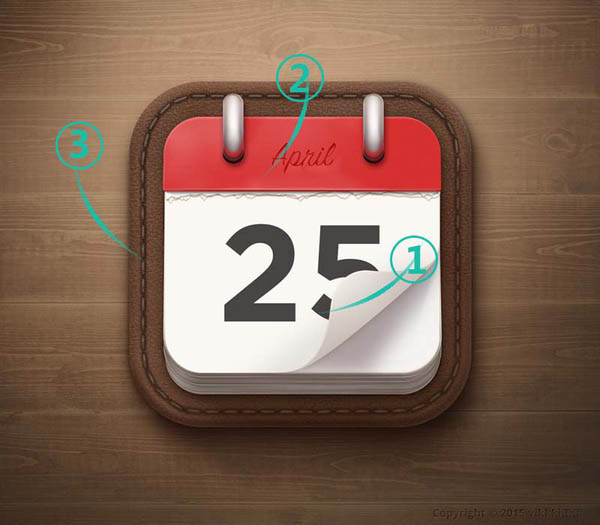
2、新建一个700*800的画布,如下图所示。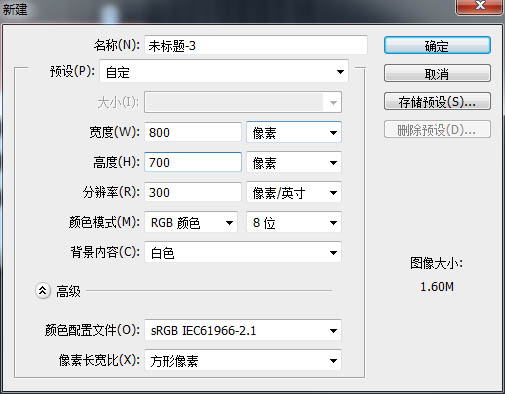
3、新建一个圆角矩形作为日历卷页的最后一页。如下图所示。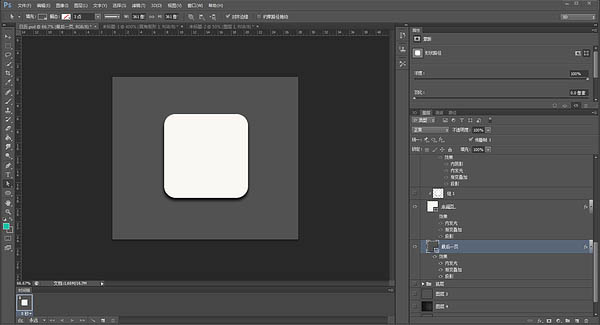
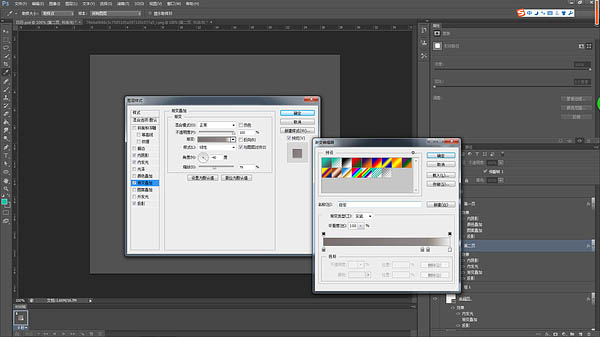
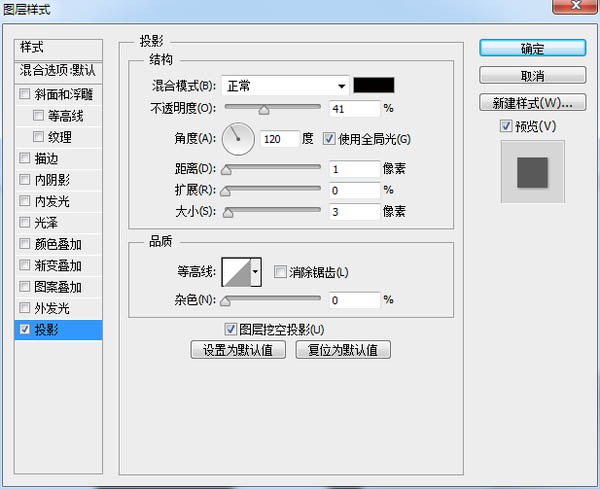
4、为圆角矩形添加图层样式。 内发光、投影、渐变叠加。(内发光是重中之重,它主要区分了每一页日历,是使日历有层次敢最主要的效果!渐变叠加可添加也可以不添加,如果你想做的精细一些,可以自己尝试调整各类数值。最后一页的投影必须要有啦~)如下图所示。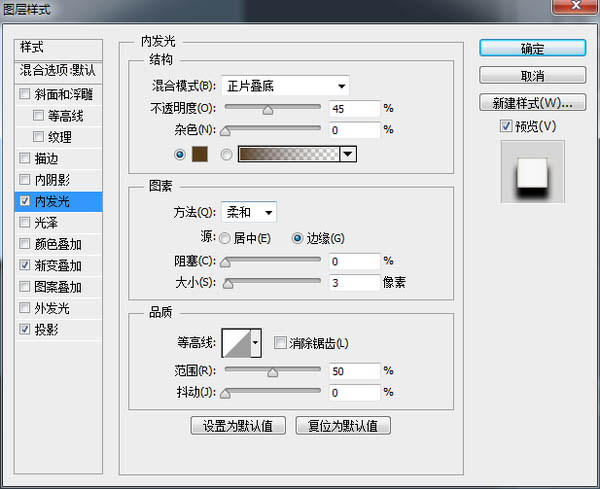
5、向上复制“最后一页”作为“中间页”。调整“中间页的位置”修改图层样式(修改一下投影,不需要那么大啦!)如下图所示。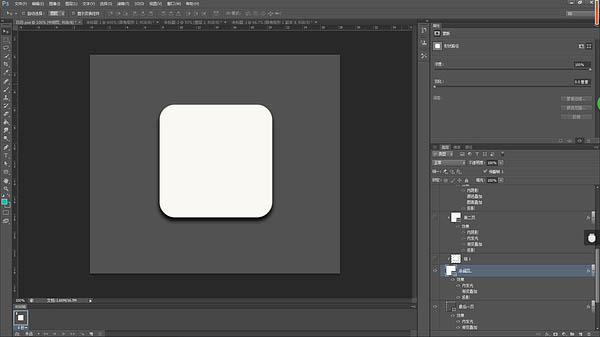
6、向上复制多张“中间页”图层,调整位置(向上调整1~3个像素点,移动大小不要一样,这样会显得比较真实。)合并复制的“中间页图层并作为”中间页“的剪切蒙版。此时得到的效果是这样的。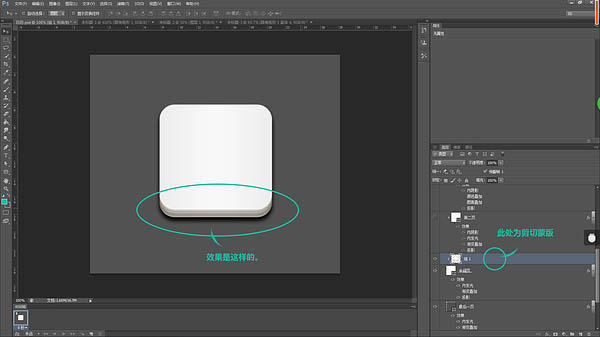
7、制作完中间页后,开始制作第二页。就是这个部分。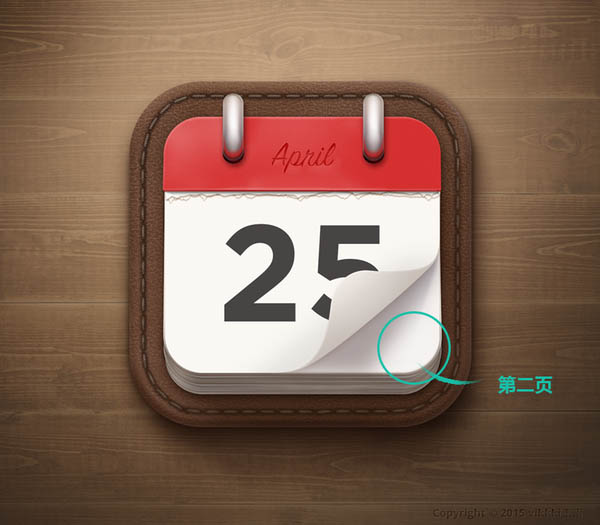
8、观察”第二页“上有”第一页“的投影,所以,复制一层”中间页“向上移动并为其添加渐变叠加,同是向下做剪切蒙版。如下图所示。渐变叠加是逐渐变亮的,控制好角度就可以啦!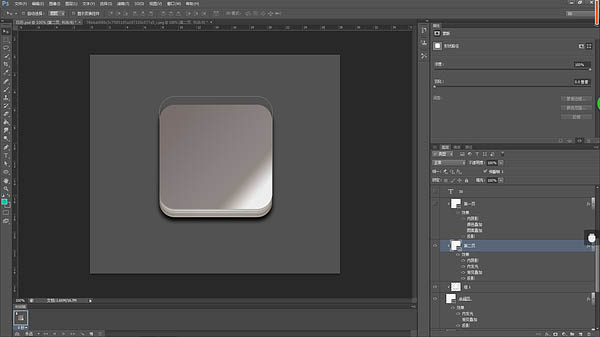
9、第二页制作完成后,开始制作第一页。我将第一页分为两个部分制作。如下图所示。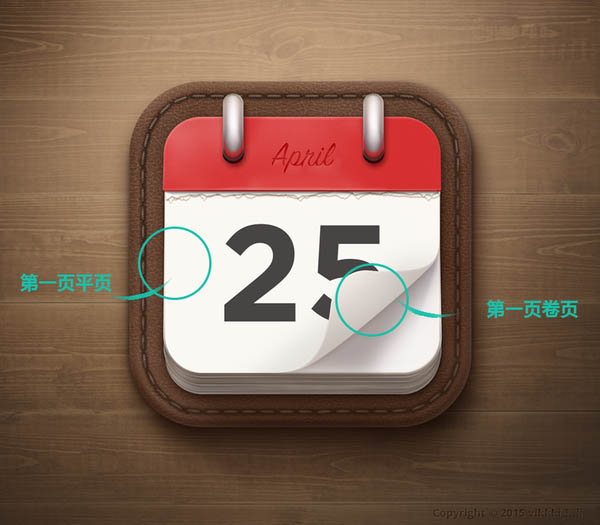
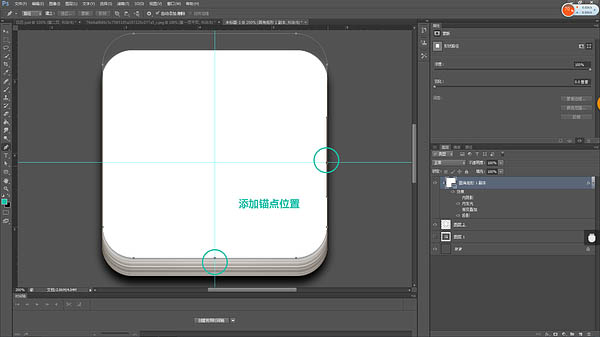
10、首先制作位于下方的”第一页平页“。向上复制”第二页“,关闭”渐变叠加效果“,并作向下作为剪切蒙版。采用”直接选择“工具点选出”第一页平页“的路径,选择”钢笔——添加锚点工具“为”第一页平页“添加锚点。如下图所示。
11、添加锚点后,使用”直接选择工具,选中下图四处锚点,并删除,得到效果如下图所示。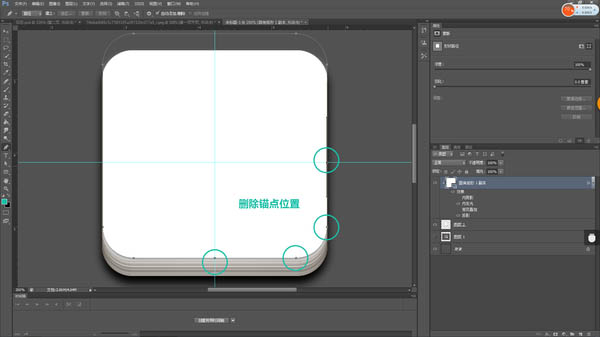

12、接下来制作“第一页卷页”部分。使用钢笔工具,描出卷页形状,并填充路径。并添加图层样式。如下图所示。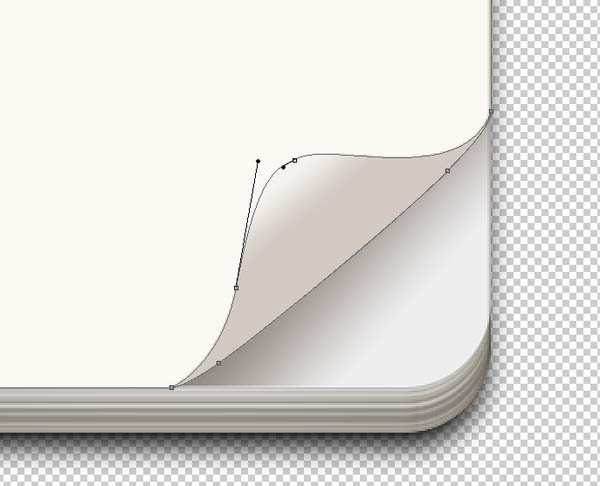

13、得到的效果是这样的。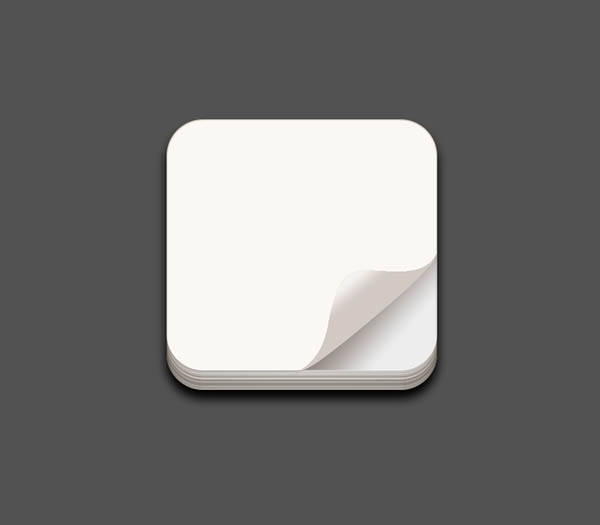
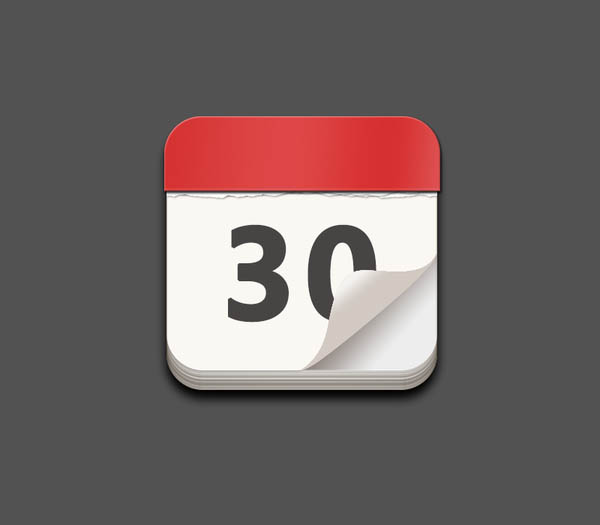
14、为第一页添加日期,今天是30号。将“日期”置于“第一页平页”和“第一页卷页”之间,效果如下。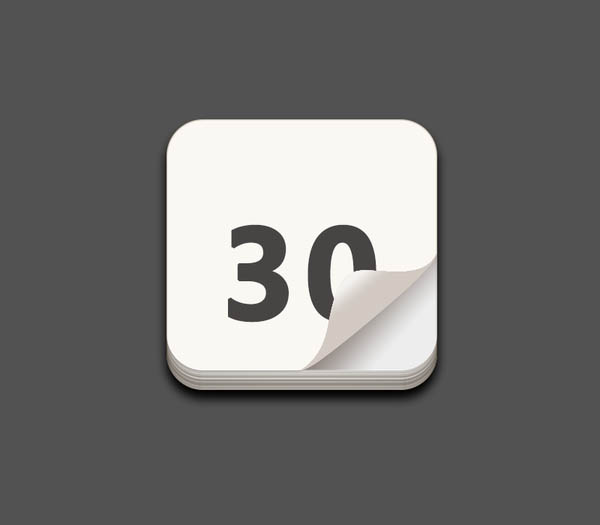
15、第一页制作完之后,制作撕掉页。首先使用钢笔工具勾出撕掉页轮廓,然后填充路径,并为其添加“投影”效果。(最好画两条不一样的撕掉页,这样比较真实。)如下图所示。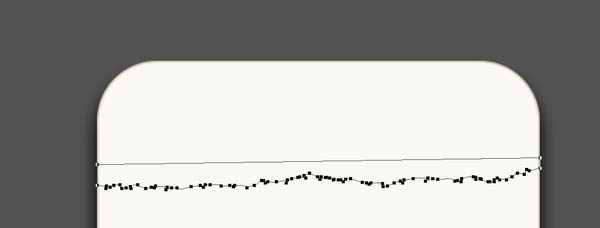

16、到此,【①日历的卷页】部分制作完成,大概是这个样子的。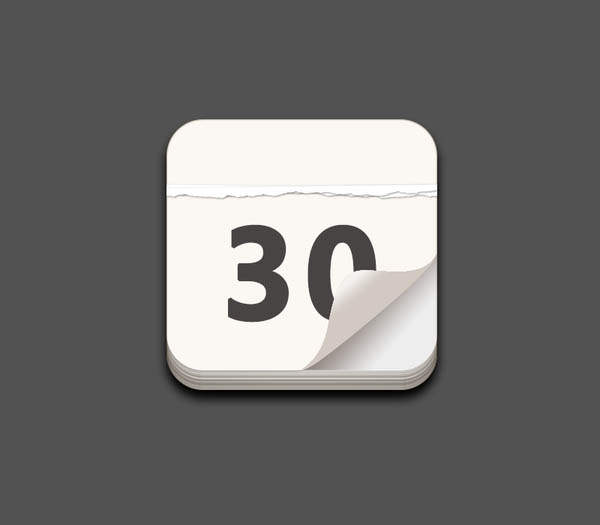
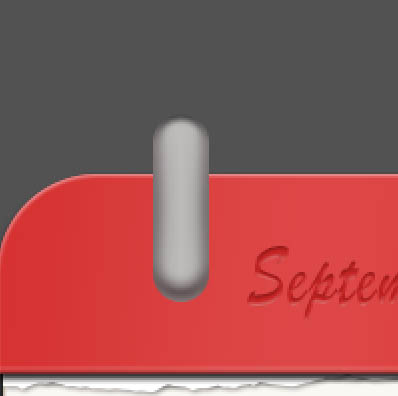
17、日历的夹子(就是红色那个部分):首先新建一个稍稍大一丢丢(几个像素就好啦)的圆角矩形置于最上层。就像这样的。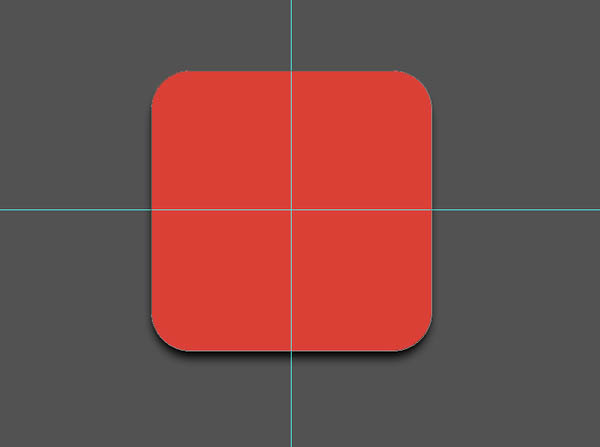
18、新建一个矩形置于顶层,如下图所示。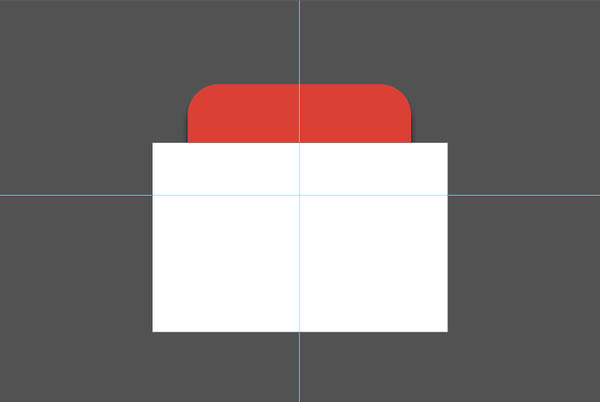
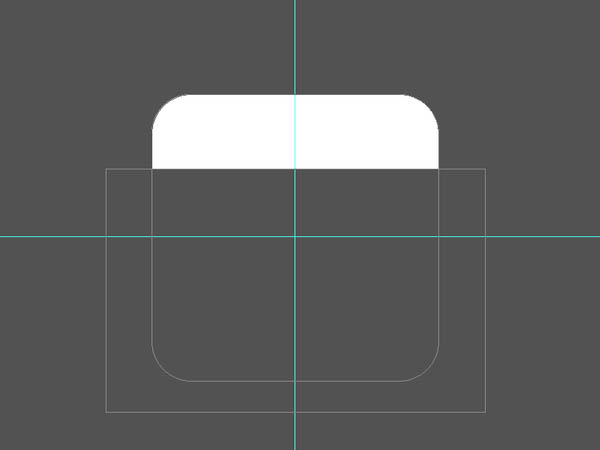
19、选择圆角矩形(日历红色夹子)按住shift加选白色矩形,使用“直接选择工具”鼠标右键单击,在菜单栏中选择“减去顶层形状”得到入下效果。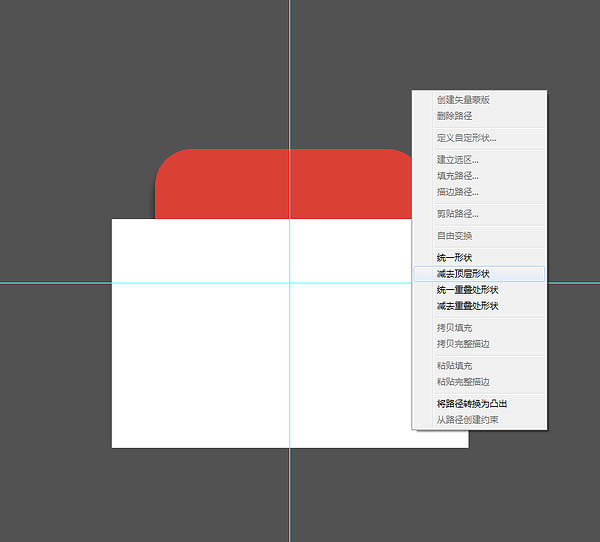
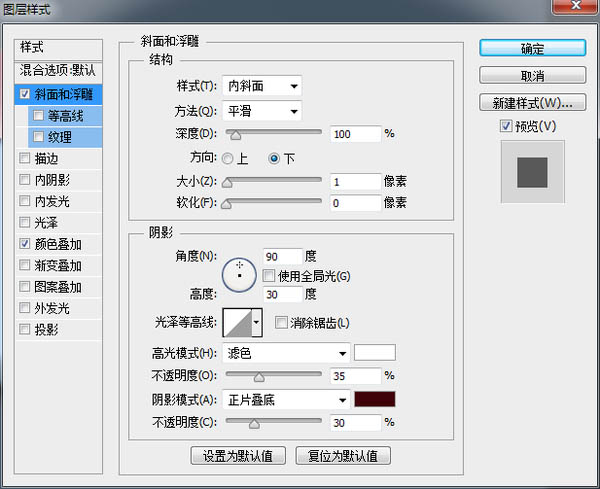
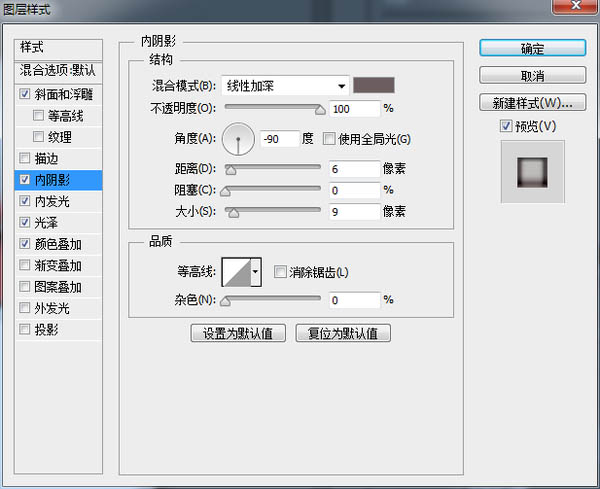
20、夹子的形状制作完毕,接下来为其添加效果。为了使其更立体,需要添加‘斜面和浮雕“”内阴影“”投影“然后添加一个颜色叠加变成红色。(数值可以自己尝试调节哦,每个效果都试试以后做其他的东西也会轻车熟路。)如下图所示。此处可以适当调整”撕掉页“和”夹子“的位置。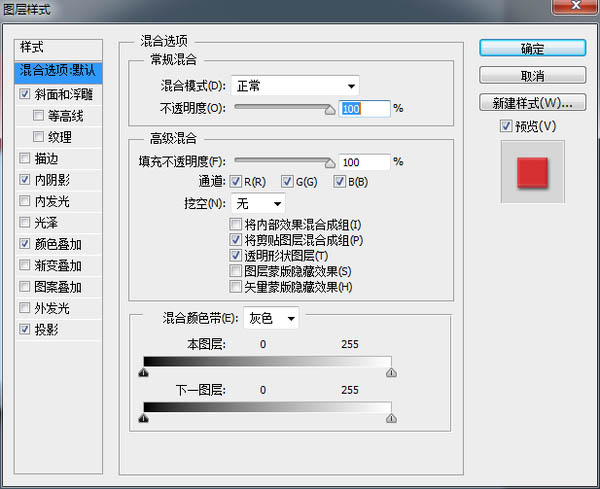

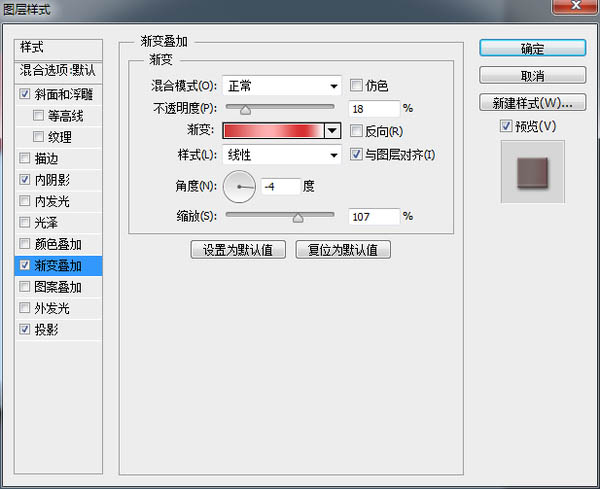
21、向上复制”红色夹子“图层,添加一个”渐变叠加“效果,并将透明度调小,给”红色夹子“增加一些变化。如下图所示。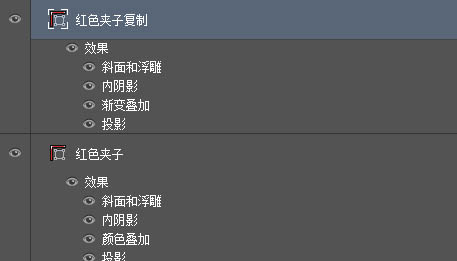
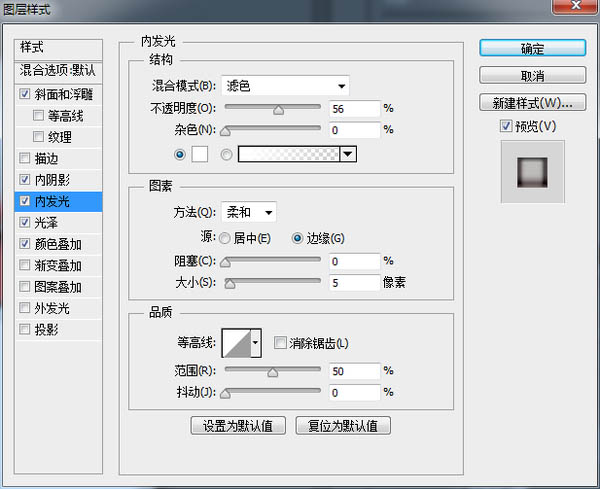
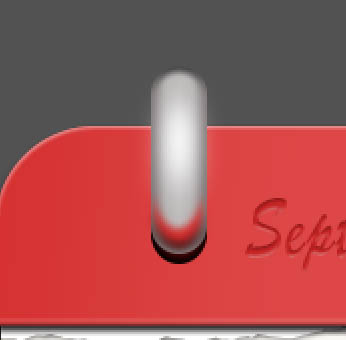
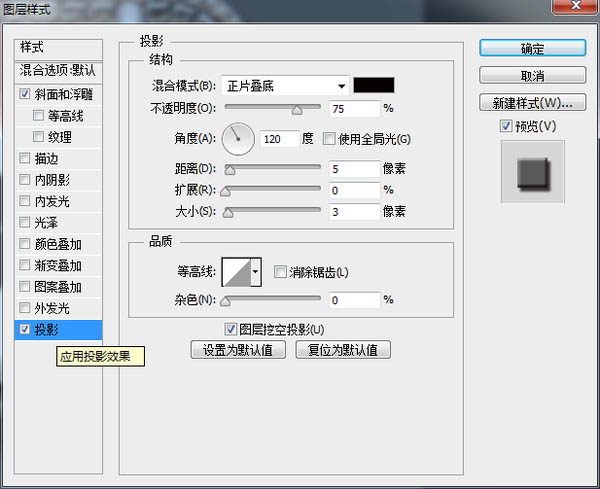
22、月份:首先输入”September“然后为其添加图层样式。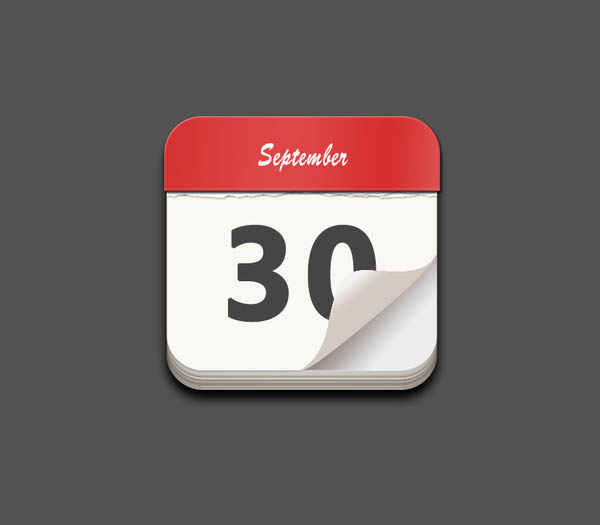
<因为文字是向下凹陷的所以“方向”是“下”> 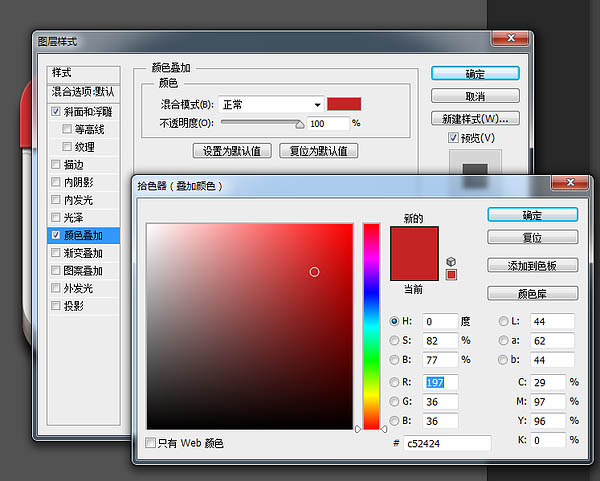

23、金属环的制作:新建一个圆角矩形。(很圆很圆。)就像下面这样。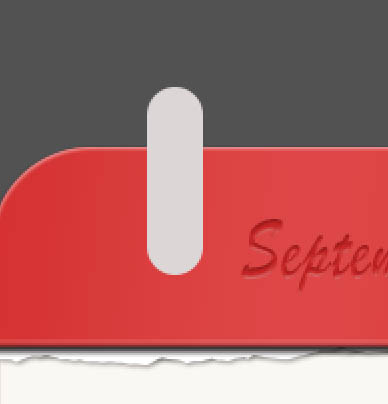
24、然后为了模拟金属效果,我们为它添加“图层样式”。(这个地方最烦了,尝试了很多次,你在制作的时候也要多去尝试,并没有统一的做法,也没有统一的数值。多多动手才是最好的,另,我做的可能并不科学!)。

25、制作反光:使用钢笔工具描出反光的形状,然后使用“滤镜”——“模糊”——“高斯模糊”使反光真实一些。就像这样。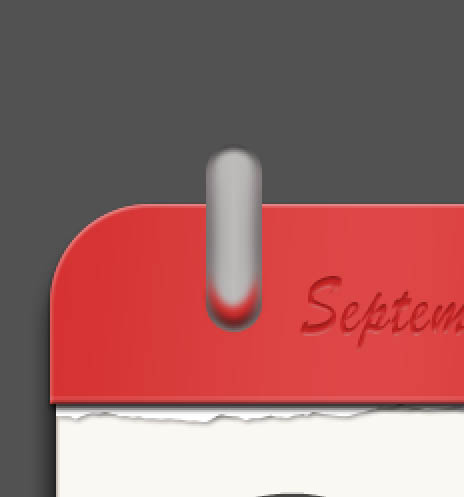
26、高光制作:使用“椭圆工具,画一个椭圆,然后”高斯模糊“,为其添加一个比较模糊比较大的光;再次用”椭圆“工具画一个小一点的椭圆,”高斯模糊“(数值小一点.)为其添加高光。就像这样。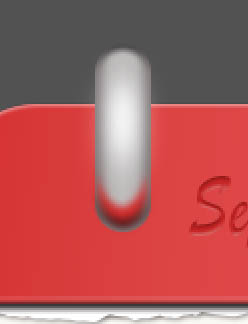
27、连接日历的洞(我也不知道咋形容)制作:画一个圆,直径稍稍大于金属环的宽,为其添加颜色。是这样的。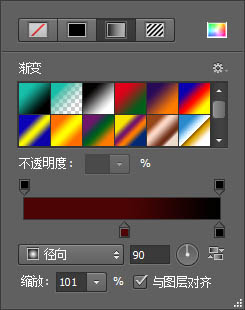
28、这样,一个金属环就做完了,给他们打个包,命名”金属环“然后复制一下,放到另一面。然后给两个金属环添加一个”投影“效果是这样的。请看。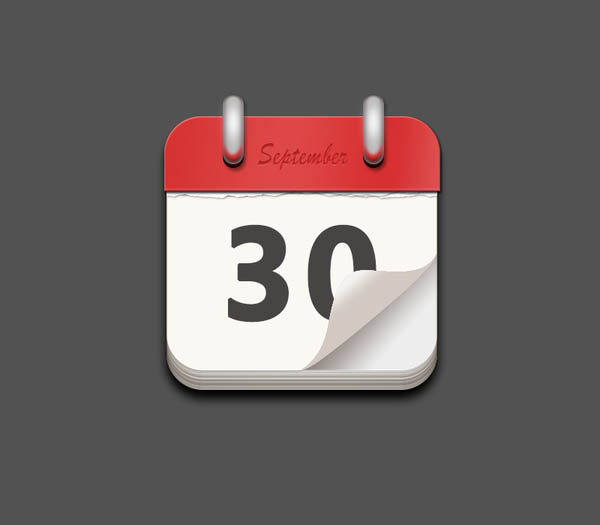
29、底座的制作:新建一个大的圆角矩形(圆角大小自己调整一下)放在最下面。就像这样。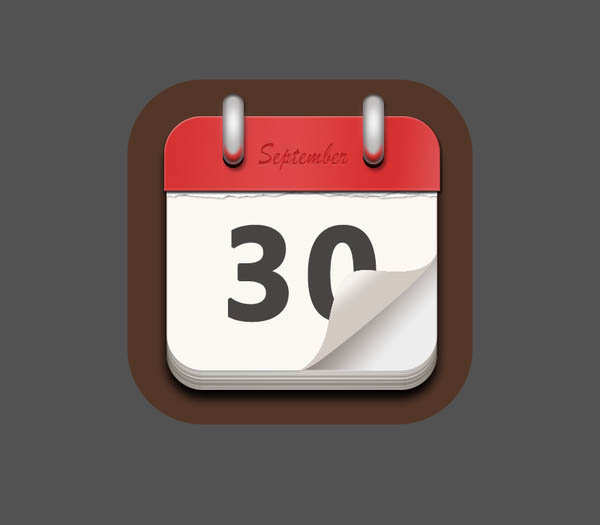
30、然后为其添加图层样式,让它立体一点(和制作夹子的时候差不多)。如下图所示。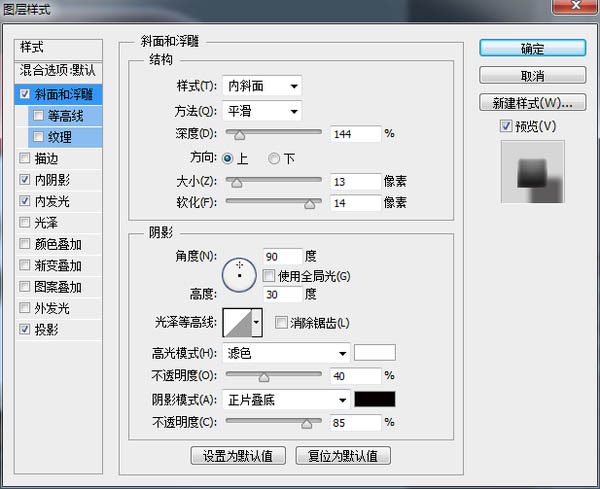
31、接下来找一张你喜欢的”皮子“比如这样的。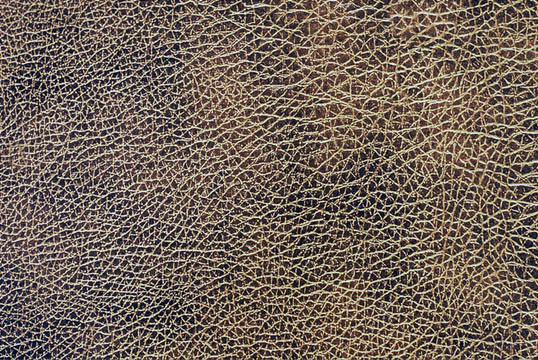
32、把它放在底座上面,然后作为”剪切蒙版“,就像这样。
33、绳子的制作:Ctrl+点击”底座“图层缩略图,就是点这个。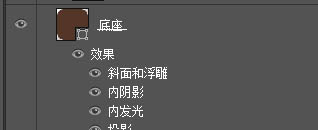
34、会出现这样的效果(就是把底座选中了)。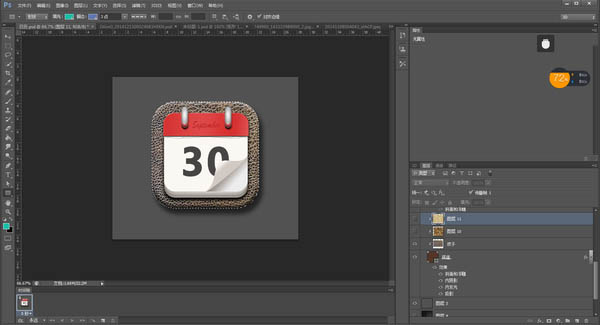
35、然后,”选择“——”修改“——”收缩“,就像这样。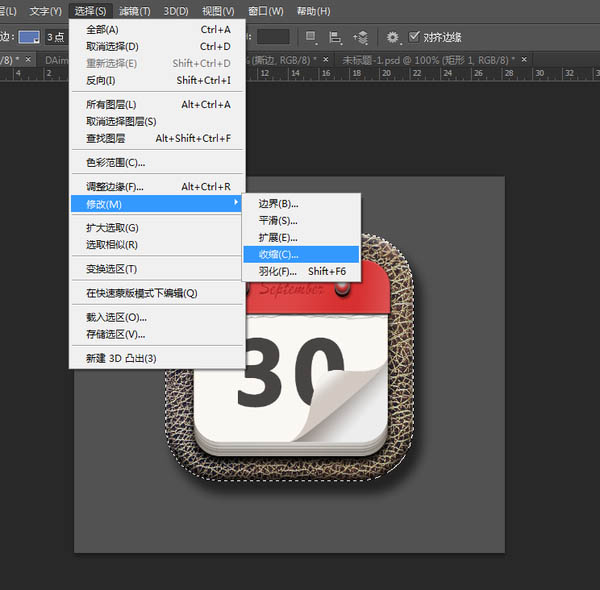
36、选择适当的数值。
37、由图层面板转入路径面板,像这样。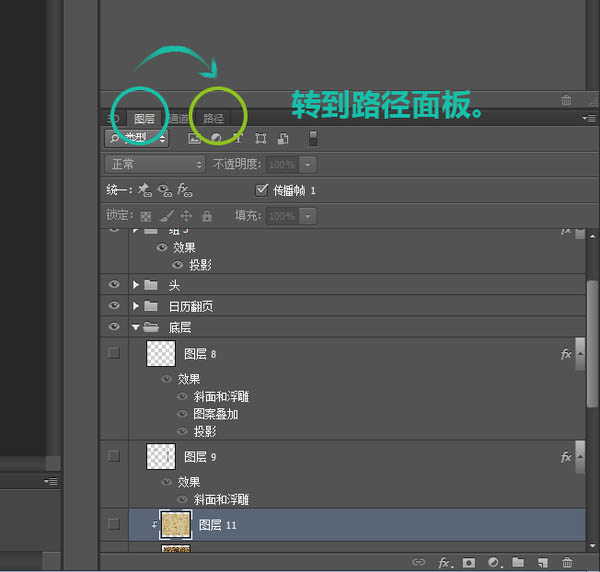
38、单击”从选区生成工作路径“,像这样。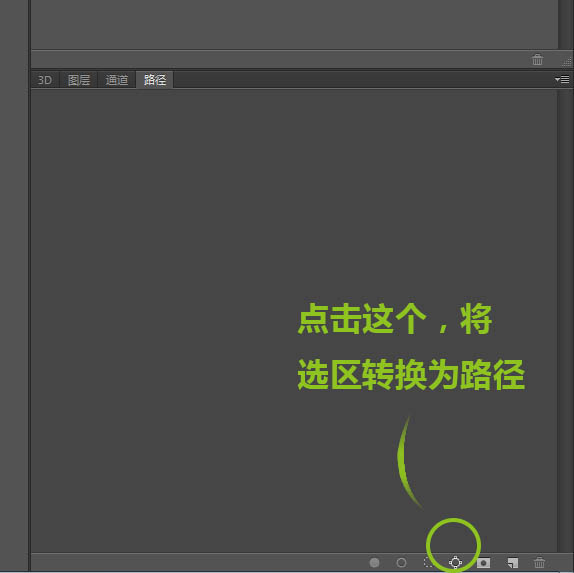
39、选区画笔工具,调一下大小(你感觉绳子应该有多粗你就调多大),选择钢笔工具为路径描个黑色的边儿吧。如下图。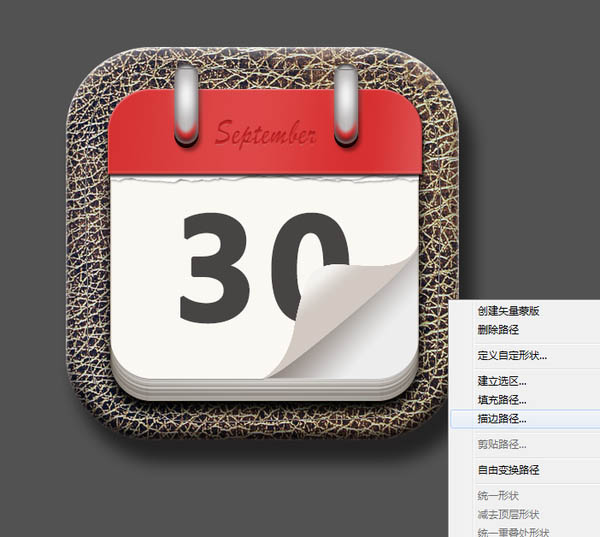

40、因为绳子缝入皮革是有挤压的,所以,添加一个图层样式,增加一些真实感,这里为它添加一个斜面和浮雕,像这样。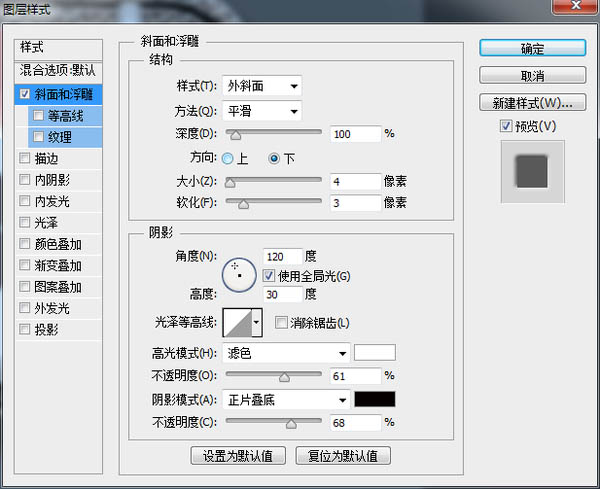
41、到这步,制作完成了绳子的挤压效果,下面来制作绳子:新建一个20X80的画布。然后在画布上新建一个圆角矩形,大概是这样的。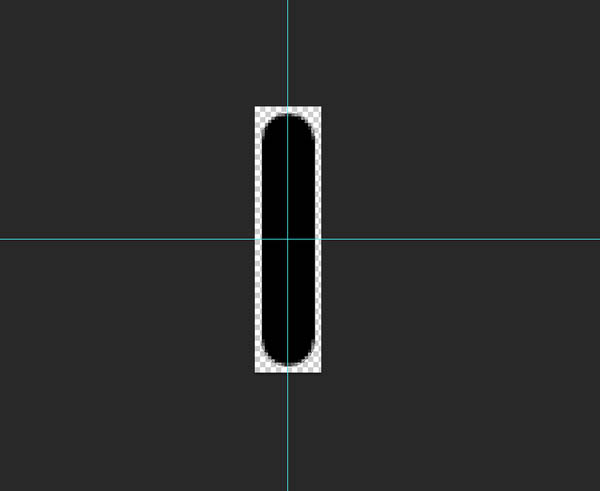
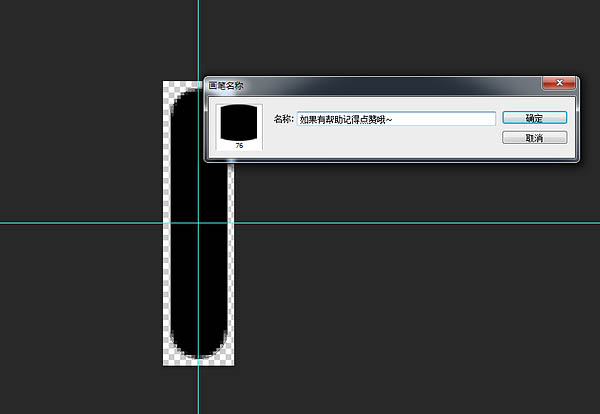
42、将它定义为笔刷,起一个好听的名字,方便查找。像这样。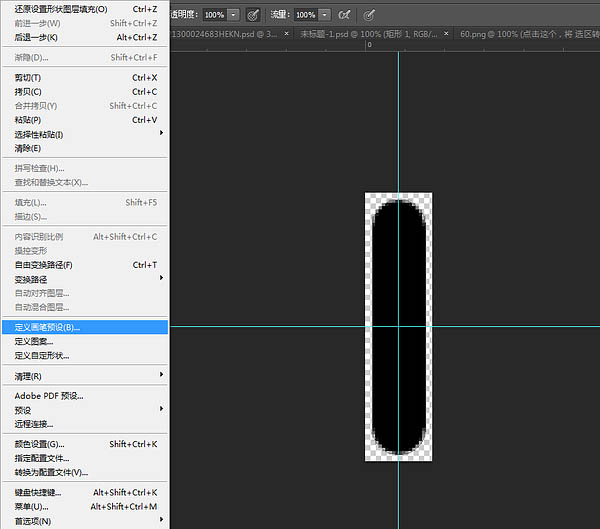
43、下面,调整一下笔刷设置,快捷键为F5,需要调整的地方如下。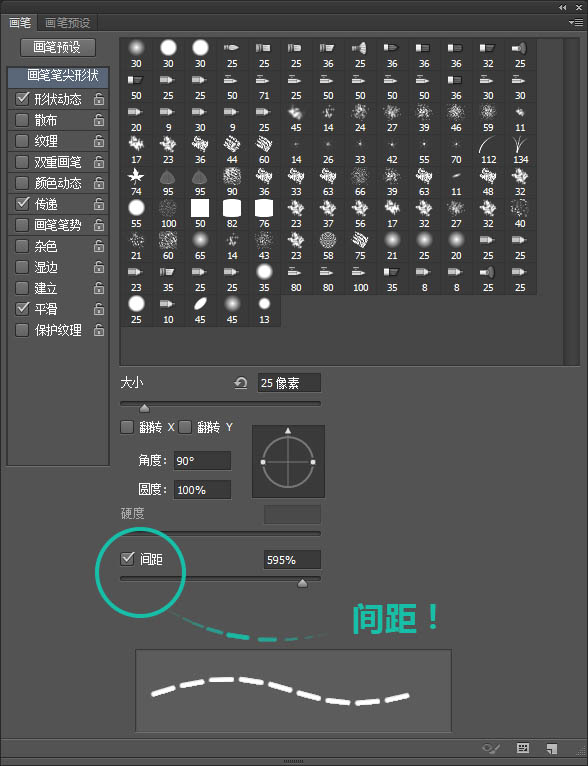
44、一定要调整间距!可以根据自己的喜好,感觉是怎么缝的就怎么调。一定要选择”方向“,不选择就惨喽,制作的时候可以试一下不勾选”反向“的效果,更容易理解。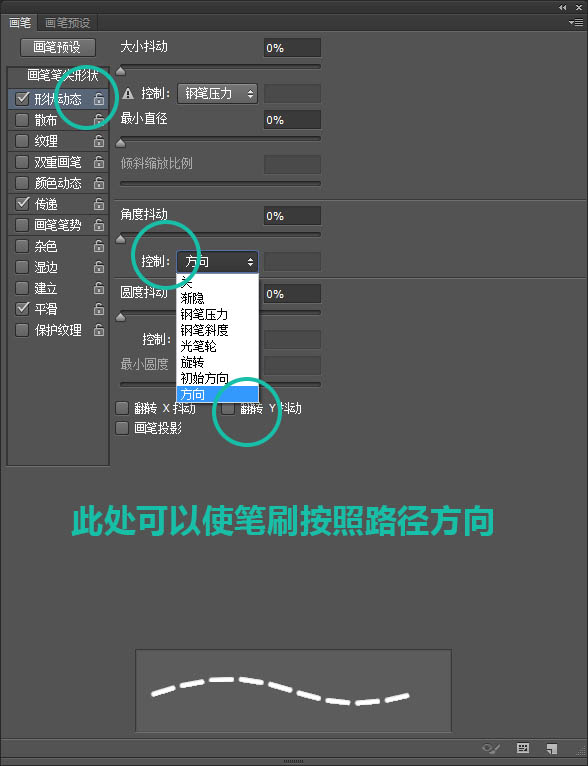
45、笔刷制作好之后,我们可以回到原来的操作界面继续制作我们的绳子啦!再次选择之前的路径,然后钢笔描边。效果如下。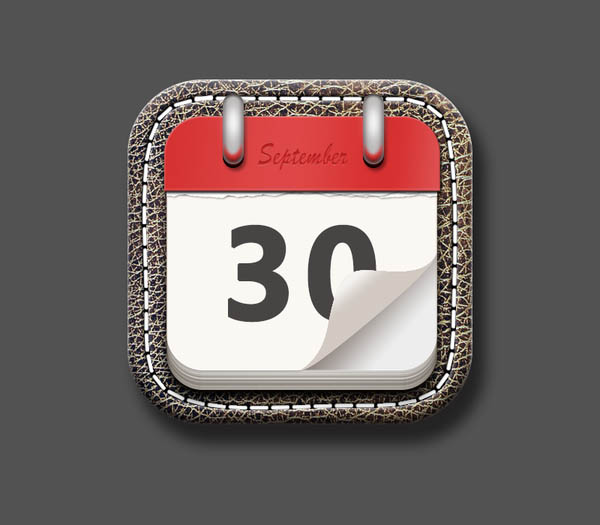
46、为了使绳子写实一点,我们为它添加图层样式。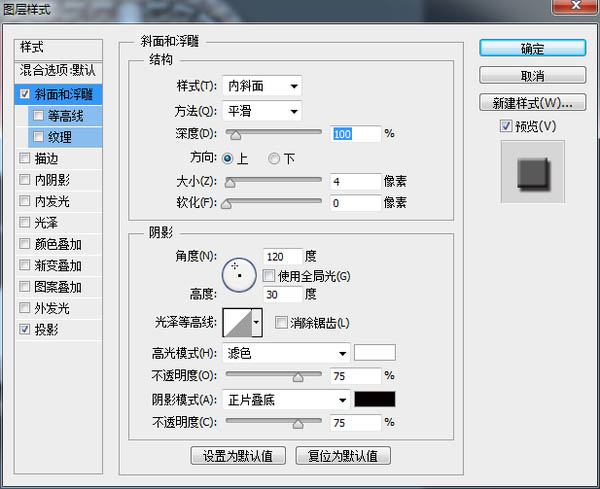
47、感觉像塑料,不是很真,绳子应该是一股一股扭在一起的,所以,接下来制作绳子的纹理。新建一个画布。新建一层图层添加白色。执行”滤镜“——”滤镜库“——”半调图案“得到如下效果。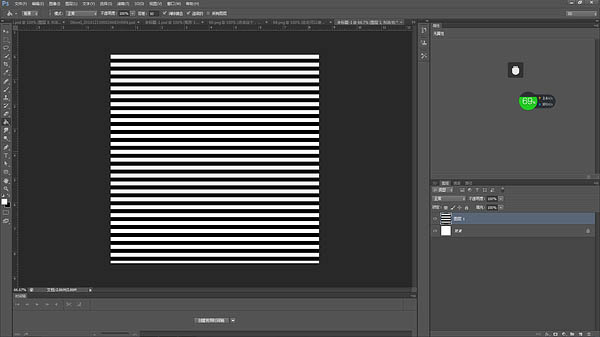
48、将此图层旋转45°,裁剪一下。如下图所示。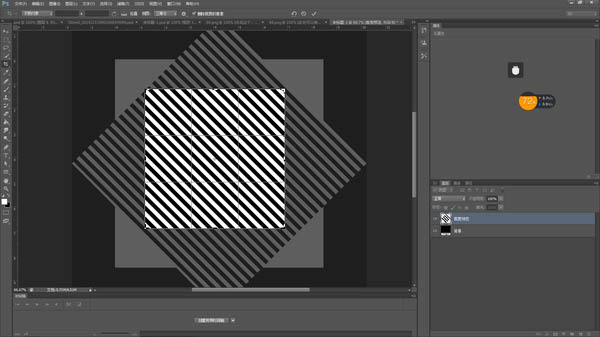
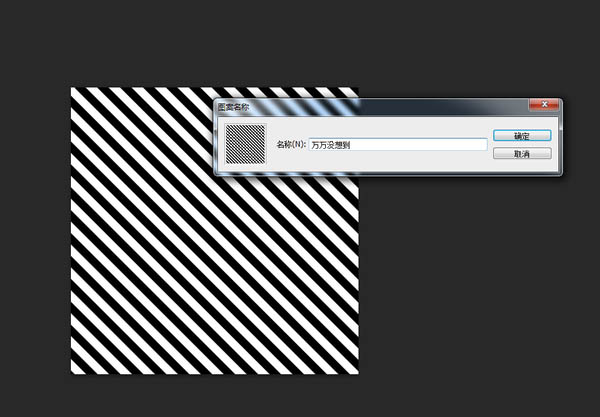
49、执行”编辑“——”定义图案“并且起一个自己记得住的名字,如下图所示。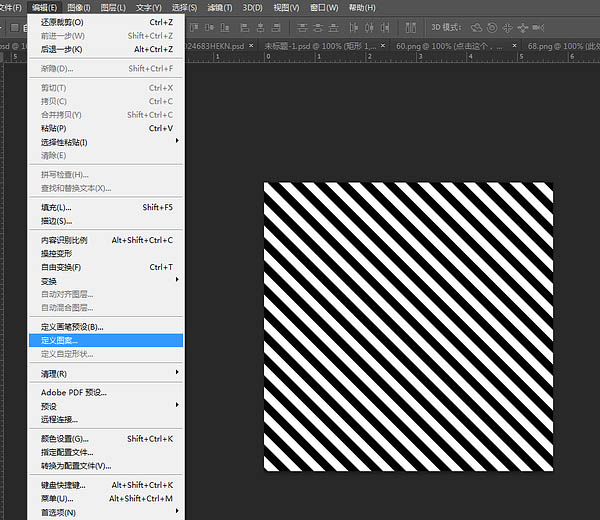
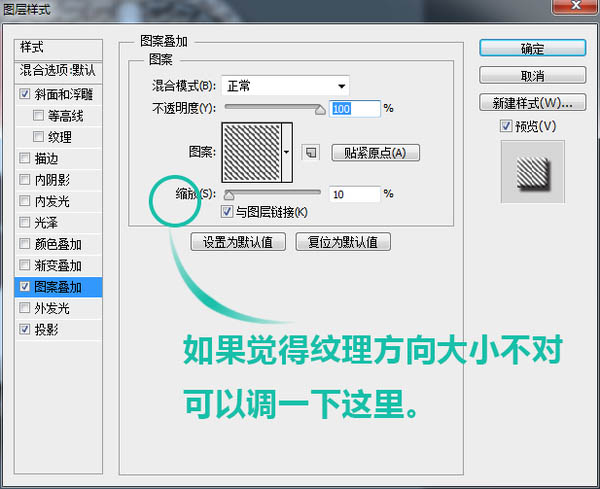
50、到这,绳子的纹理也完成啦。我们回去给绳子添加”图案叠加“,看一下效果。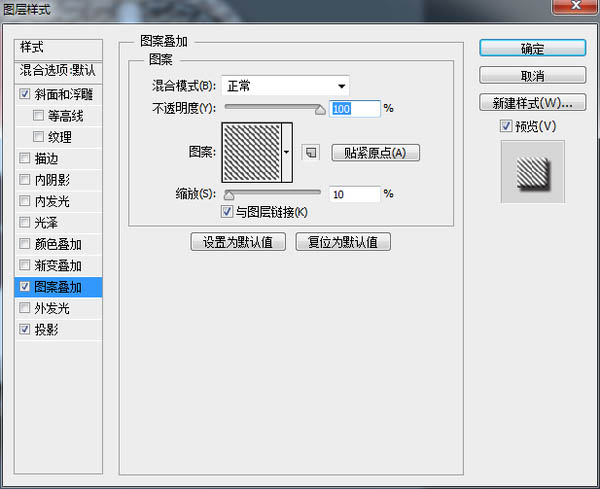
51、地板背景:找一张地板图喽,我找的是这张,把它放在背景图层上面,就可以啦。
最终效果:

Hot AI Tools

Undresser.AI Undress
AI-powered app for creating realistic nude photos

AI Clothes Remover
Online AI tool for removing clothes from photos.

Undress AI Tool
Undress images for free

Clothoff.io
AI clothes remover

Video Face Swap
Swap faces in any video effortlessly with our completely free AI face swap tool!

Hot Article
Hot Tools

Notepad++7.3.1
Easy-to-use and free code editor

SublimeText3 Chinese version
Chinese version, very easy to use

Zend Studio 13.0.1
Powerful PHP integrated development environment

Dreamweaver CS6
Visual web development tools

SublimeText3 Mac version
God-level code editing software (SublimeText3)
Hot Topics
 1389
1389
 52
52

 What should I do if the win11 dual-screen calendar does not exist on the second monitor?
Jun 12, 2024 pm 05:47 PM
What should I do if the win11 dual-screen calendar does not exist on the second monitor?
Jun 12, 2024 pm 05:47 PM
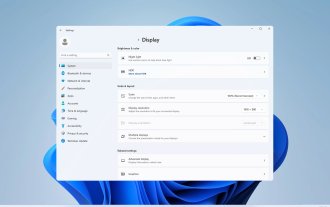
An important tool for organizing your daily work and routine in Windows 11 is the display of time and date in the taskbar. This feature is usually located in the lower right corner of the screen and gives you instant access to the time and date. By clicking this area, you can bring up your calendar, making it easier to check upcoming appointments and dates without having to open a separate app. However, if you use multiple monitors, you may run into issues with this feature. Specifically, while the clock and date appear on the taskbar on all connected monitors, the ability to click the date and time on a second monitor to display the calendar is unavailable. As of now, this feature only works on the main display - it's unlike Windows 10, where clicking on any
 How to disable taskbar thumbnail preview in Win11? Turn off the taskbar icon display thumbnail technique by moving the mouse
Feb 29, 2024 pm 03:20 PM
How to disable taskbar thumbnail preview in Win11? Turn off the taskbar icon display thumbnail technique by moving the mouse
Feb 29, 2024 pm 03:20 PM
This article will introduce how to turn off the thumbnail function displayed when the mouse moves the taskbar icon in Win11 system. This feature is turned on by default and displays a thumbnail of the application's current window when the user hovers the mouse pointer over an application icon on the taskbar. However, some users may find this feature less useful or disruptive to their experience and want to turn it off. Taskbar thumbnails can be fun, but they can also be distracting or annoying. Considering how often you hover over this area, you may have inadvertently closed important windows a few times. Another drawback is that it uses more system resources, so if you've been looking for a way to be more resource efficient, we'll show you how to disable it. but
 How to remove icons in Ubuntu start menu?
Jan 13, 2024 am 10:45 AM
How to remove icons in Ubuntu start menu?
Jan 13, 2024 am 10:45 AM
There are many software icons listed in the Ubuntu system start menu. There are many uncommon icons. If you want to delete them, how should you delete them? Let’s take a look at the detailed tutorial below. 1. First enter the ubuntu desktop and click on the start menu under the left panel. 2. You can find a text editor icon inside, we need to delete it. 3. Now we return to the desktop and right-click the mouse to open the terminal. 4. Use the command to open the application list directory. sudonautilus/usr/share/applicationssudonautilus~/.local/share/applications5. Find the corresponding text editor icon inside. 6. Then go straight
 How do I get the system tray icon to appear on all my Windows 11 monitors?
Sep 22, 2023 pm 03:21 PM
How do I get the system tray icon to appear on all my Windows 11 monitors?
Sep 22, 2023 pm 03:21 PM
When using a multi-monitor setup, users want to display the tray icon on all monitors in order to keep up with the latest notifications or access certain applications. This can be very useful, and in today's guide we'll show you how to enable this feature correctly. How to show tray icon on all monitors in Windows 11? 1. Use the display fusion software to visit the DisplayFusion website and download the software. After downloading the software, run the setup file and install it. Start the software and configure it as needed. On the second screen, right-click the taskbar, select Multi-monitor Taskbar, and then select System Tray. Finally, check Show/Hide Icons. Once this is done, you should get your system on both monitors on Windows 11
 Win10 calendar displays week numbers
Jan 04, 2024 am 08:41 AM
Win10 calendar displays week numbers
Jan 04, 2024 am 08:41 AM
Many users want to use the win10 calendar tool to check the current number of days, but the calendar does not automatically display this function. In fact, we only need to make simple settings to see the cumulative number of weeks this year ~ win10 calendar displays weeks Digital setting tutorial: 1. Enter calendar in the search in the lower left corner of the desktop and open the application. 2. In the open calendar application, click the "gear" icon in the lower left corner, and the settings will pop up on the right. We click "Calendar Settings" 3. Continue in the open calendar settings, find "Week Number" and then change the week Just adjust the number option to "the first day of the year". 4. After completing the above settings, click "Week" to see this year's week number statistics.
 Download the phone settings icon to the desktop 'Know in seconds: Steps to change icons for apps on Android phones'
Feb 06, 2024 pm 04:27 PM
Download the phone settings icon to the desktop 'Know in seconds: Steps to change icons for apps on Android phones'
Feb 06, 2024 pm 04:27 PM
In order to beautify their desktop, many users like to change their desktop themes regularly to keep them fresh. However, changing the theme will not change the icon of the third-party APP, and the personalized beautification is not thorough enough. If you're tired of the same app icons, replace them. Theoretically, if you want to change the icon for a mobile app, you usually need a ROOT system and some tools to unpack and replace the icon. But since the vast majority of mobile phones no longer support the ROOT system, we need to find other methods to achieve it. For example, some specific applications may offer the option to customize the icon, or personalize the icon through a third-party launcher. In addition, some mobile phone brands have also launched special theme and icon stores for users to choose and change icons. In major app stores,
 What do the 5G UC and 5G UW icons on your T-mobile smartphone mean?
Feb 24, 2024 pm 06:10 PM
What do the 5G UC and 5G UW icons on your T-mobile smartphone mean?
Feb 24, 2024 pm 06:10 PM
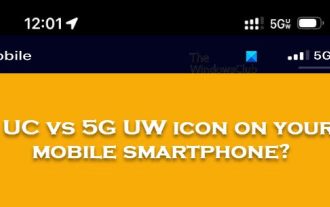
T-Mobile users have started noticing that the network icon on their phone screens sometimes reads 5GUC, while other carriers read 5GUW. This is not a typo, but represents a different type of 5G network. In fact, operators are constantly expanding their 5G network coverage. In this topic, we will take a look at the meaning of the 5GUC and 5GUW icons displayed on T-Mobile smartphones. The two logos represent different 5G technologies, each with its own unique characteristics and advantages. By understanding what these signs mean, users can better understand the type of 5G network they are connected to so they can choose the network service that best suits their needs. 5GUCVS5GUW icon in T
 Outlook calendar not syncing;
Mar 26, 2024 am 09:36 AM
Outlook calendar not syncing;
Mar 26, 2024 am 09:36 AM
If your Outlook calendar cannot sync with Google Calendar, Teams, iPhone, Android, Zoom, Office account, etc., please follow the steps below to resolve the issue. The calendar app can be connected to other calendar services such as Google Calendar, iPhone, Android, Microsoft Office 365, etc. This is very useful because it can sync automatically. But what if OutlookCalendar fails to sync with third-party calendars? Possible reasons could be selecting the wrong calendar for synchronization, calendar not visible, background application interference, outdated Outlook application or calendar application, etc. Preliminary fix for Outlook calendar not syncing
