photoshop中用英文字母制作可爱的背景效果图
在photoshop的软件中,我们不仅可以自用形状及其它的工具来制作出来非常好看的各种背景。当然也可以利用其中的文字工具来制作出各各不同效果的背景图片。下面小编为大家分享photoshop中用英文字母制作可爱的背景效果图方法,教程真的很不错,推荐过来,大家一起来学习!

方法/步骤
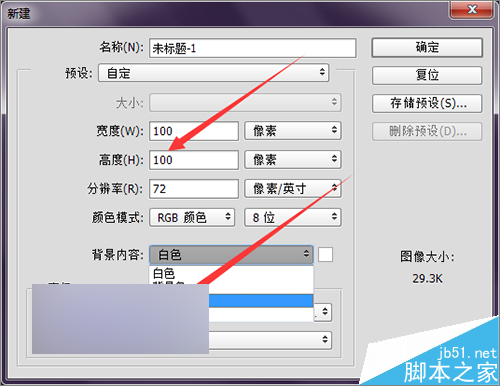
1、打开软件后,点击文件菜单中的新建。新建一个画布。这里就新建一个大小为100*100的画布。分辨率为72。颜色为RGB。背景内容为透明的文档。然后点击确定。
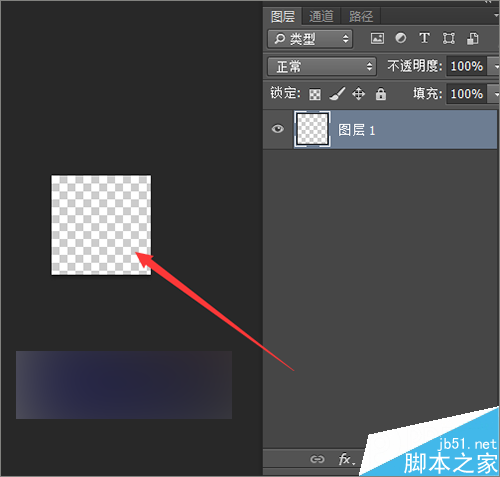
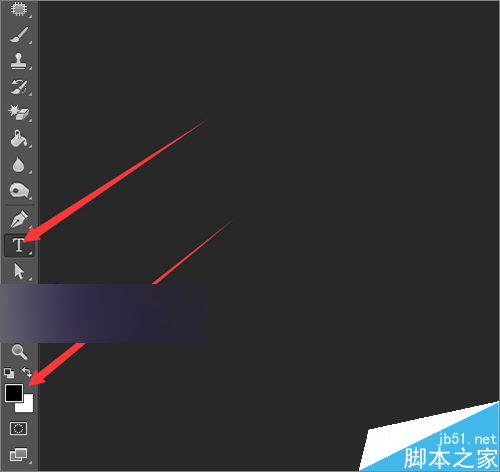
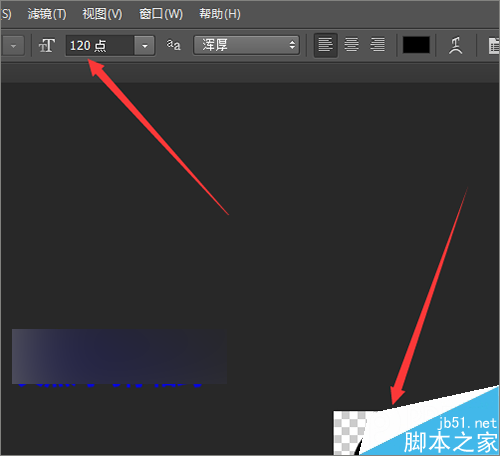
2、接着把前景色和背景色的颜色恢复到默认的状态。然后选择工具栏中的文字工具。这里把它的文字打开设置为120。也可以再适当的设置的小一些。
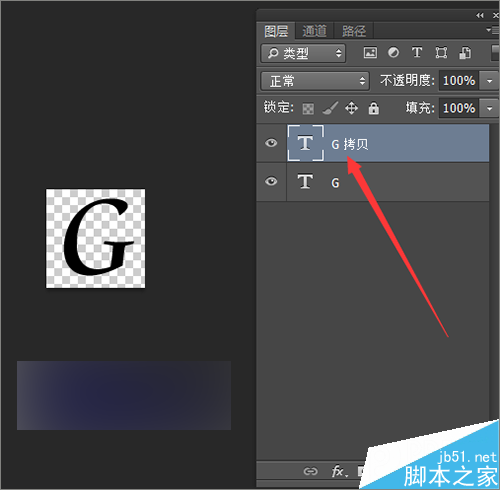
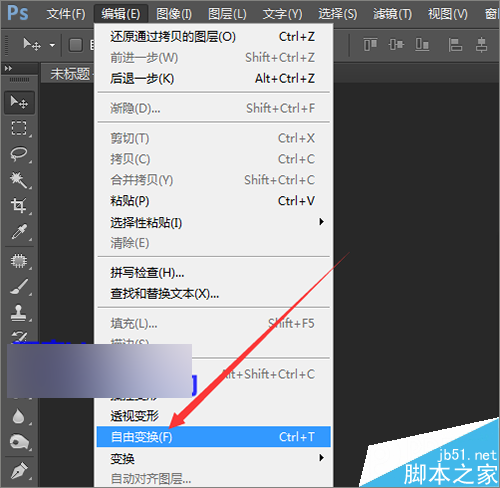
3、把字调整到画布中间的位置。然后再按着键盘上的ctr+j 复制一个文字层。然后点击编辑菜单中的自由变换。按着键盘上的shift+alt把它进行等比例缩小。因为所新建的画布是100*100的,还是比较小的,为了方便操作。可以把进行放大。
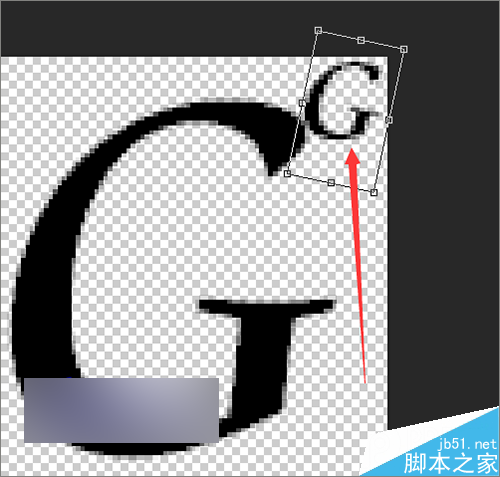
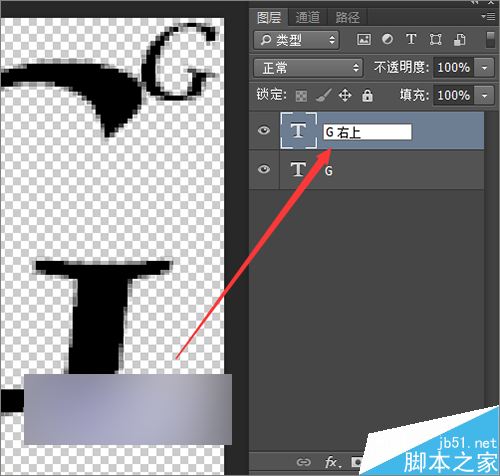
4、把它缩小之后,把复制的文字移动到右边的上方。也可以旋转一下改变一个它的角度。调整好之后,这里再把这个图层重新的命名一下方便和后面复制的图层进行区分。
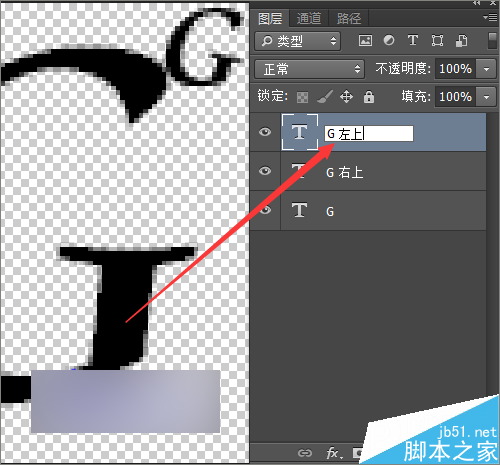
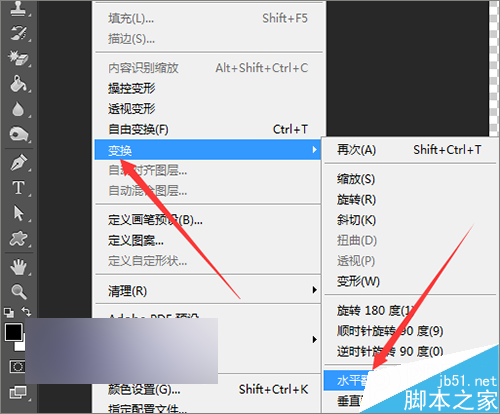
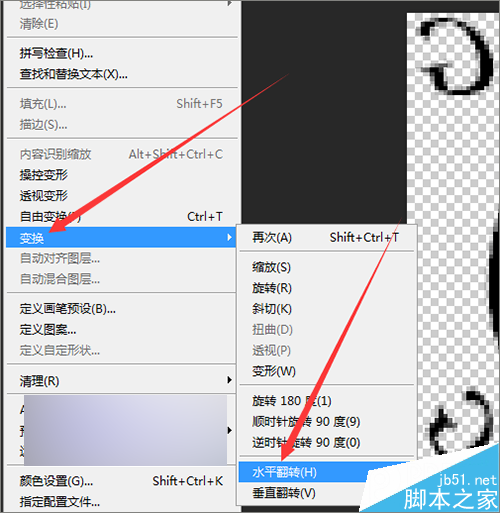
5、接着再复制一个文字层,把这个文字层重新的命名为G左上。这个是要把它移动到左边上方的文字。接着点击编辑菜单中的变换---水平翻转。让它和右边的形状相反。然后点击键盘上向左方向键把它移动到左边的位置。
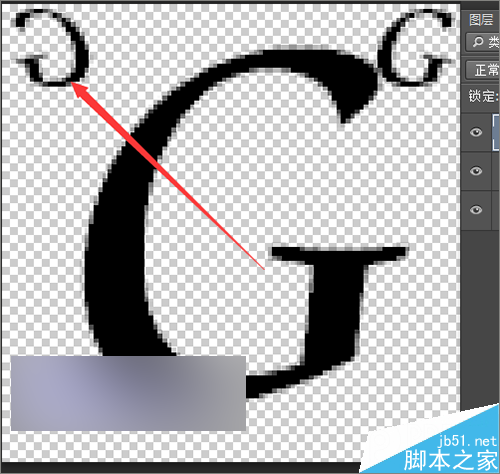
6、接着再复制一个文字层,把它命名为G左下。把这个文字移动到左边的下方。然后点击编辑菜单中的自由变换。把这个文字的位置进行一个旋转。旋转好之后点击上面的对勾。
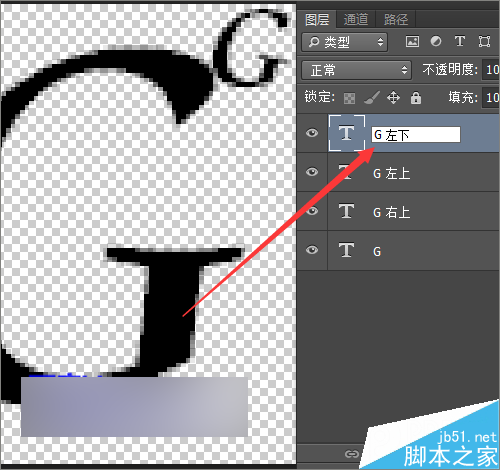
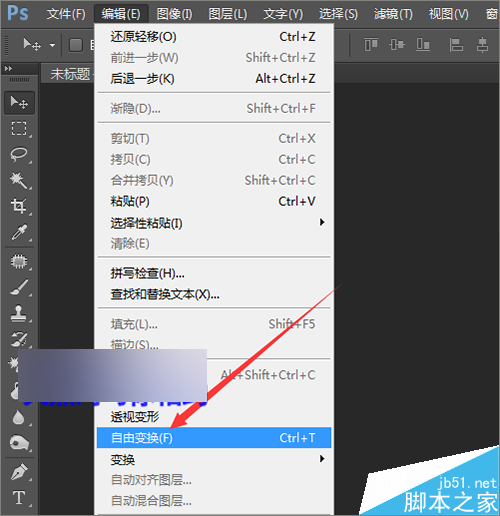
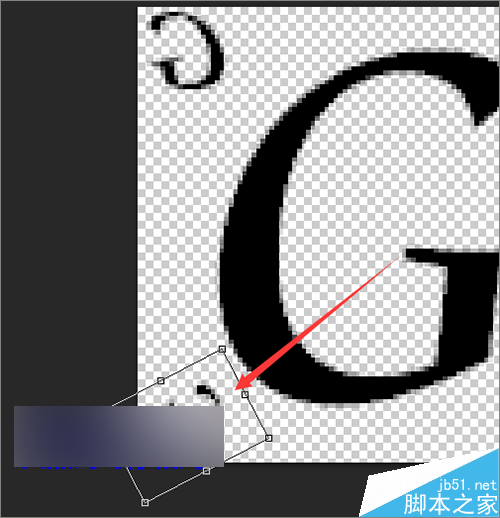
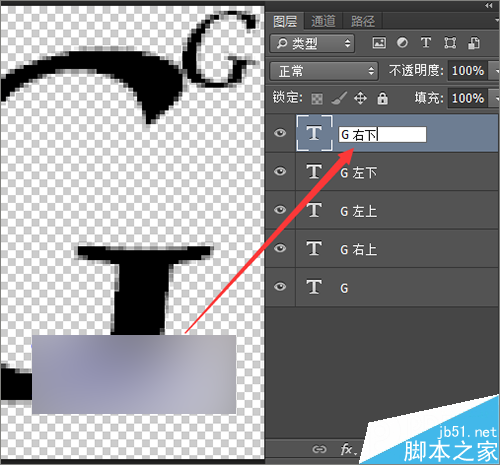
7、接着再把这个文字图层进行一个复制。把复制的图层命名为G右下。然后点击编辑菜单中的变换----水平翻转。用键盘上的向右方向键把它移动到右下角的位置。如果在移动的时候,移动不动的话,就需要检查一下是否是选择了移动工具。
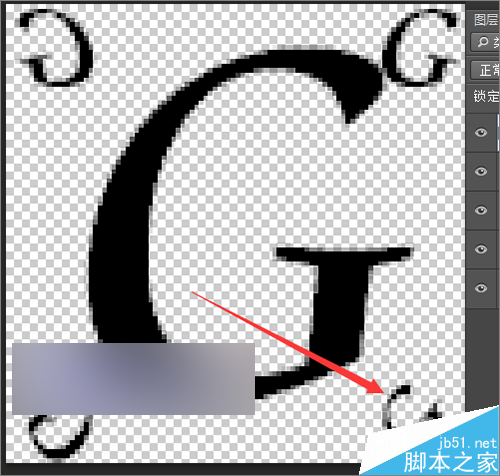
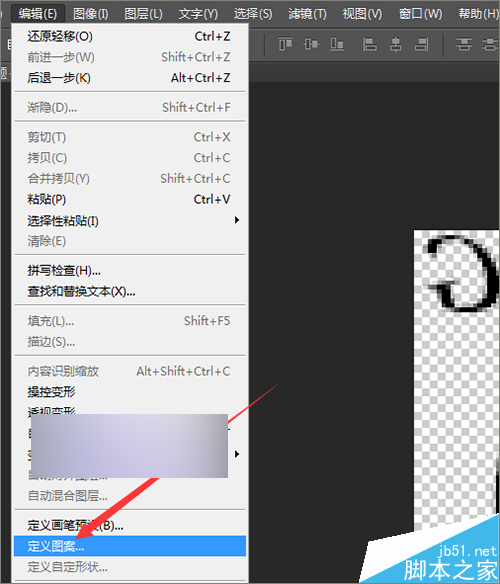
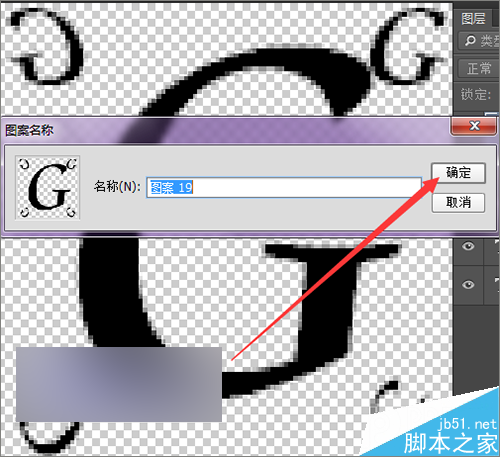
8、把它的制作好后,接下来就需要把它定义成图案。点击编辑菜单下面的定义图案。接着在弹出的图案名称中点击确定。
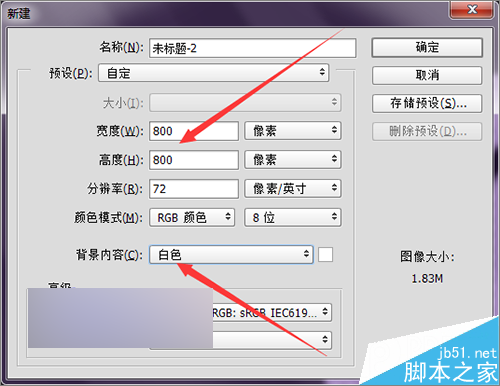
9、这里想要制作一个图案背景。就需要再重新的新建一个画布。这里把它的大小设置为800*800。分辨率72,颜色模式为RGB。把它的背景内容更改一下,之前是透明的背景。这里就把它改为白色的背景。
10、然后在它的背景层上双击解锁后打开它的图层样式。在打开的图层样式中选择图案叠加。在图案中点击它的下拉铵钮调出它的图案。接着在弹出的图案中选择刚才定义好的背景。
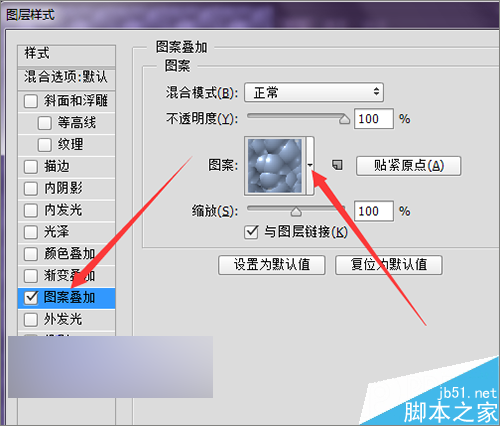
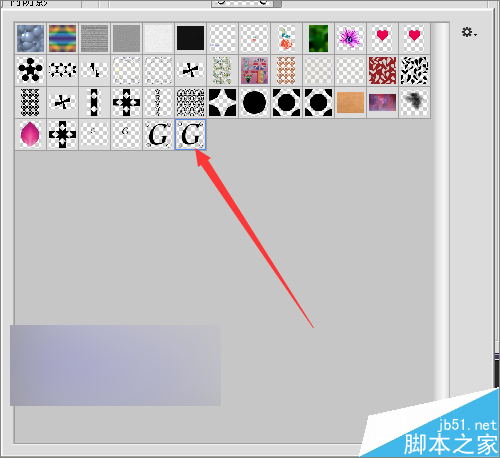
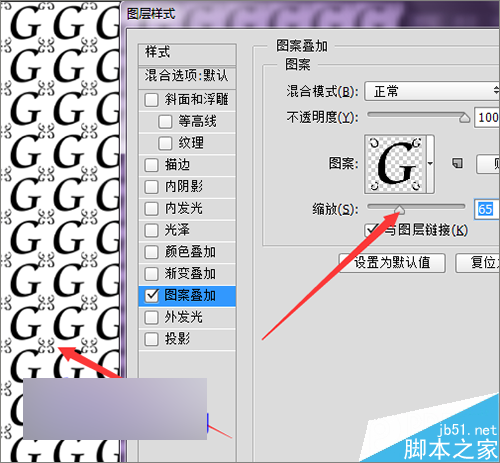
11、选择好图案之后,还需要调整一个它的缩放值。这里的数值可以看着左边画布中的图案进行调整。可以看到现在这个图案的背景是白色的。这里再把它添加一个渐变的背景。
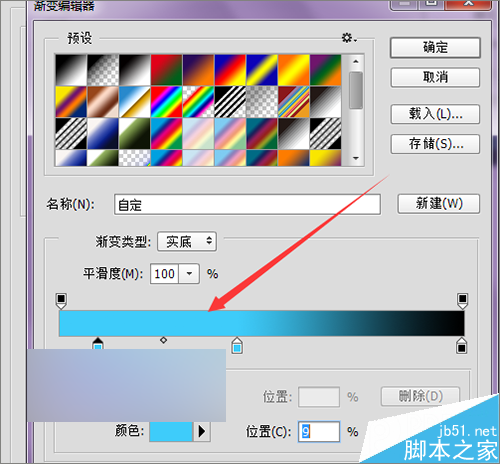
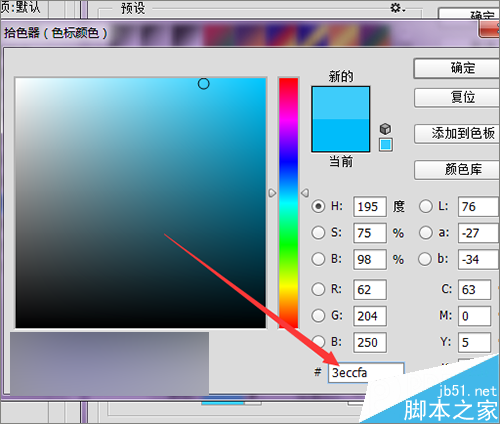
12、点击渐变叠加。在渐变条上点击打开它的渐变条。这里就选择这种蓝色的颜色。它前面的两个色标的数值可以设置为一样。把后面的颜色设置为黑色。然后点击确定。
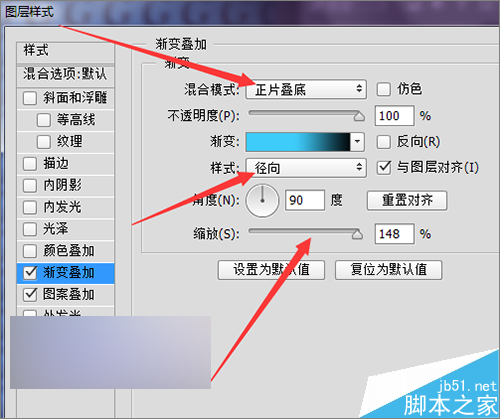
13、渐变设置好之后,再把它的混合模式设置为正片叠底。把经的样式设置为径向。把它的缩放值也设置到最大。设置好后点击确定。
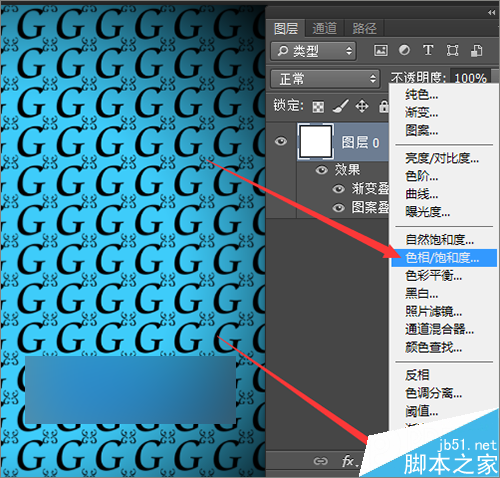
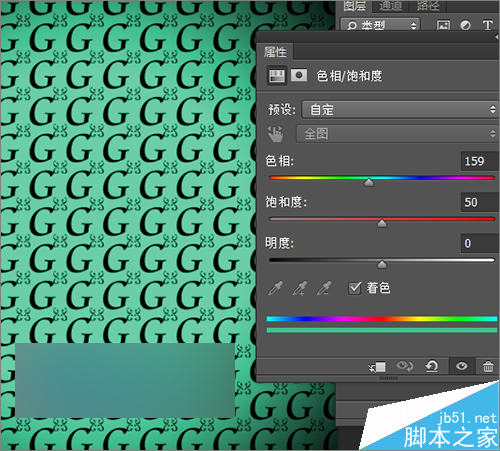
14、这样我们就把背景设置好了,如果想要更改它的颜色的话,可以不在它的渐变叠加中进行更改。可以直接点击图层下方的创建新的填充或调整图层中进行更改。点击列表中的色相饱和度,点击着色。这样颜色的更改也是很方便的。

以上就是photoshop中用英文字母制作可爱的背景效果图方法,教程很不错,很值得学习,希望大家喜欢!

Hot AI Tools

Undresser.AI Undress
AI-powered app for creating realistic nude photos

AI Clothes Remover
Online AI tool for removing clothes from photos.

Undress AI Tool
Undress images for free

Clothoff.io
AI clothes remover

AI Hentai Generator
Generate AI Hentai for free.

Hot Article

Hot Tools

Notepad++7.3.1
Easy-to-use and free code editor

SublimeText3 Chinese version
Chinese version, very easy to use

Zend Studio 13.0.1
Powerful PHP integrated development environment

Dreamweaver CS6
Visual web development tools

SublimeText3 Mac version
God-level code editing software (SublimeText3)

Hot Topics
 What are the permanently free photoshopcs5 serial numbers?
Jul 06, 2023 am 10:00 AM
The permanently free photoshopcs5 serial numbers are: 1. 1330-1440-1602-3671-9749-7897; 2. 1330-1191-2998-6712-2520-5424; 3. 1330-1367-4285-4928-0630-3107; 4. 1330-1570-9599-9499-8092-8237; 5. 1330-1028-1662-3206-1688-5114, etc.
 How to convert full-width English letters to half-width English letters
Mar 15, 2024 pm 03:00 PM
Conversion method: 1. Use the find and replace function of the Word document to match full-width English letters through wildcards and replace them with half-width format; 2. Use the "full-width/half-width" switch button on the input method toolbar to switch the input method to half-width state. Re-enter or modify English letters; 3. Use shortcut keys (such as "Shift Space" in Windows systems) to quickly switch between full-width and half-width states.
 Solution: Fix keyboard shortcuts not working in Photoshop
Sep 22, 2023 pm 03:17 PM
Adobe Photoshop is the industry standard for digital design, loved and used every day by the online community. However, when keyboard shortcuts stutter or fail entirely, it can significantly slow down any project or your overall productivity on Windows 11. Whether you're an experienced designer or just dabbling in photo editing, these glitches are more than just minor annoyances in Photoshop and Photoshop CC. First, let's look at the common reasons why custom or default shortcuts stop working. Why don't my shortcuts work in Photoshop? Customize workspace settings: Sometimes, adjusting or switching between workspace settings can reset keyboard shortcuts. Sticky Keys: This accessibility feature
 How to set a picture as the background in OneNote
May 14, 2023 am 11:16 AM
Onenote is one of the best note-taking tools offered by Microsoft. Combined with Outlook and MSTeams, Onenote can be a powerful combination for increasing productivity at work and in personal creative productivity. We have to take notes in a different format, which may be more than just writing things down. Sometimes we need to copy images from different sources and do some editing in our daily work. Images pasted on Onenote can go a long way if you know how to apply the changes. Have you ever encountered a problem when using Onenote that images pasted on Onenote cannot allow you to work easily? This article will look at using images effectively on Onenote. we can
 Practical tips for converting full-width English letters into half-width form
Mar 26, 2024 am 09:54 AM
Practical tips for converting full-width English letters into half-width forms. In modern life, we often come into contact with English letters, and we often need to input English letters when using computers, mobile phones and other devices. However, sometimes we encounter full-width English letters, and we need to use the half-width form. So, how to convert full-width English letters to half-width form? Here are some practical tips for you. First of all, full-width English letters and numbers refer to characters that occupy a full-width position in the input method, while half-width English letters and numbers occupy a full-width position.
 Detailed steps to cancel the red wavy lines under English letters in PPT documents
Mar 26, 2024 pm 08:50 PM
1. Enter [foad] here, and it will have a red wavy line to indicate a spelling error. 2. Click [Review] in the toolbar. 3. Click [Spell Check]. 4. Select [Ignore] in the spell check dialog box that appears, and you will be prompted that the spell check is over. 5. There are no red wavy lines.
 Win11 new version of drawing: remove background with one click to realize cutout function
Sep 15, 2023 pm 10:53 PM
Microsoft invites WindowsInsider project members in the Canary and Dev channels to test and experience the new Paint application. The latest version number is 11.2306.30.0. The most noteworthy new feature of this version update is the one-click cutout function. Users only need to click once to automatically eliminate the background and highlight the main body of the picture, making it easier for users to perform subsequent operations. The whole step is very simple. The user imports the picture in the new layout application, and then clicks the "removebackground" button on the toolbar to delete the background in the picture. The user can also use a rectangle to select the area to remove the background.
 How to change the default picture background when logging in to win7 system
Jun 30, 2023 pm 04:03 PM
How to change the default picture background when logging in to win7 system? Tutorial sharing on how to change the default picture background when logging in to win7 system. After setting a login password for our computer, when we turn on the computer and go to the login interface, there will be a picture background. Some users want to modify the background, so how can they modify the background? Many friends don’t know how to operate in detail. The editor below has compiled the steps to change the default picture background when logging in to the win7 system. If you are interested, follow the editor and take a look below! Steps to change the default picture background when logging in to the win7 system 1. First, go to the illustrated path C:WindowsSystem32oobeinfoackgrounds


