

这篇教程是向PHP中文网的朋友介绍PS打造人物照片背景虚化效果方法,教程打造出来的效果很不错,方法很简单,很适合新手来学校,推荐到PHP中文网,喜欢的朋友可以跟着教程一起来学习
方法/步骤
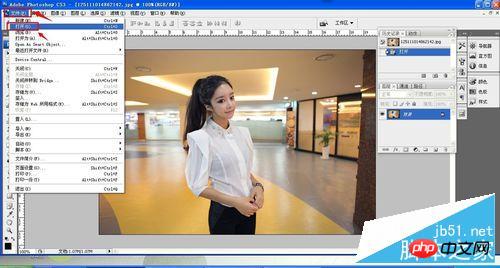
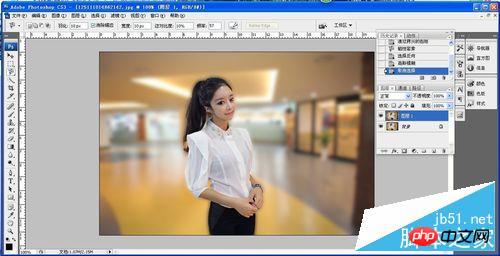
1、首先打开PS软件,再在PS界面上找到软件——打开,打开你要编辑的图片!
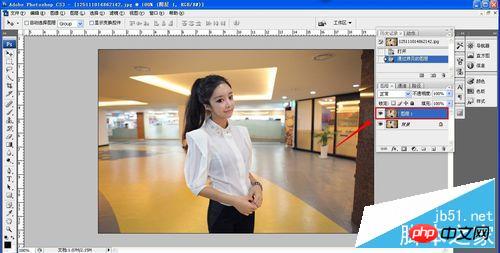
2、在按住Ctrl+J,将你要编辑图片的图层复制一层!
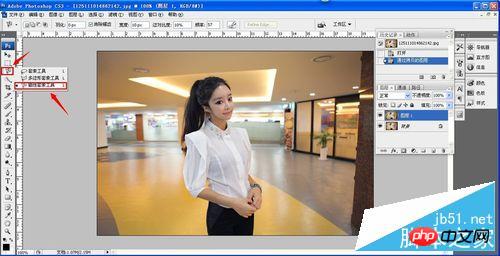
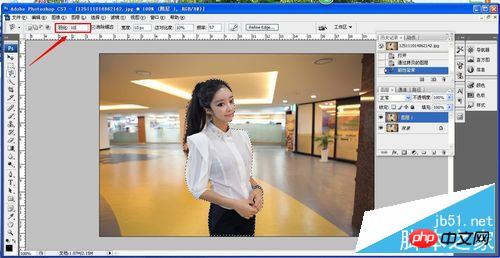
3、再点击工具栏中的第三个工具找到磁性套索工具!
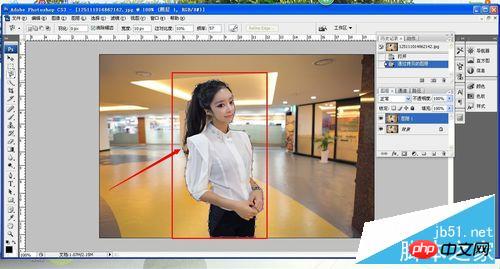
4、将图片中的主体人物套索住,选中!
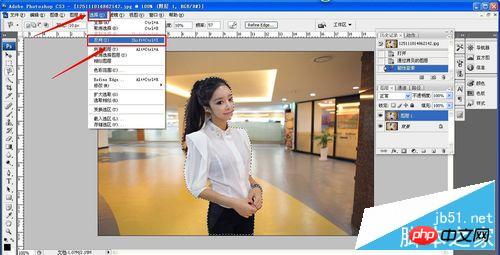
5、再将工具栏第二行的羽化值调到10!
6、然后点击工具栏中的选择——反向,则就选择了人物的背景!
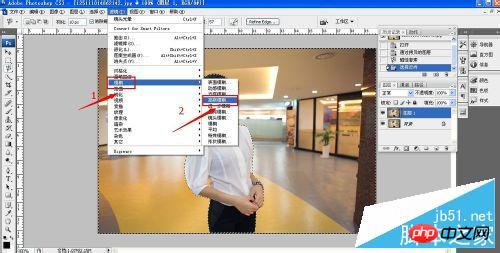
7、然后点击工具栏中的滤镜——模糊——高斯模糊。
8、再把高斯模糊的半径值调成5个像素!
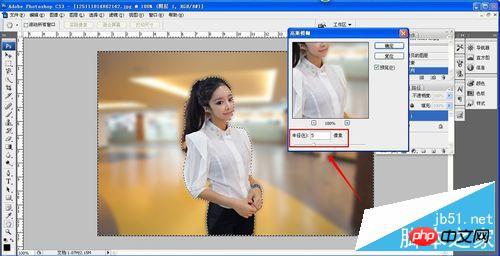
9、最后就可以达到背景虚化,人物突出的效果!
以上就是PS打造人物照片背景虚化效果方法介绍,喜欢的朋友可以自己尝试一下哦!


![[Web front-end] Node.js quick start](https://img.php.cn/upload/course/000/000/067/662b5d34ba7c0227.png)


