

用PS制作逼真的Wifi信号图标

这篇教程是向PHP中文网的朋友介绍用PS制作逼真的Wifi信号图标方法,教程制作出来的效果非常地不错,推荐到PHP中文网,喜欢的朋友介绍一下,一起来看看吧
下面就为大家介绍用PS制作逼真的Wifi信号图标方法,希望能对大家有所帮助!

工具/原料
PhotoshopCS6
方法/步骤
1、先新建一个背景图层~~

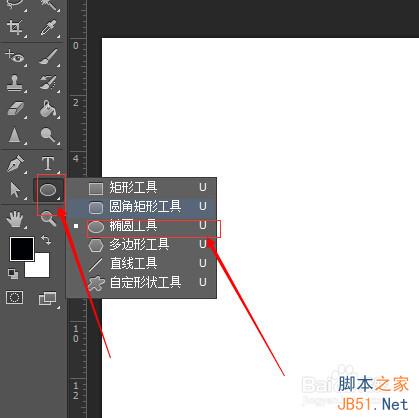
2、椭圆工具~~
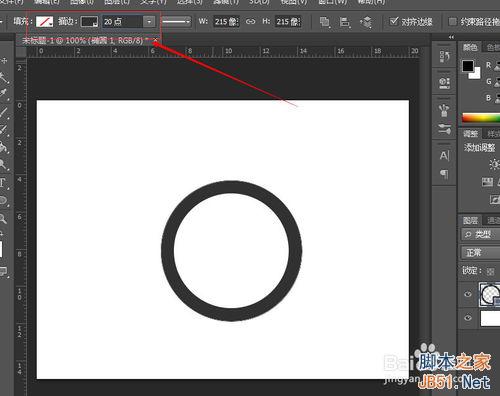
3、键盘 Shift+鼠标左键 画一个正圆~~

4、改填充和描边~~ 无填充~~~{为了便于观察我将其颜色改为灰色}
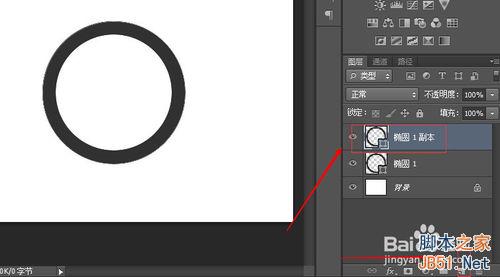
5、再复制一个~~~或Ctrl + J~~~
6、如图调节大小Ctrl+T,微小的移动用键盘上下左右键~~~
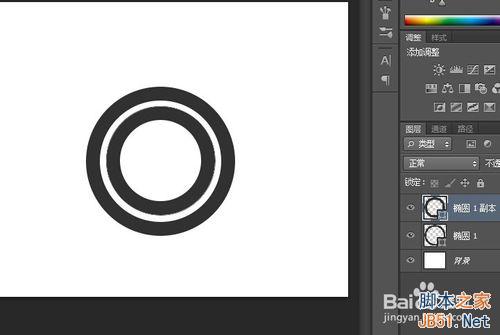
7、重复操作~~最后的一个圆,将里面填充跟描边一样的颜色~~~~


8、点{路径选择工具}或{直接选择工具}~~~
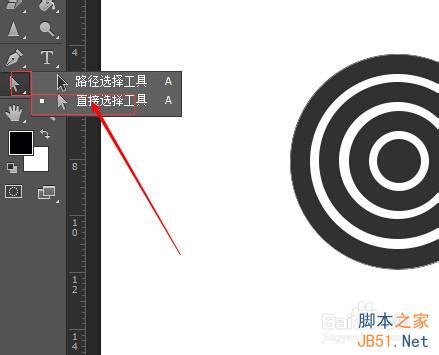
9、选中两个锚点~~~删除~~Delete~~

10、选择其他的圆,继续删~~~
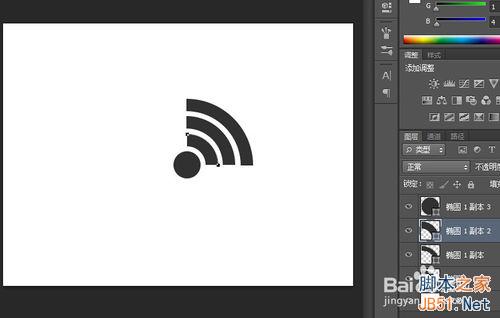
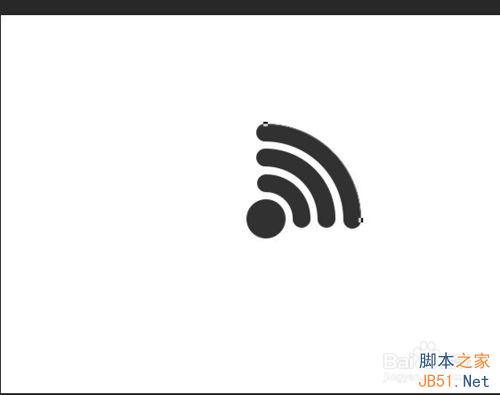
11、对比一下,你会发现还是有瑕疵的,继续~~~


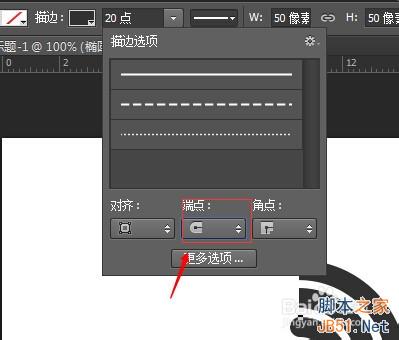
12、先用【路径选择工具】选中,再改每个1/4圆的端点~~~
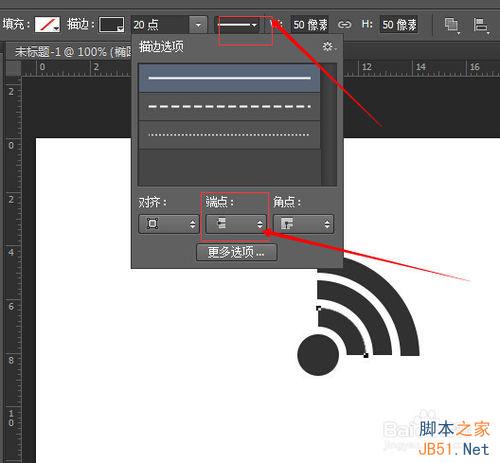
13、改为半圆型~~~
14、哈哈哈~~~差不多了~~~
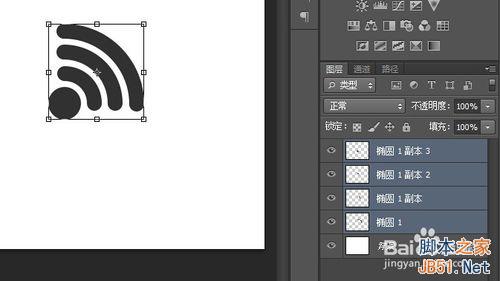
15、全选中~~~然后Ctrl +T~~进行旋转~~
16、如果你感觉不够标准,将网格调出来~~Ctrl +' ~~~或者在[视图]-——新建(垂直)参考线~~~
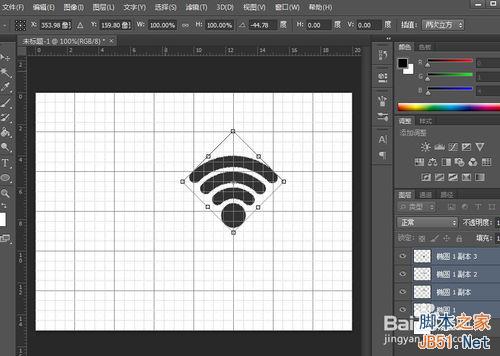
17、Ok ~~大功告成~~
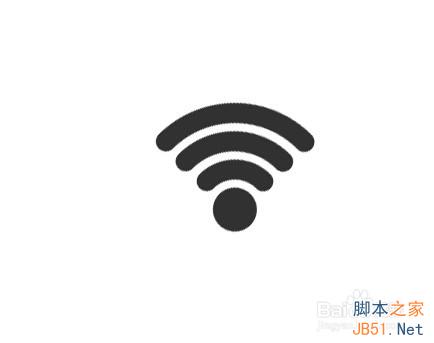
以上就是用PS制作逼真的Wifi信号图标方法介绍,希望能对大家有所帮助!

Hot AI Tools

Undresser.AI Undress
AI-powered app for creating realistic nude photos

AI Clothes Remover
Online AI tool for removing clothes from photos.

Undress AI Tool
Undress images for free

Clothoff.io
AI clothes remover

Video Face Swap
Swap faces in any video effortlessly with our completely free AI face swap tool!

Hot Article
Hot Tools

Notepad++7.3.1
Easy-to-use and free code editor

SublimeText3 Chinese version
Chinese version, very easy to use

Zend Studio 13.0.1
Powerful PHP integrated development environment

Dreamweaver CS6
Visual web development tools

SublimeText3 Mac version
God-level code editing software (SublimeText3)
Hot Topics
 1390
1390
 52
52

 How to disable taskbar thumbnail preview in Win11? Turn off the taskbar icon display thumbnail technique by moving the mouse
Feb 29, 2024 pm 03:20 PM
How to disable taskbar thumbnail preview in Win11? Turn off the taskbar icon display thumbnail technique by moving the mouse
Feb 29, 2024 pm 03:20 PM
This article will introduce how to turn off the thumbnail function displayed when the mouse moves the taskbar icon in Win11 system. This feature is turned on by default and displays a thumbnail of the application's current window when the user hovers the mouse pointer over an application icon on the taskbar. However, some users may find this feature less useful or disruptive to their experience and want to turn it off. Taskbar thumbnails can be fun, but they can also be distracting or annoying. Considering how often you hover over this area, you may have inadvertently closed important windows a few times. Another drawback is that it uses more system resources, so if you've been looking for a way to be more resource efficient, we'll show you how to disable it. but
 What do the 5G UC and 5G UW icons on your T-mobile smartphone mean?
Feb 24, 2024 pm 06:10 PM
What do the 5G UC and 5G UW icons on your T-mobile smartphone mean?
Feb 24, 2024 pm 06:10 PM
T-Mobile users have started noticing that the network icon on their phone screens sometimes reads 5GUC, while other carriers read 5GUW. This is not a typo, but represents a different type of 5G network. In fact, operators are constantly expanding their 5G network coverage. In this topic, we will take a look at the meaning of the 5GUC and 5GUW icons displayed on T-Mobile smartphones. The two logos represent different 5G technologies, each with its own unique characteristics and advantages. By understanding what these signs mean, users can better understand the type of 5G network they are connected to so they can choose the network service that best suits their needs. 5GUCVS5GUW icon in T
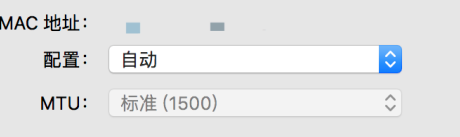 What to do if the HP printer cannot connect to wifi - What to do if the HP printer cannot connect to wifi
Mar 06, 2024 pm 01:00 PM
What to do if the HP printer cannot connect to wifi - What to do if the HP printer cannot connect to wifi
Mar 06, 2024 pm 01:00 PM
When many users use HP printers, they are not familiar with what to do if the HP printer cannot connect to wifi. Below, the editor will bring you solutions to the problem of HP printers not connecting to wifi. Let us take a look below. Set the mac address of the HP printer to automatically select and automatically join the network. Check to change the network configuration. Use dhcp to enter the password to connect to the HP printer. It shows that it is connected to wifi.
 How to insert excel icons into PPT slides
Mar 26, 2024 pm 05:40 PM
How to insert excel icons into PPT slides
Mar 26, 2024 pm 05:40 PM
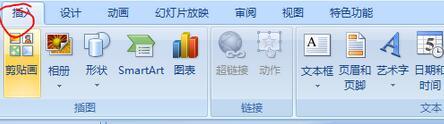
1. Open the PPT and turn the page to the page where you need to insert the excel icon. Click the Insert tab. 2. Click [Object]. 3. The following dialog box will pop up. 4. Click [Create from file] and click [Browse]. 5. Select the excel table to be inserted. 6. Click OK and the following page will pop up. 7. Check [Show as icon]. 8. Click OK.
 How to Undo Delete from Home Screen in iPhone
Apr 17, 2024 pm 07:37 PM
How to Undo Delete from Home Screen in iPhone
Apr 17, 2024 pm 07:37 PM
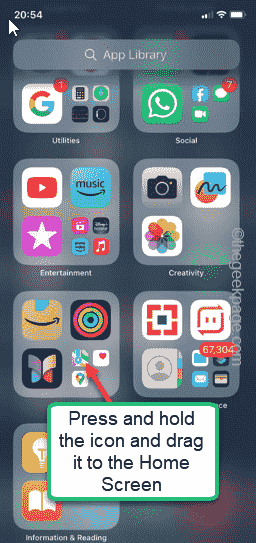
Deleted something important from your home screen and trying to get it back? You can put app icons back on the screen in a variety of ways. We have discussed all the methods you can follow and put the app icon back on the home screen. How to Undo Remove from Home Screen in iPhone As we mentioned before, there are several ways to restore this change on iPhone. Method 1 – Replace App Icon in App Library You can place an app icon on your home screen directly from the App Library. Step 1 – Swipe sideways to find all apps in the app library. Step 2 – Find the app icon you deleted earlier. Step 3 – Simply drag the app icon from the main library to the correct location on the home screen. This is the application diagram
 What should I do if the Win10 input method icon is missing? How to retrieve the Win10 input method icon after it is lost?
Feb 29, 2024 am 11:52 AM
What should I do if the Win10 input method icon is missing? How to retrieve the Win10 input method icon after it is lost?
Feb 29, 2024 am 11:52 AM
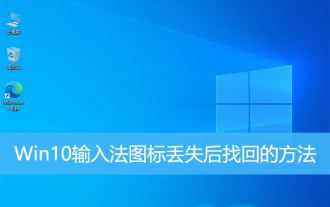
After the Win10 input method icon is lost, many users don’t know how to retrieve it. This article will introduce simple methods to help users retrieve the Win10 input method icon, allowing you to easily switch input methods and improve work efficiency. 1. Reasons for missing input method 1. Keyboard layout problem: If you accidentally switch the keyboard layout, such as switching from Chinese to English or other languages, the input method may temporarily disappear. 2. Input method setting problem: In the system settings, we can customize the display mode of the input method. Improper settings may result in the input method being unable to be displayed or hidden. 3. Input method errors or crashes: The input method software itself may have errors or crashes, causing the input method to fail to display properly. 2. How to call up the input method Method 1: 1. Press [Win+
 How to hide the shortcut icon arrow in win11? Hidden method sharing
May 09, 2024 pm 01:00 PM
How to hide the shortcut icon arrow in win11? Hidden method sharing
May 09, 2024 pm 01:00 PM
Many users are accustomed to hiding the small icon arrows on the desktop, so how should they do this? Let's take the win11 system as an example to give you a detailed demonstration: Win11 icon arrow method 1. Press the shortcut key win+r, enter regedit, and click OK. 2. Enter the registry editor, open: HKEY_CLASSES_ROOTlnkfile, and select the lsShortcut item in the right window. 3. Right-click the lsShortcut item, click the Delete option, and delete lsShortcut. 4. Finally, restart the computer and you will see that the small arrow of the desktop shortcut disappears. Third-party tools: Xiaozhi Launcher Xiaozhi Launcher is a very friendly and practical desktop organizer.
 Introduction to the process of extracting line drawings in PS
Apr 01, 2024 pm 12:51 PM
Introduction to the process of extracting line drawings in PS
Apr 01, 2024 pm 12:51 PM
1. Open the software and import a piece of material, as shown in the picture below. 2. Then ctrl+shift+u to remove color. 3. Then press ctrl+J to copy the layer. 4. Then reverse ctrl+I, and then set the layer blending mode to Color Dodge. 5. Click Filter--Others--Minimum. 6. In the pop-up dialog box, set the radius to 2 and click OK. 7. Finally, you can see the line draft extracted.
