Photoshop简单制作GIF交互动态效果图
这篇教程主要是向大家介绍Photoshop简单制作GIF交互动态效果图方法,教程真的很不错哦,推荐到脚本之家,大家一起来学习吧!
先看看效果图

首先把你做好的效果图拿出来。想一下如何做这个动态。把页面分解几个区域以便于做动态。
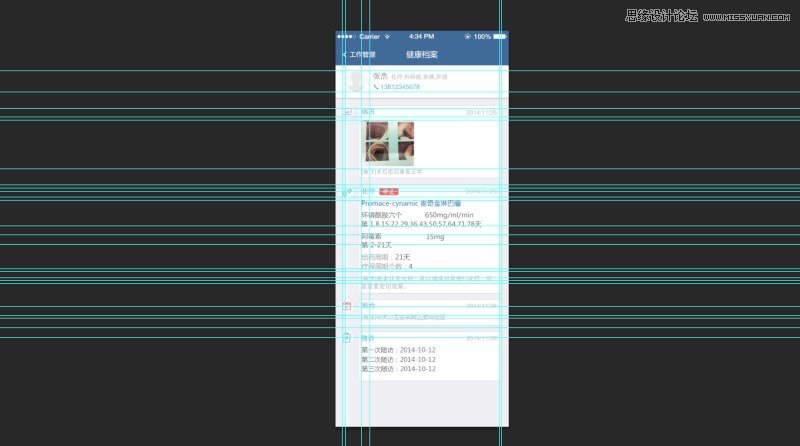
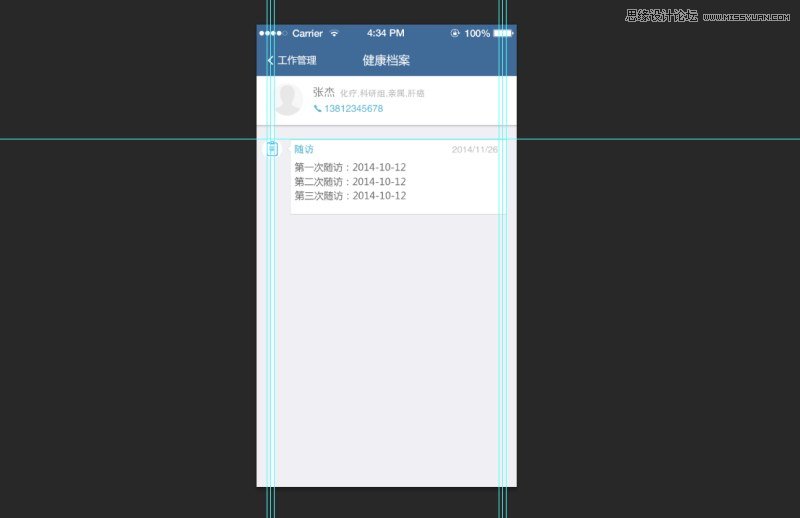
新建一个干净的界面 把整理好的区域做一个初始状态
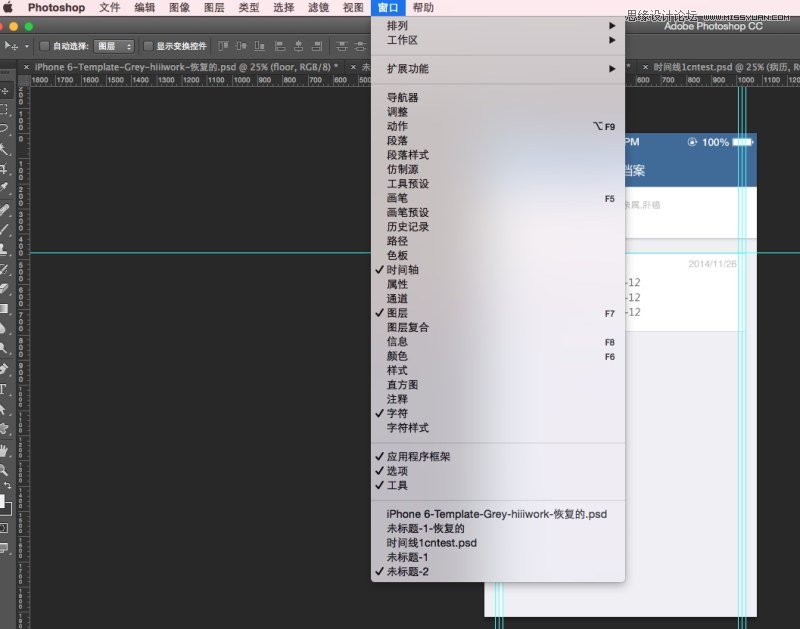
接下来做在窗口选择“时间轴”并且创建“帧动画”
之后就是做动画了,点左下角倒数第二个按钮新建一帧,并把内容下移到你想要的位置
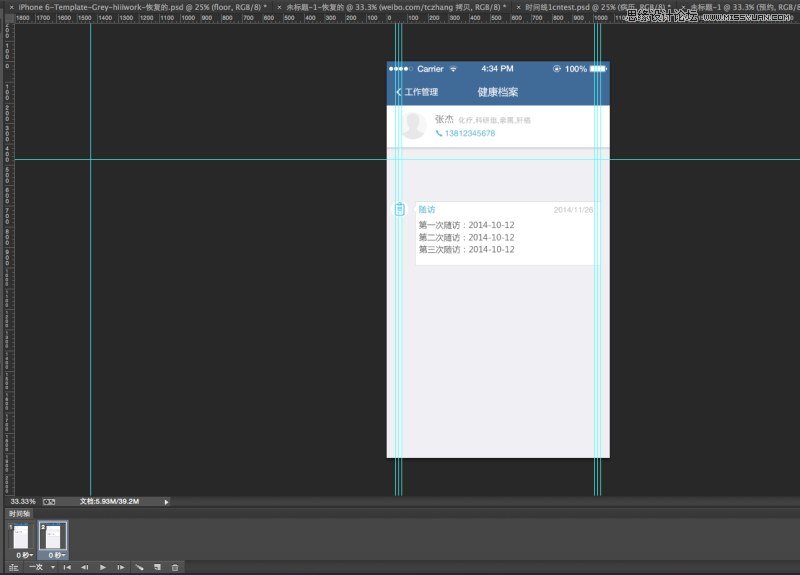
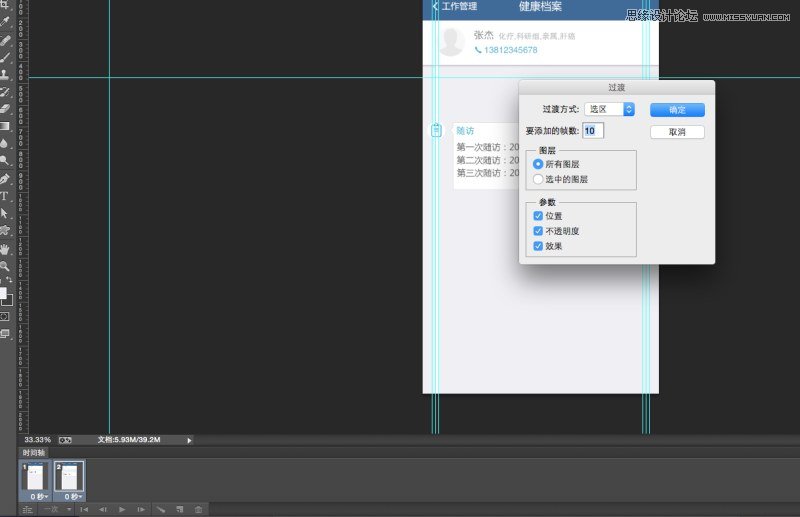
把这两帧都选中点击倒数第三个按钮进行过度效果(数字随意,越大越自然,但是时间越长,做的时候同学们自己考虑)之后的效果同理。
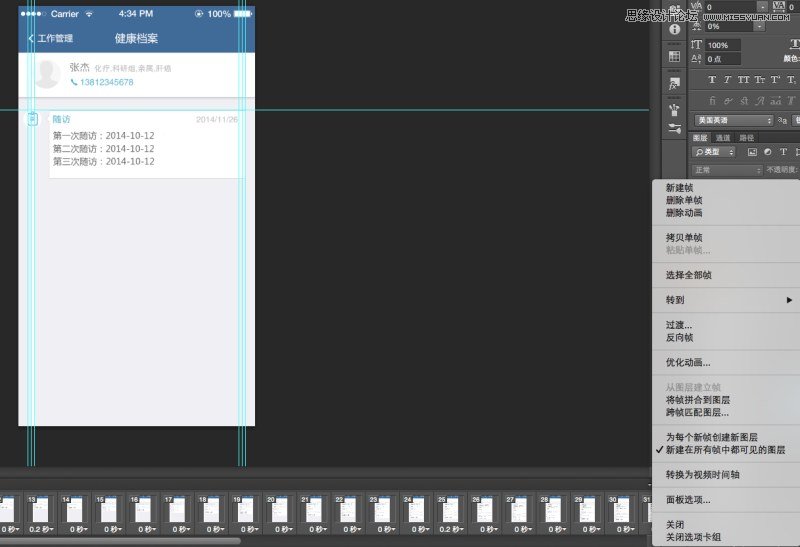
接下来比较关键,点击时间轴的上角图标 选择“转换为视频时间轴”
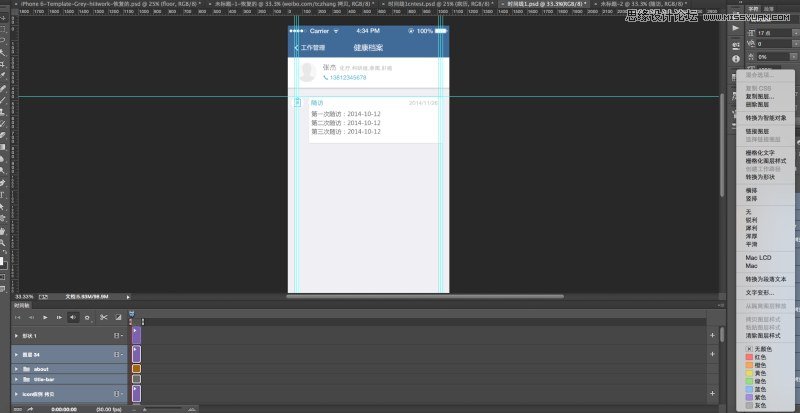
把所有图层选中 选择“转换为智能对象”
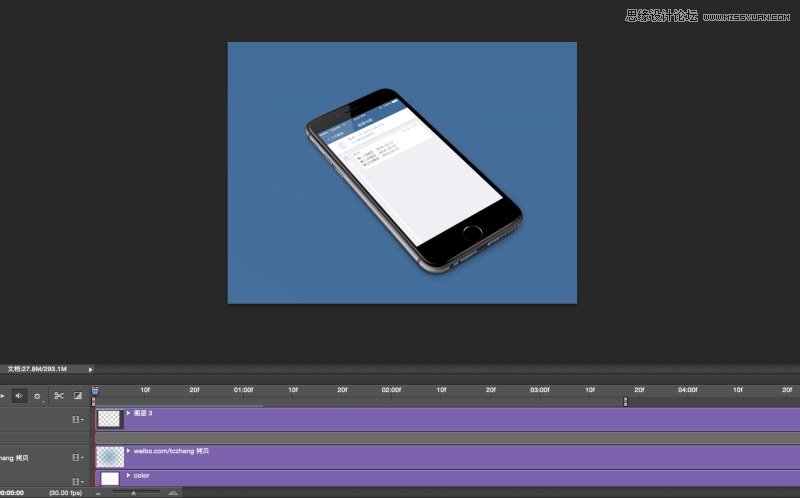
新建一个画布,把你要贴的背景图放进来,选择时间轴后就可以把刚刚做好的动画拖过来了,贴上就可以了
教程结束,以上就是Photoshop简单制作GIF交互动态效果图教程,希望大家喜欢!

Hot AI Tools

Undresser.AI Undress
AI-powered app for creating realistic nude photos

AI Clothes Remover
Online AI tool for removing clothes from photos.

Undress AI Tool
Undress images for free

Clothoff.io
AI clothes remover

AI Hentai Generator
Generate AI Hentai for free.

Hot Article

Hot Tools

Notepad++7.3.1
Easy-to-use and free code editor

SublimeText3 Chinese version
Chinese version, very easy to use

Zend Studio 13.0.1
Powerful PHP integrated development environment

Dreamweaver CS6
Visual web development tools

SublimeText3 Mac version
God-level code editing software (SublimeText3)

Hot Topics
 What are the permanently free photoshopcs5 serial numbers?
Jul 06, 2023 am 10:00 AM
The permanently free photoshopcs5 serial numbers are: 1. 1330-1440-1602-3671-9749-7897; 2. 1330-1191-2998-6712-2520-5424; 3. 1330-1367-4285-4928-0630-3107; 4. 1330-1570-9599-9499-8092-8237; 5. 1330-1028-1662-3206-1688-5114, etc.
 Solution: Fix keyboard shortcuts not working in Photoshop
Sep 22, 2023 pm 03:17 PM
Adobe Photoshop is the industry standard for digital design, loved and used every day by the online community. However, when keyboard shortcuts stutter or fail entirely, it can significantly slow down any project or your overall productivity on Windows 11. Whether you're an experienced designer or just dabbling in photo editing, these glitches are more than just minor annoyances in Photoshop and Photoshop CC. First, let's look at the common reasons why custom or default shortcuts stop working. Why don't my shortcuts work in Photoshop? Customize workspace settings: Sometimes, adjusting or switching between workspace settings can reset keyboard shortcuts. Sticky Keys: This accessibility feature
 How to deal with blurred scanned documents
Jan 05, 2021 pm 03:09 PM
Processing method: 1. Open the scanned image to be processed in the PS software; 2. Click "Filter" - "Sharpening" - "Smart Sharpening" on the top toolbar; 3. In the pop-up window, select according to your needs Sharpen the radius and click "OK"; 4. Click "File" - "Save As" and save it as a file.
 Which company does photoshop belong to?
Jul 20, 2022 am 11:47 AM
photoshop is owned by Adobe. Photoshop is an image processing software developed and distributed by Adobe. It mainly processes digital images composed of pixels. Adobe is an American computer software company headquartered in San Jose, California. It is mainly engaged in the development of multimedia production software; its customers include enterprises, knowledge workers, creative people and designers, OEM partners, and developers around the world.
 Adobe Photoshop official web version AI generated fill and generate extended image tools
Sep 29, 2023 pm 10:13 PM
Adobe's Photoshop web service (an online web version) is now generally available. The web version of Photoshop will soon support the AI-generated fill and generate extended image tools, which were recently released for the desktop version of Photoshop. Powered by the Adobe Firefly generative AI model, these features are commercially available and allow users to quickly add, remove, or expand images using text-based descriptions in more than 100 languages while matching the lighting conditions and perspective of the original image. The web version of Photoshop also provides many of the most commonly used tools from the desktop version, but with a redesigned layout to provide a more "simplified" user experience for new Photoshop users. This includes early this year
 Which company developed photoshop?
Jul 08, 2022 am 11:34 AM
Photoshop was developed by Adobe Systems; Photoshop is a graphics processing software developed and distributed by "Adobe Systems", which mainly processes digital images composed of pixels. Adobe Systems is an American multinational computer software company headquartered in San Jose, California.
 What tools do you use to draw paths in photoshop
Mar 19, 2021 pm 05:11 PM
In photoshop, you can use the "pen tool" to draw paths. The pen tool is a tool used to create paths. After creating a path, you can edit it again. The pen tool is a vector drawing tool. Its advantage is that it can draw smooth curves and maintain a smooth effect after scaling or deformation.
 How to create a GIF with Linux's built-in screen recording tool?
Jan 12, 2024 pm 06:27 PM
Deepin Linux has a built-in screen recording function that can record gif files. How to use the recording tool? Let’s take a look at the detailed tutorial below. 1. Open Deepin Linux desktop. 2. Find the launcher and open it. 3. Find Screen Recording and open it. 4. Drag an area to start recording and modify the generated file to GIF. 5. There will be a countdown icon when you start recording. 6. Finally, a gif will be generated on the desktop, and the final effect is as shown in the figure below.


