
How to make XMind themes move freely? If you want unrestricted movement of themes when using XMind, this article provides detailed guidance. Here, PHP editor Baicao will introduce how to easily set the theme to allow free positions, allowing you to give full play to the flexibility of XMind. Read on for step-by-step instructions and clear examples to help you easily master this feature of XMind.
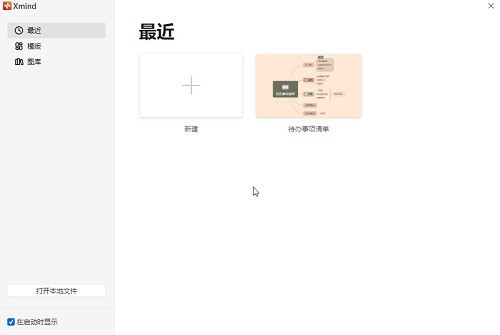
First step: First open XMind and enter the homepage. You can double-click the recently edited mind map to continue editing, you can also create a new blank mind map, or download an existing template in the [Template] column for editing. As shown below.
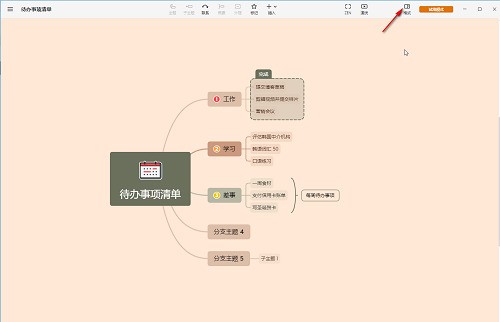
Step 2: After entering the editing interface, click the [Format] icon on the upper right to open the sidebar, as shown in the figure below.
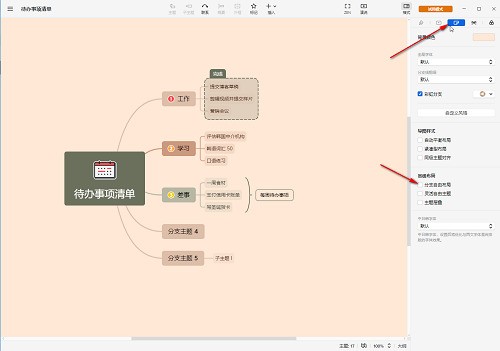
Step 3: Then in the [Canvas] column, click to check [Branch Free Layout] and [Flexible Free Theme] in [Advanced Layout], as shown in the figure below Show.
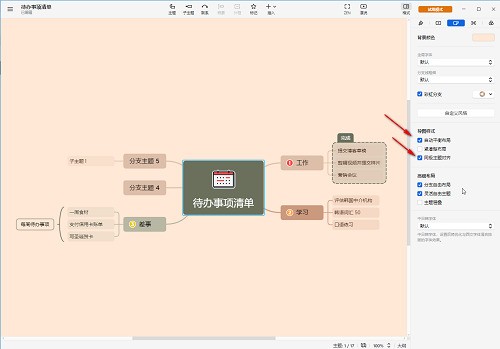
Step 4: If necessary, we can also click to check [Auto-balanced layout, same-level theme alignment, compact layout, etc.] above, as shown in the figure below.
Step 5: Then you can also set the default font, rainbow branch effect, default branch thickness and other effects, as shown in the figure below.
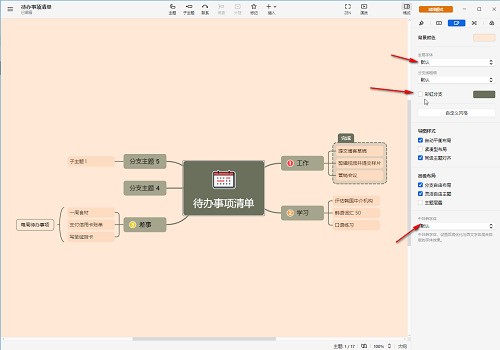
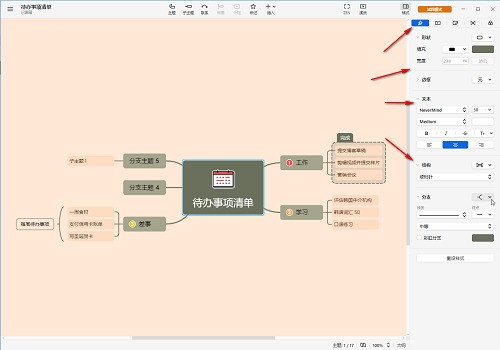
Step 6: Click above to switch to the [Style] bar. We can also set the shape, text, structure and other formats of the mind map, as shown in the figure below.
The above is the detailed content of How to set the theme to allow free positions in XMind_How to set the theme to allow free positions in XMind. For more information, please follow other related articles on the PHP Chinese website!
 How to light up Douyin close friends moment
 microsoft project
 What is phased array radar
 How to use fusioncharts.js
 Yiou trading software download
 The latest ranking of the top ten exchanges in the currency circle
 What to do if win8wifi connection is not available
 How to recover files emptied from Recycle Bin


