Question: How to add authorization for every moment reimbursement software? For users looking to streamline their expense management process, it's crucial to know how to add authorizations to your per-moment reimbursement software. PHP editor Strawberry will outline the steps in this summary and guide you to seamlessly add authorization, making your reimbursement process more efficient and convenient. Read on to learn more about how to perform this process.
First click to open the Every Moment Reimbursement app on your phone to enter the interface, click "My" in the lower right corner to switch, then find "Authorization" on my page, and click on this item Enter.

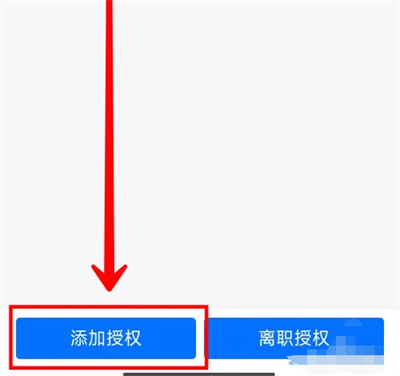
#2. After coming to the authorization delegation page, there is an "Add Authorization" button at the bottom. Once you find it, click on it to enter.

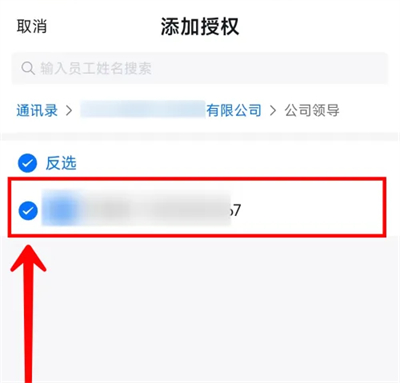
3. Next, the authorizer will be displayed on the entered page, click on the small circle in front to select it, and click "OK" in the lower right corner " button.

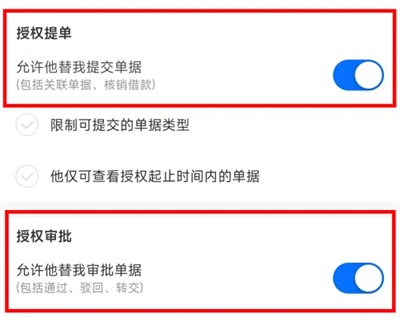
#4. Finally, on the page to add authorization, turn on "Authorize Bill of Lading" and "Authorization Approval" and click the "Save" button.

The above is the detailed content of How to add authorization for every moment reimbursement. For more information, please follow other related articles on the PHP Chinese website!
 How to light up Douyin close friends moment
 microsoft project
 What is phased array radar
 How to use fusioncharts.js
 Yiou trading software download
 The latest ranking of the top ten exchanges in the currency circle
 What to do if win8wifi connection is not available
 How to recover files emptied from Recycle Bin


