
During the design process, the tilt tool helps you fine-tune the position of elements. In this article, PHP editor Xigua will introduce in detail how to use the tilt tool in AI, including: Understand the basics of the tilt tool Use shortcut keys to tilt objects Use the "Transform" panel to tilt objects Use the "Tilt" tool to adjust the tilt angle and direction Read on to learn how to master the tilt tool in AI to enhance your design results!
Open ai, execute File-New, and create a new blank document (or create a new one directly with the shortcut key Ctrl N).
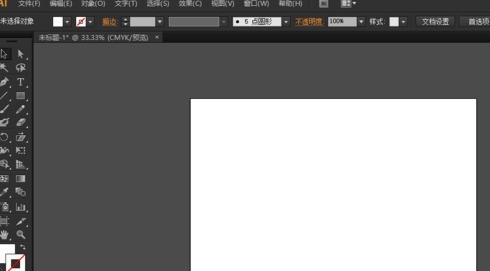
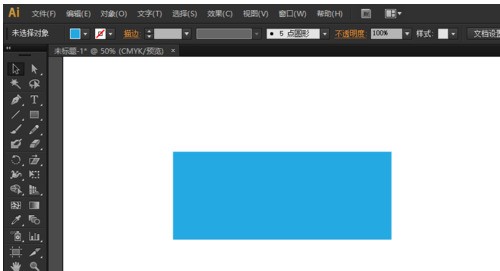
In the toolbar on the left, find the rectangle tool and draw a rectangle. This rectangle demonstrates the tilt effect.
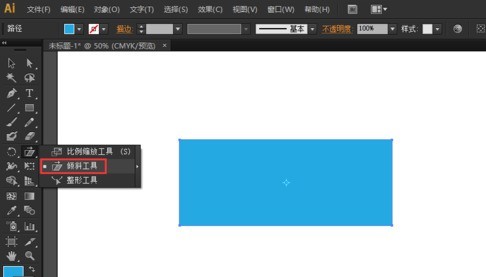
In the left toolbar, find the tilt tool and select the tilt tool. Fix the rotation anchor point somewhere in the rectangle; usually, it is fixed at the center point of the rectangle.
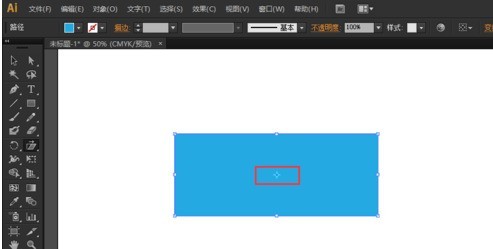
Then you can perform the tilting action. Pull away one of the corners of the rectangle, then drag it horizontally so that the vertical sides are slanted.
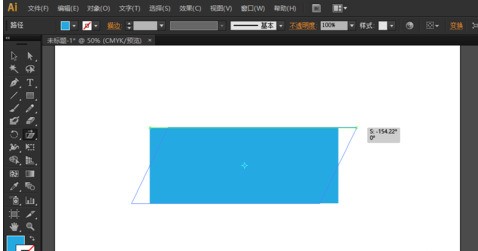
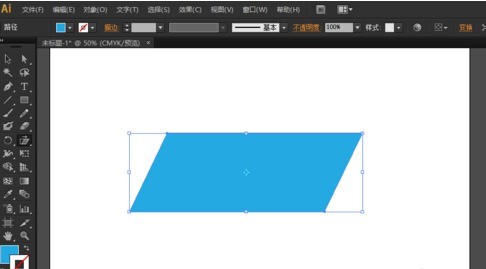
To make precise tilt, you can move the mouse to the anchor point, then hold down the Alt key and click the mouse at the same time, and the tilt dialog box will appear.
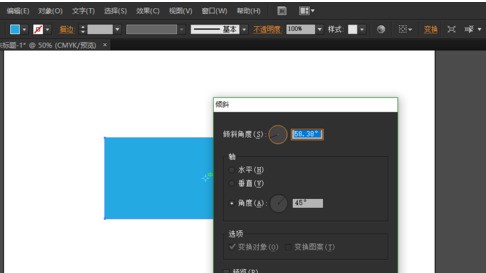
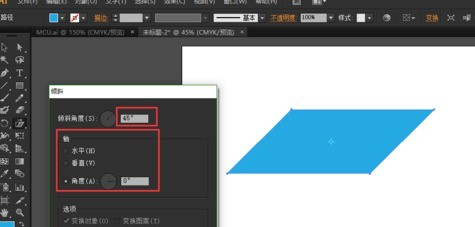
Here, you can accurately input the tilt angle, set [horizontal], [vertical], [angle] and other axis modes, and you can also turn on the preview function.
Come and learn the tilt tool usage in this article today. I believe you will be able to use it in the future.
The above is the detailed content of How to use the tilt tool in ai. For more information, please follow other related articles on the PHP Chinese website!


