
Troubled with not being able to create graph paper in WPS? Now, PHP editor Zimo brings you a detailed tutorial on setting up graph paper to easily solve your problems. The following content will guide you step by step to easily complete the graph paper settings, making your work and study more convenient and efficient.
Step one: Create a new WPS document and double-click to open the WPS document.

Step 2: Select [Paper Settings] in [Page Layout] in the menu bar.
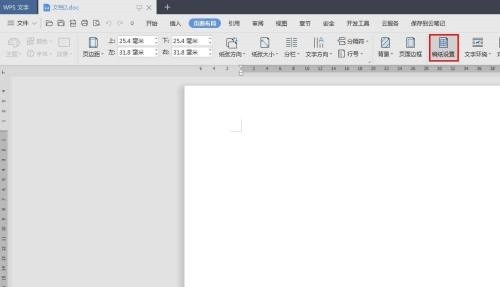
Step 3: As shown in the figure below, the [Manuscript Paper Settings] dialog box will pop up.
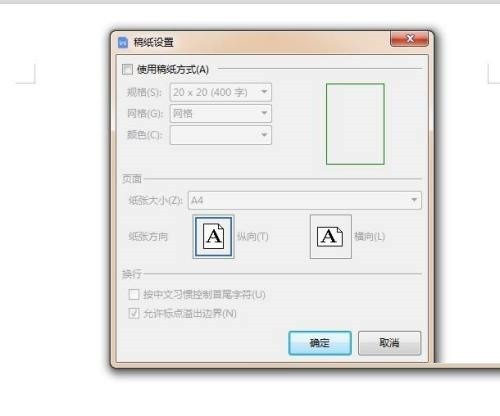
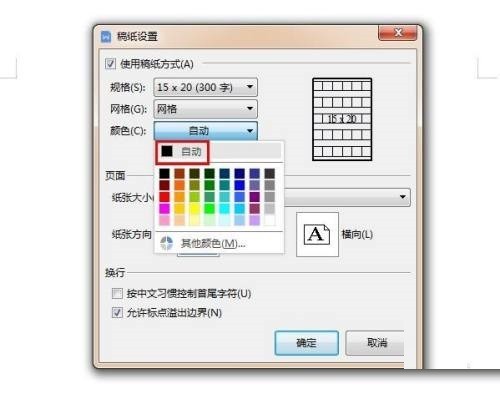
Step 4: In the Manuscript Settings dialog box, check [Use Manuscript Method], and in the [Grid] drop-down menu, select [Grid].
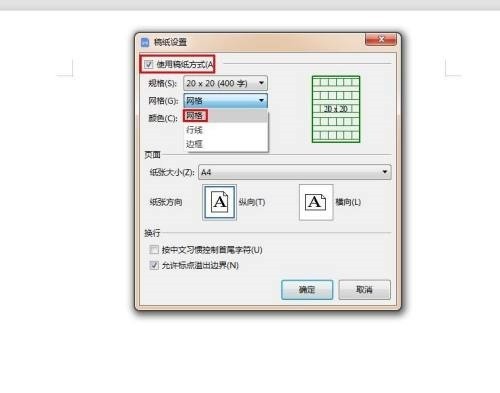
Step 5: Set the grid specifications according to your needs and click the [Color] icon.
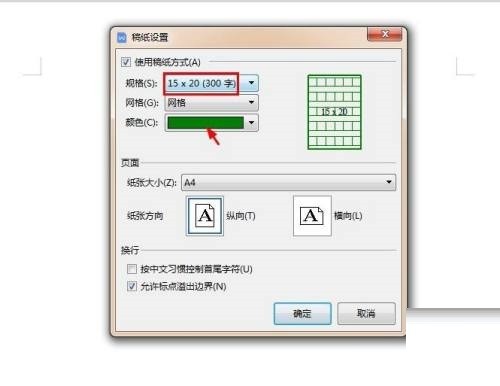
Step 6: In the color drop-down menu, select the grid line color you want to set.
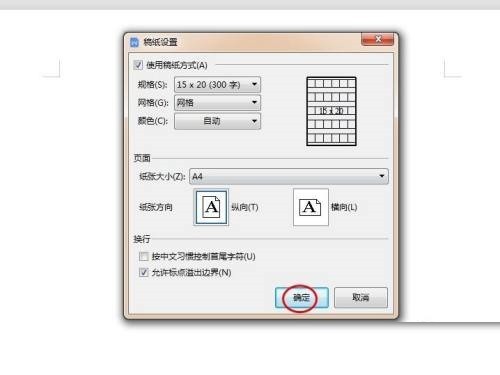
Step 7: After the settings are completed, click the [OK] button in the manuscript paper setting dialog box.
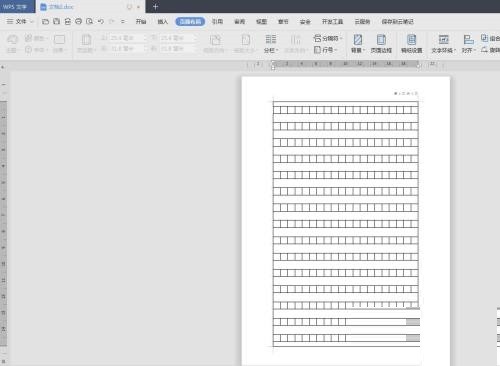
Step 8: The setting of the graph paper in the WPS document is completed, and the effect is as shown in the figure below.
The above is the detailed content of How to set graph paper in WPS_WPS setting graph paper tutorial. For more information, please follow other related articles on the PHP Chinese website!
 How to turn off win10 upgrade prompt
 The difference between lightweight application servers and cloud servers
 CMD close port command
 The difference between external screen and internal screen broken
 How to jump with parameters in vue.js
 Cell sum
 How to intercept harassing calls
 virtual digital currency


