

Photoshop设计简易版的电脑桌面壁纸教程

这篇教程主要是向大家介绍如何使用Photoshop设计简易版的电脑桌面壁纸,这一次的壁纸制作过程很简单哟,灵感来源是来自好朋友翻唱的歌曲“旅行者某某号”,推荐过来,喜欢的朋友一起来学习吧。
先看看效果图


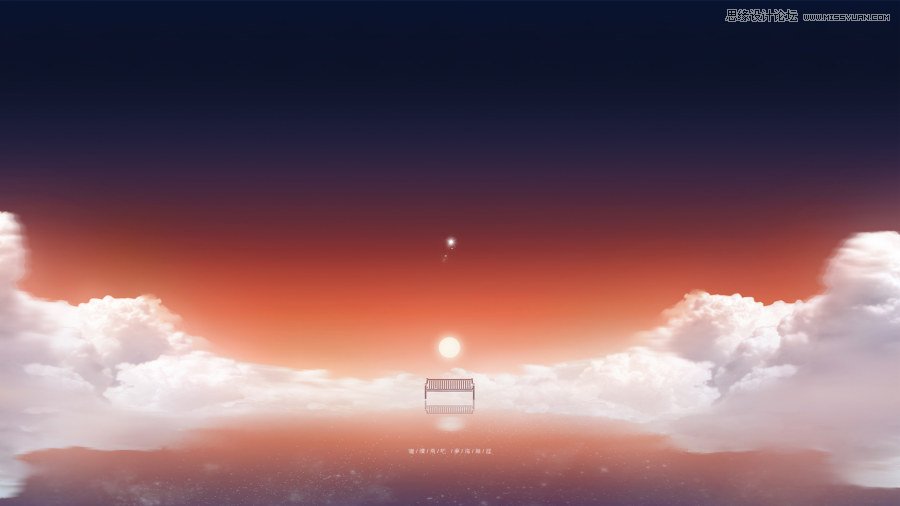
其实基本上涉及到的工具在上一篇鲸鱼的教程中都有讲过,不过这回将是针对Photoshop的新手来讲解这篇教程。希望能对十分了解PS了的您同样有所帮助。
前期准备工作
Photoshop cs4以上的版本,因为涉及到调整边缘这个工具来抠图不过4以下的版本换种方法抠图同样适用的;
Blur‘s good brush 7.0,百度后就可以去官网下载,然后在预设管理器里面安装即可。
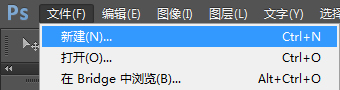
一、创建画布
点击“文件-新建”(快捷键CTRL+N)
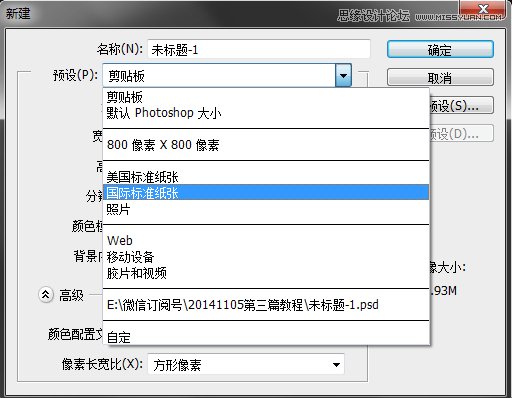
出现“新建”对话框,预设中选择“国际标准纸张”
大小选择B5,这里注意颜色模式一定要是RGB的,个人做电脑壁纸习惯性的做能够打印的尺寸所以这里做的还是300分辨率的B5尺寸,做300分辨率的还有一个原因是后面要用到的笔刷是针对300分辨率尺寸的会用起来很顺手。
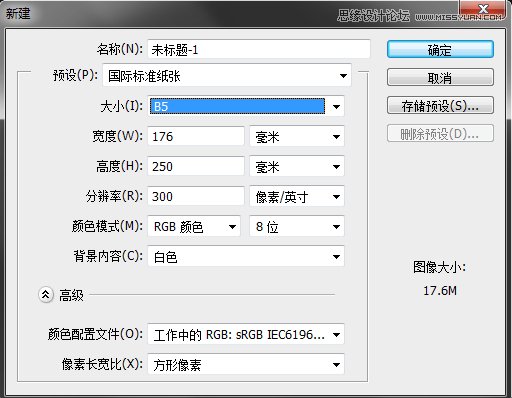
点击“确定”后出现画布,这里会发现出现的画布是竖版的,但是要做的壁纸是横板的,所以需要点击“图像-图像旋转-90度” (快捷键ALT-I-G-0)
二、绘制背景天空
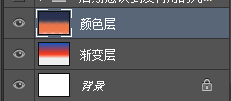
点击下图图标-新建图层,使用渐变工具,点击渐变工具上方渐变栏

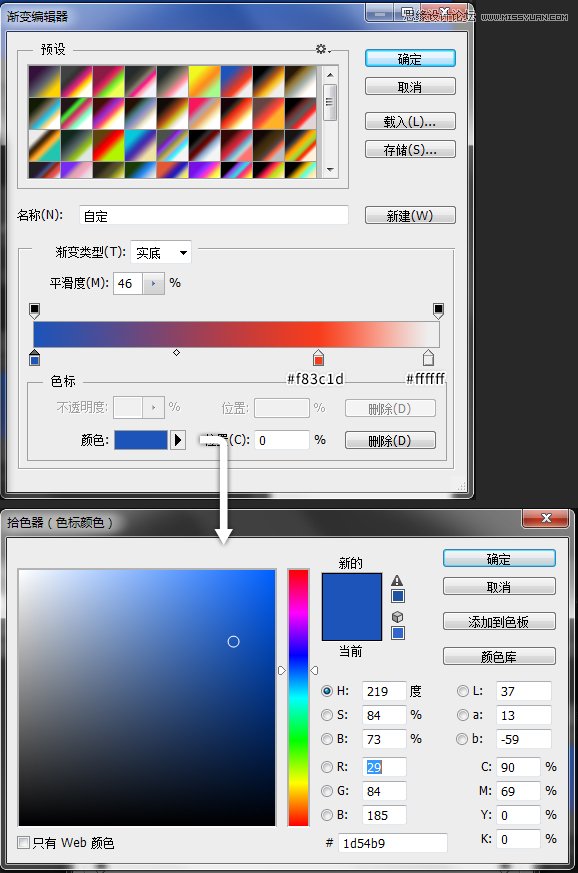
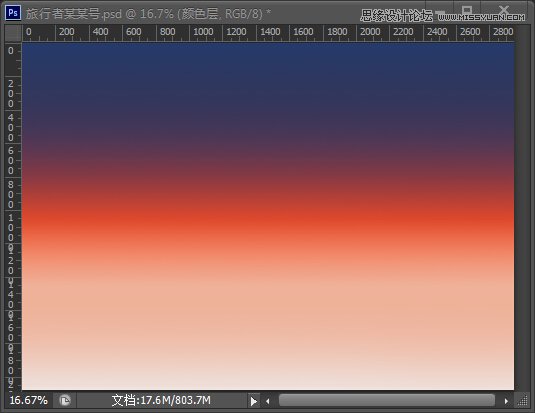
出现“渐变编辑器”对话框,选中下方色块,点选颜色会出现“拾色器”对话框输入如图中的代码值,如图中做红蓝色渐变。
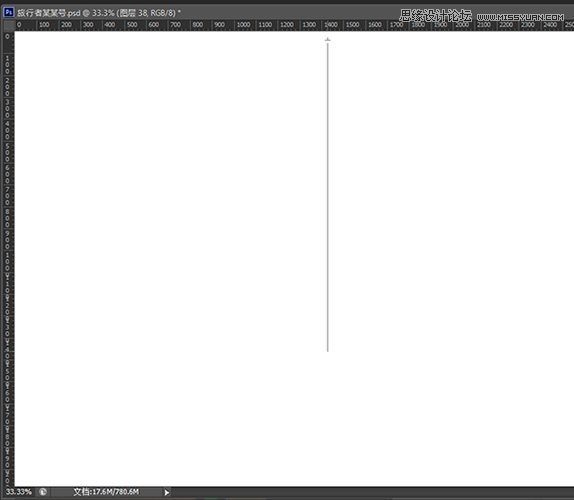
回到新建的图层中,如下图使用渐变工具,如何使用渐变工具:按住鼠标左键不动后拖拽鼠标,拖动的距离会决定你渐变的距离,使用的时候可以按住shift来绘制垂直渐变,如图中可拖拽到中间部位即可。
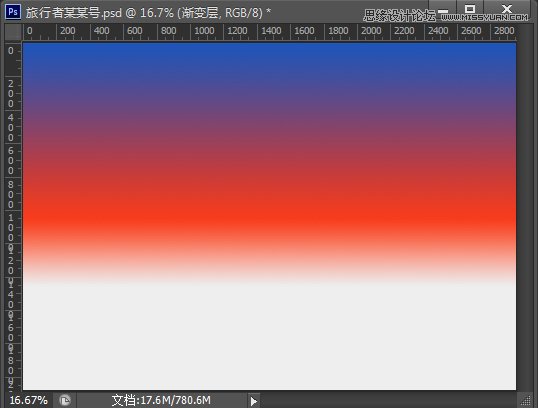
会得到如下图渐变。
再新建图层,使用“画笔工具”,窗口-画笔预设)如下图选中右上角的按钮,可以载入之前安装进去的Blur‘s good brush 7.0 画笔,同时选中“仅文本”。
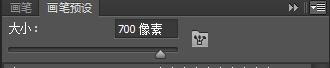
载入后选中“光辉笔”
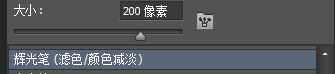
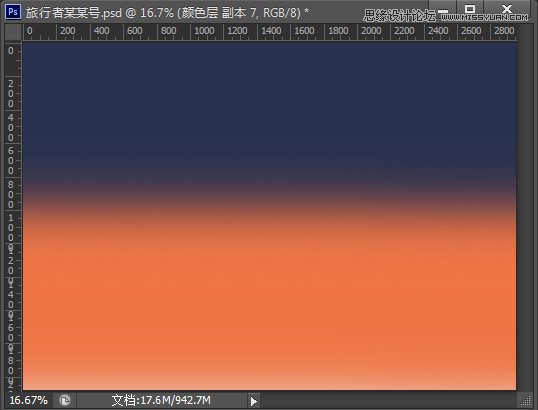
设置前景色为#283150,用画笔工具刷在画布的上方,按住shift可以用笔刷绘制直线,再设置前景色为#ef7544,用画笔工具刷在画布的下方,刷完后效果如下图所示。
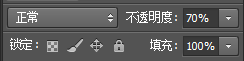
在图层栏调整该图层的不透明度为70%左右
到这一步后天空的颜色绘制就基本完成了,会得到如下图效果:
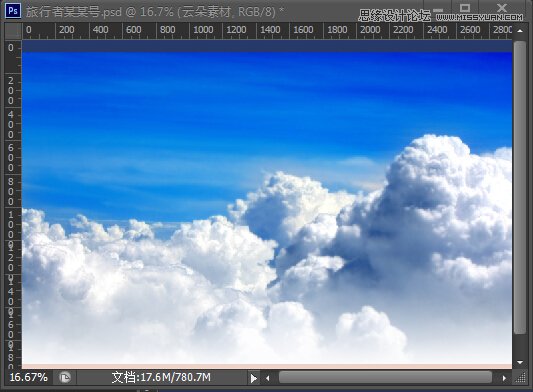
三、处理云朵素材
将云朵素材拖入到画布中,经常有人说这一步不会,其实很简单就是从文件夹里左键点住不动把素材拖动到画布之中。
使用“快速选择工具”对云朵上方蓝色刷一下就会自动识别出如下图选区,这里讲解的是我常用的抠图方法,有其他方法的可以跳过这一步。
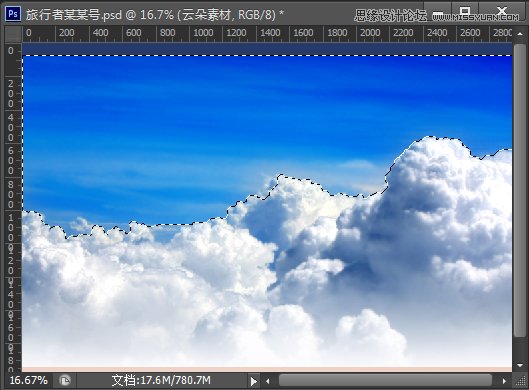
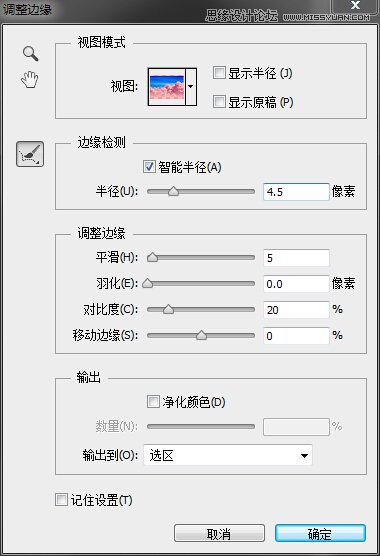
这时上方有“调整选区边缘”按钮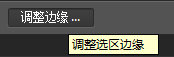 ,点击后出现“调整边缘”对话框,如下图设置,这里其实数值可以随意的只要看着大概云朵能出来就OK。

Hot AI Tools

Undresser.AI Undress
AI-powered app for creating realistic nude photos

AI Clothes Remover
Online AI tool for removing clothes from photos.

Undress AI Tool
Undress images for free

Clothoff.io
AI clothes remover

AI Hentai Generator
Generate AI Hentai for free.

Hot Article
Hot Tools

Notepad++7.3.1
Easy-to-use and free code editor

SublimeText3 Chinese version
Chinese version, very easy to use

Zend Studio 13.0.1
Powerful PHP integrated development environment

Dreamweaver CS6
Visual web development tools

SublimeText3 Mac version
God-level code editing software (SublimeText3)
Hot Topics
 1379
1379
 52
52

 How do I use Photoshop for creating social media graphics?
Mar 18, 2025 pm 01:41 PM
How do I use Photoshop for creating social media graphics?
Mar 18, 2025 pm 01:41 PM
The article details using Photoshop for social media graphics, covering setup, design tools, and optimization techniques. It emphasizes efficiency and quality in graphic creation.
 How do I prepare images for web using Photoshop (optimize file size, resolution)?
Mar 18, 2025 pm 01:35 PM
How do I prepare images for web using Photoshop (optimize file size, resolution)?
Mar 18, 2025 pm 01:35 PM
Article discusses optimizing images for web using Photoshop, focusing on file size and resolution. Main issue is balancing quality and load times.
 What is the reason why PS keeps showing loading?
Apr 06, 2025 pm 06:39 PM
What is the reason why PS keeps showing loading?
Apr 06, 2025 pm 06:39 PM
PS "Loading" problems are caused by resource access or processing problems: hard disk reading speed is slow or bad: Use CrystalDiskInfo to check the hard disk health and replace the problematic hard disk. Insufficient memory: Upgrade memory to meet PS's needs for high-resolution images and complex layer processing. Graphics card drivers are outdated or corrupted: Update the drivers to optimize communication between the PS and the graphics card. File paths are too long or file names have special characters: use short paths and avoid special characters. PS's own problem: Reinstall or repair the PS installer.
 What are the common questions about exporting PDF on PS
Apr 06, 2025 pm 04:51 PM
What are the common questions about exporting PDF on PS
Apr 06, 2025 pm 04:51 PM
Frequently Asked Questions and Solutions when Exporting PS as PDF: Font Embedding Problems: Check the "Font" option, select "Embed" or convert the font into a curve (path). Color deviation problem: convert the file into CMYK mode and adjust the color; directly exporting it with RGB requires psychological preparation for preview and color deviation. Resolution and file size issues: Choose resolution according to actual conditions, or use the compression option to optimize file size. Special effects issue: Merge (flatten) layers before exporting, or weigh the pros and cons.
 How do I prepare images for print using Photoshop (resolution, color profiles)?
Mar 18, 2025 pm 01:36 PM
How do I prepare images for print using Photoshop (resolution, color profiles)?
Mar 18, 2025 pm 01:36 PM
The article guides on preparing images for print in Photoshop, focusing on resolution, color profiles, and sharpness. It argues that 300 PPI and CMYK profiles are essential for quality prints.
 How to solve the problem of loading when PS is always showing that it is loading?
Apr 06, 2025 pm 06:30 PM
How to solve the problem of loading when PS is always showing that it is loading?
Apr 06, 2025 pm 06:30 PM
PS card is "Loading"? Solutions include: checking the computer configuration (memory, hard disk, processor), cleaning hard disk fragmentation, updating the graphics card driver, adjusting PS settings, reinstalling PS, and developing good programming habits.
 How do I use Photoshop's video editing capabilities?
Mar 18, 2025 pm 01:37 PM
How do I use Photoshop's video editing capabilities?
Mar 18, 2025 pm 01:37 PM
The article explains how to use Photoshop for video editing, detailing steps to import, edit, and export videos, and highlighting key features like the Timeline panel, video layers, and effects.
 How to set password protection for export PDF on PS
Apr 06, 2025 pm 04:45 PM
How to set password protection for export PDF on PS
Apr 06, 2025 pm 04:45 PM
Export password-protected PDF in Photoshop: Open the image file. Click "File"> "Export"> "Export as PDF". Set the "Security" option and enter the same password twice. Click "Export" to generate a PDF file.
