

Photoshop制作精美的水彩狐狸头像

作者制作水彩效果的方法非常不错,过程:先提取想要添加效果的部分,适当调色及处理细节;然后把主体的高光、中间调,暗部提取出来;再用不同的水彩素材叠加到高光,中间调及暗部上面;后期在主体边缘增加一些水彩痕迹即可。
最终效果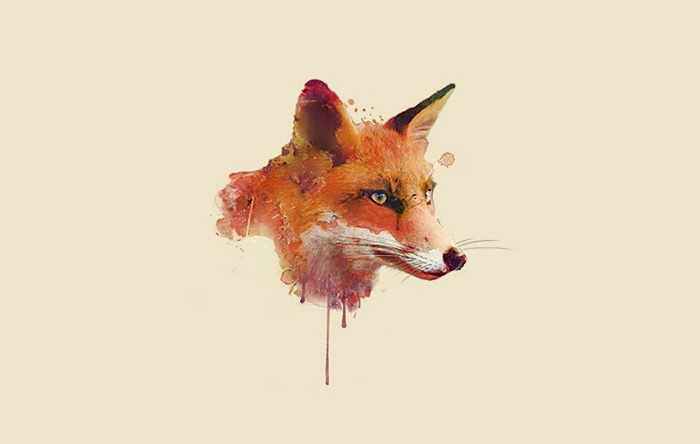
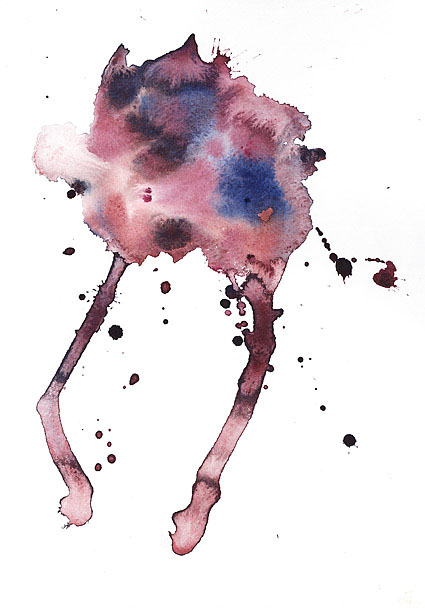
1、素材图片。
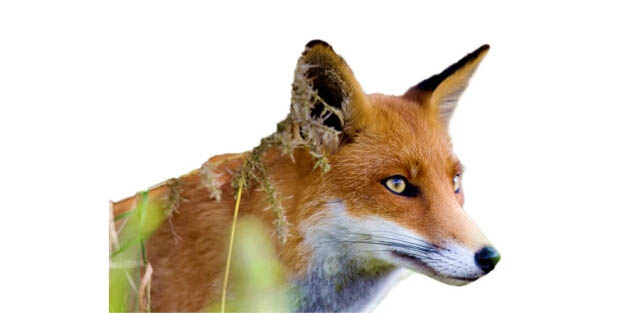
2、我们首先要将狐狸抠像并提高自然饱和度(这里简单抠图就可以,我个人习惯用快速选择工具搭配调整边缘来进行快速抠图)。 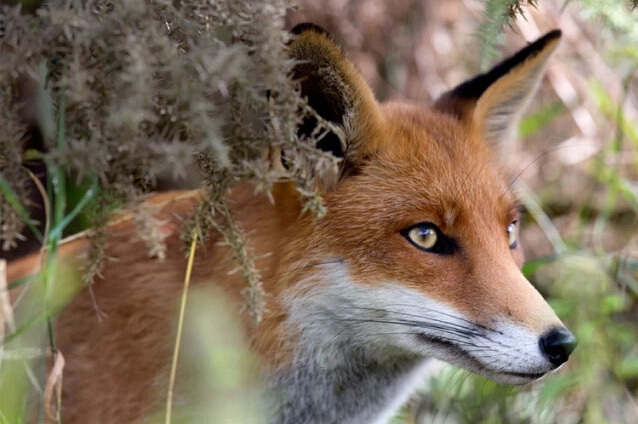
3、之后通过滤镜—滤镜库-艺术效果-水彩效果,来分别制作3个不同的明暗层(用于后面通道层里来提取明暗,这里要适当的提高对比度做到黑白交界线分明,部分有瑕疵的位置可以通过涂抹工具来修平)。 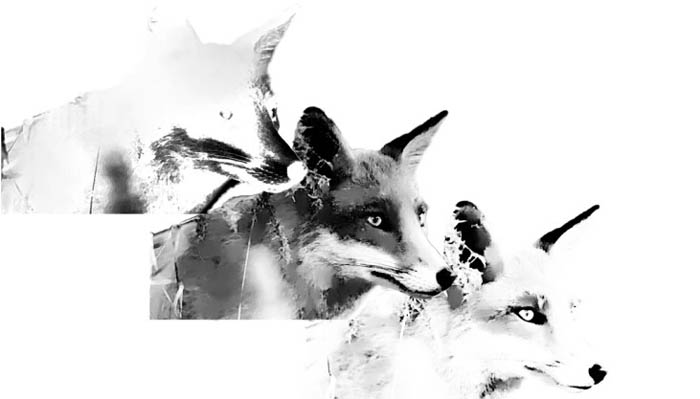
4、后面导入水彩素材并分别建立如下图的蒙版和图层混合模式的设置,不同的照片会不同的设置(这里要进入通道按住ctrl+略缩图来提取选区)。 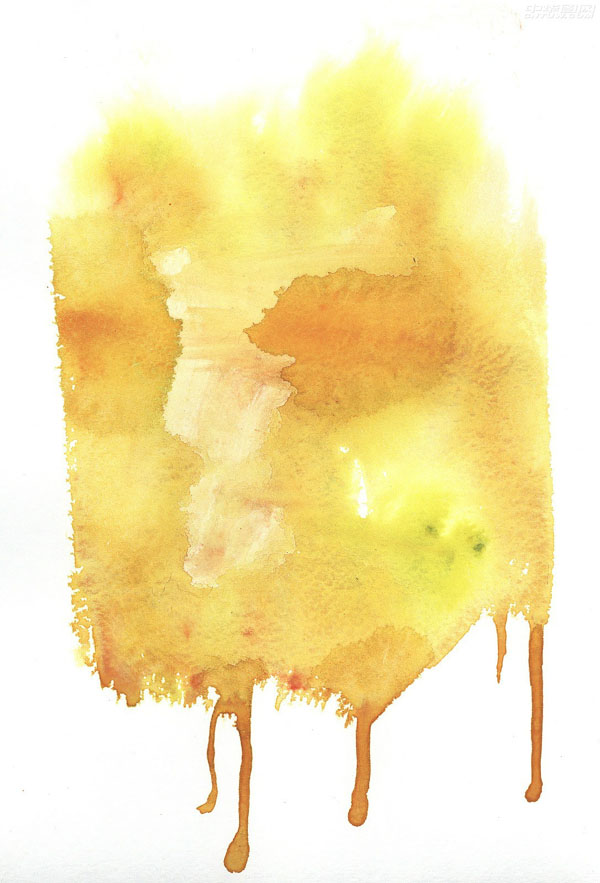
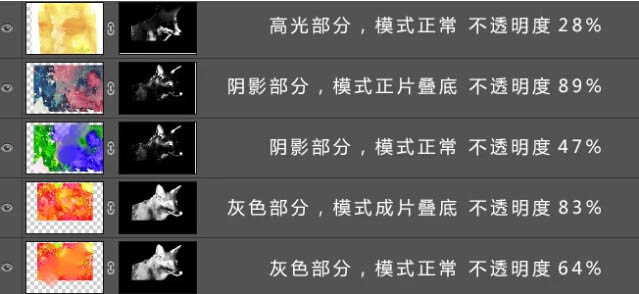
5、完成以上步骤后就会得到下图。 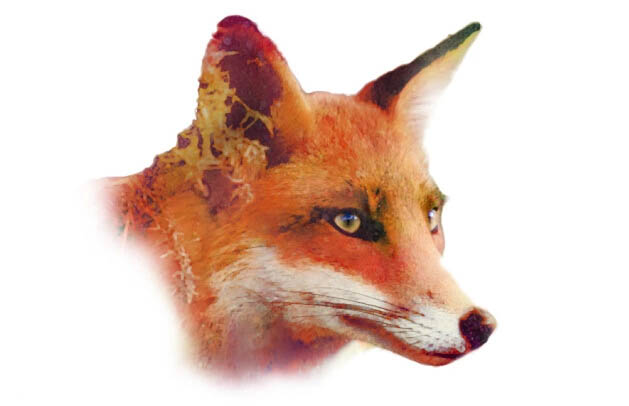
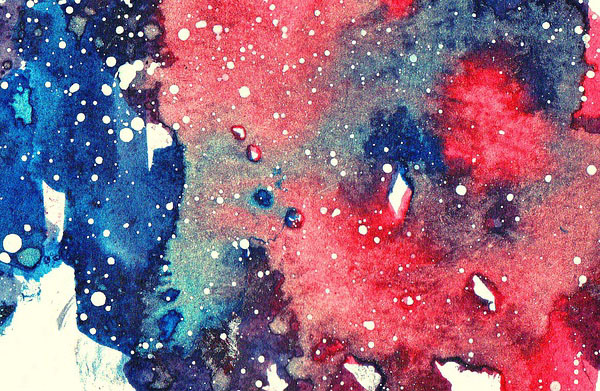
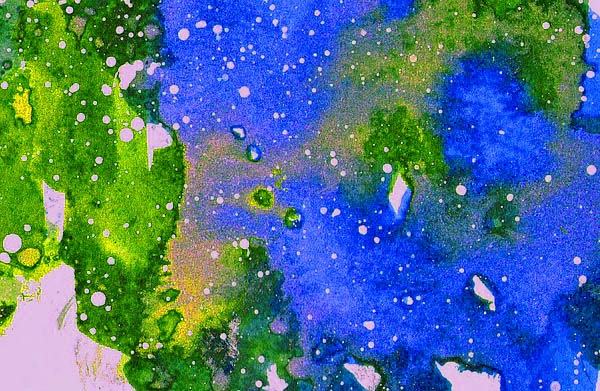
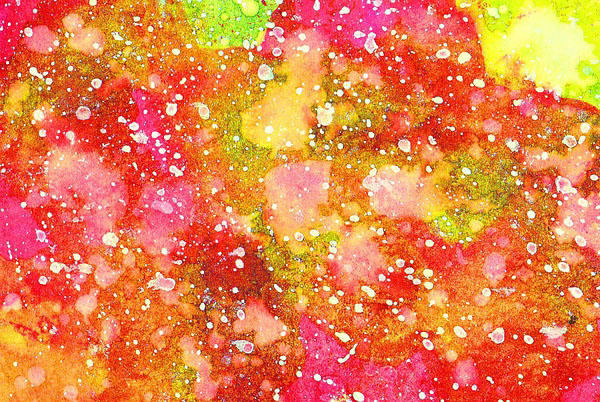
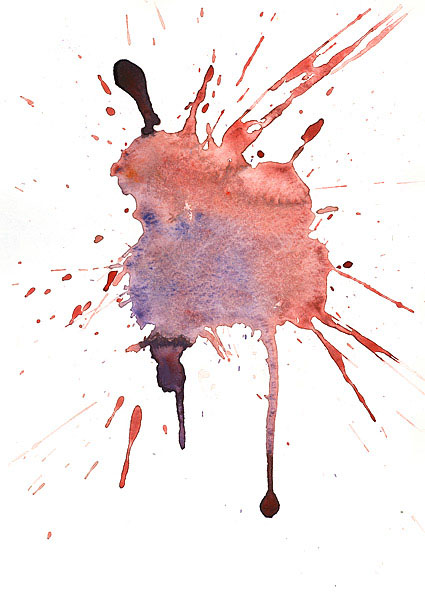
6、再接下来需要叠加水彩的质感素材,就是如下图类型的素材。 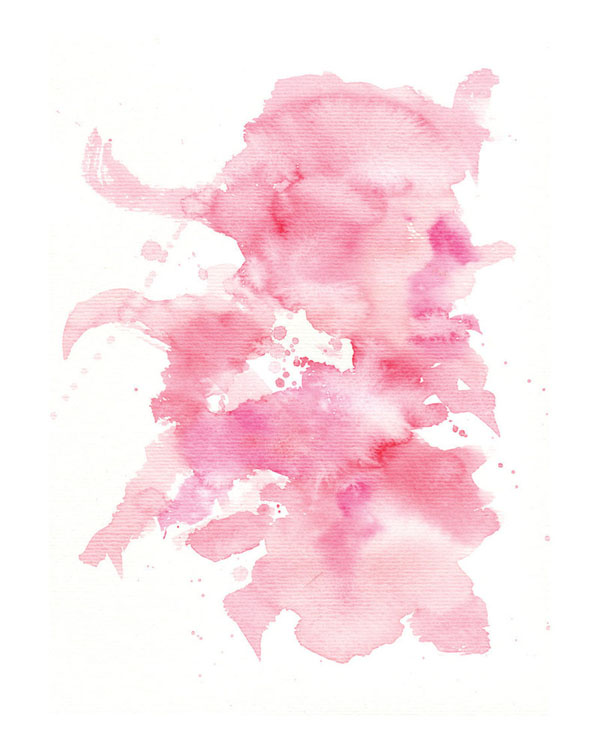

7、叠加素材还是需要用通道来回建立蒙版(如下图所示完成其中一个局部的素材替换)。 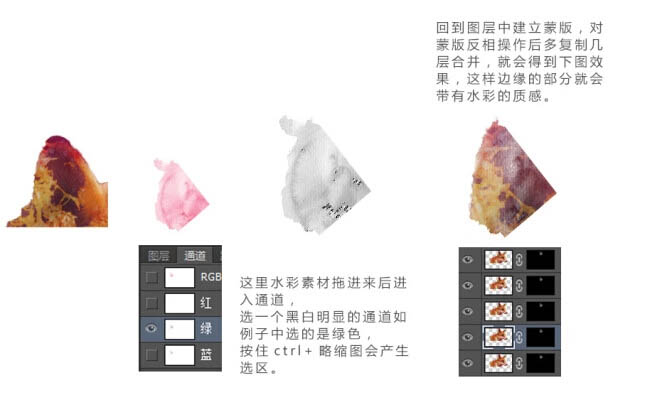
8、按照上述操作反复操作(可能会有十几层,这里需要注意按照边缘来替换,同时注意嘴部眼睛等细节)。 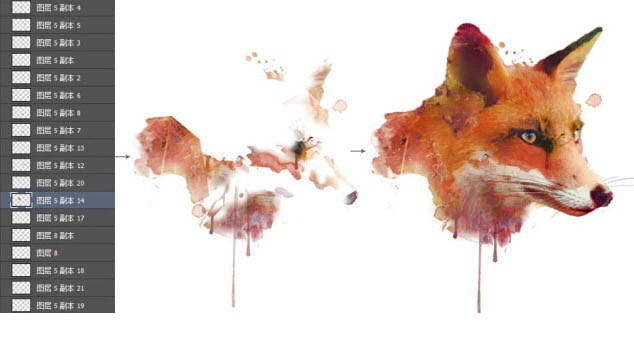
最终效果:
以上就是Photoshop制作精美的水彩狐狸头像的内容,更多相关内容请关注PHP中文网(www.php.cn)!

Hot AI Tools

Undresser.AI Undress
AI-powered app for creating realistic nude photos

AI Clothes Remover
Online AI tool for removing clothes from photos.

Undress AI Tool
Undress images for free

Clothoff.io
AI clothes remover

AI Hentai Generator
Generate AI Hentai for free.

Hot Article
Hot Tools

Notepad++7.3.1
Easy-to-use and free code editor

SublimeText3 Chinese version
Chinese version, very easy to use

Zend Studio 13.0.1
Powerful PHP integrated development environment

Dreamweaver CS6
Visual web development tools

SublimeText3 Mac version
God-level code editing software (SublimeText3)
Hot Topics
 1378
1378
 52
52

 Use Python to convert photos into anime-style avatars.
Apr 22, 2023 pm 10:22 PM
Use Python to convert photos into anime-style avatars.
Apr 22, 2023 pm 10:22 PM
Recently, I encountered a problem. I needed to transform my avatar into an anime style. My first thought was to find ready-made wheels. ▲Convert pictures to pixel style to convert avatars into anime style, hoping to convert real photos into anime/cartoon style non-realistic images while maintaining the original image information and texture details. At present, in addition to Baidu API, there are many open source libraries on Github that we can use directly. Among them, AnimeGAN is a study from Wuhan University and Hubei University of Technology. It uses a combination of neural style transfer + generative adversarial network (GAN), and the effect is very consistent with our needs. AnimeGAN first used the Tensorflow framework, but after querying the information, it was found that the project already supports PyTorch.
 What are the permanently free photoshopcs5 serial numbers?
Jul 06, 2023 am 10:00 AM
What are the permanently free photoshopcs5 serial numbers?
Jul 06, 2023 am 10:00 AM
The permanently free photoshopcs5 serial numbers are: 1. 1330-1440-1602-3671-9749-7897; 2. 1330-1191-2998-6712-2520-5424; 3. 1330-1367-4285-4928-0630-3107; 4. 1330-1570-9599-9499-8092-8237; 5. 1330-1028-1662-3206-1688-5114, etc.
 Solution: Fix keyboard shortcuts not working in Photoshop
Sep 22, 2023 pm 03:17 PM
Solution: Fix keyboard shortcuts not working in Photoshop
Sep 22, 2023 pm 03:17 PM
Adobe Photoshop is the industry standard for digital design, loved and used every day by the online community. However, when keyboard shortcuts stutter or fail entirely, it can significantly slow down any project or your overall productivity on Windows 11. Whether you're an experienced designer or just dabbling in photo editing, these glitches are more than just minor annoyances in Photoshop and Photoshop CC. First, let's look at the common reasons why custom or default shortcuts stop working. Why don't my shortcuts work in Photoshop? Customize workspace settings: Sometimes, adjusting or switching between workspace settings can reset keyboard shortcuts. Sticky Keys: This accessibility feature
 Tutorial to restore win11 default avatar
Jan 02, 2024 pm 12:43 PM
Tutorial to restore win11 default avatar
Jan 02, 2024 pm 12:43 PM
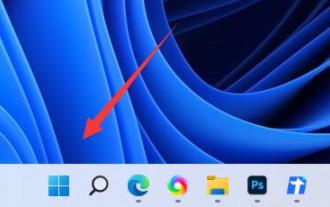
If we change our system account avatar but don’t want it anymore, we can’t find how to change the default avatar in win11. In fact, we only need to find the folder of the default avatar to restore it. Restore the default avatar in win11 1. First click on the "Windows Logo" on the bottom taskbar 2. Then find and open "Settings" 3. Then enter "Account" on the left column 4. Then click on "Account Information" on the right 5. After opening, click "Browse Files" in the selected photo. 6. Finally, enter the "C:\ProgramData\Microsoft\UserAccountPictures" path to find the system default avatar picture.
 How to change account name and avatar in Win10 - Detailed step-by-step guide
Jan 14, 2024 pm 01:45 PM
How to change account name and avatar in Win10 - Detailed step-by-step guide
Jan 14, 2024 pm 01:45 PM
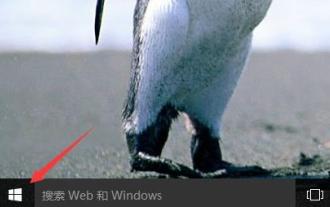
After registering a win10 account, many friends feel that their default avatars are not very good-looking. For this reason, they want to change their avatars. Here is a tutorial on how to change their avatars. If you want to know, you can come and take a look. . How to change the win10 account name and avatar: 1. First click on the lower left corner to start. 2. Then click the avatar above in the pop-up menu. 3. After entering, click "Change Account Settings". 4. Then click "Browse" under the avatar. 5. Find the photo you want to use as your avatar and select it. 6. Finally, the modification is completed successfully.
 How to change boss direct recruitment avatar back to default
Feb 23, 2024 pm 04:07 PM
How to change boss direct recruitment avatar back to default
Feb 23, 2024 pm 04:07 PM
How to change the boss direct recruitment avatar back to the default? The boss direct recruitment avatar can be adjusted at will, but most friends don’t know how to change the boss direct recruitment avatar back to the default. Next is the boss direct recruitment avatar brought to players by the editor. Change back to the default method tutorial, interested players come and take a look! How to change the Boss Direct Recruitment avatar back to the default 1. First open the Boss Direct Recruitment APP, click on the avatar above in the [My] area in the lower right corner of the main page; 2. Then enter the personal information interface and continue to click on the avatar; 3. Then select [ Take photo] and [Select from album] to change back to the default.
 How to modify the avatar in discuz
Aug 08, 2023 pm 03:53 PM
How to modify the avatar in discuz
Aug 08, 2023 pm 03:53 PM
How to modify the avatar in discuz: 1. Log in to the Discuz backend, find the "admin.php" or "admin" directory in the root directory of the website and log in; 2. Enter user management, find and click on the navigation menu on the left or top Enter; 3. Search for users and use the search function to find specific users; 4. Modify the avatar, on the editing page, you can find the avatar option and upload a new avatar; 5. Save the modification; 6. Refresh the page.
 How to implement avatar upload function in Vue
Nov 07, 2023 am 08:01 AM
How to implement avatar upload function in Vue
Nov 07, 2023 am 08:01 AM
Vue is a popular front-end framework that can be used to build highly interactive applications. During the development process, uploading avatars is one of the common requirements. Therefore, in this article, we will introduce how to implement the avatar upload function in Vue and provide specific code examples. Using a third-party library In order to implement the avatar upload function, we can use a third-party library, such as vue-upload-component. This library provides an upload component that can be easily integrated into Vue applications. Here is a simple example
