
When editing a Word document, it is troublesome that the inserted picture only displays part of the content. PHP editor Xiaoxin will introduce the reasons and processing steps for incomplete image display one by one to help everyone solve this problem. Read on for details below to learn how to quickly and easily resolve this issue to ensure images display correctly in your document.
Method 1. Set the line spacing to display the picture
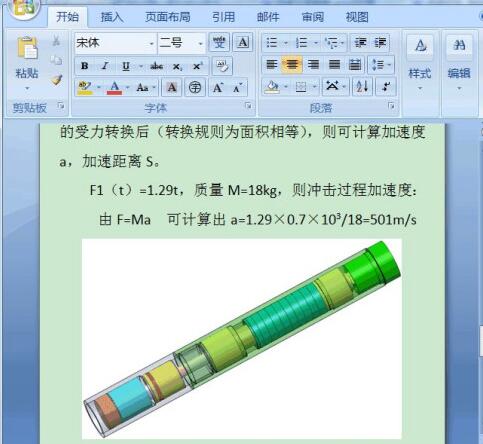
The picture inserted by the editor now only displays part of it, not completely.
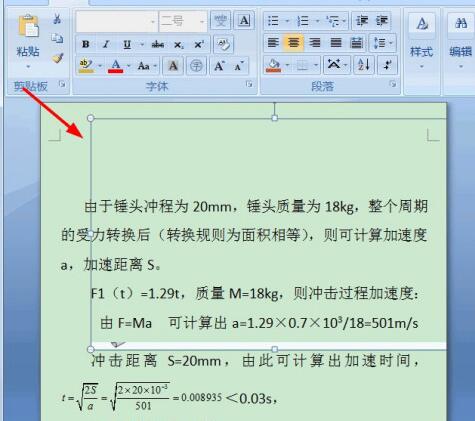
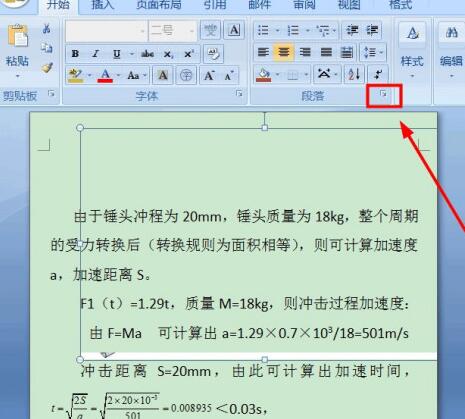
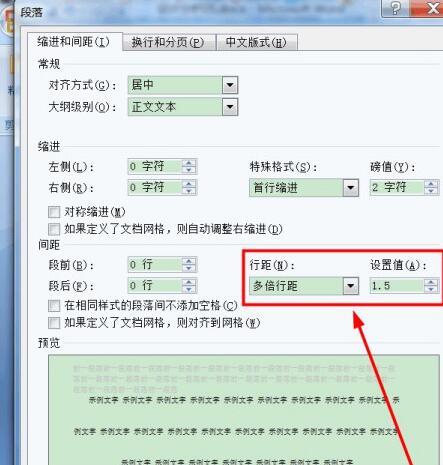
Click on the top In the [Paragraph] toolbar, click the oblique arrow at the lower right corner of the toolbar.
The paragraph settings dialog box will pop up, ready to modify the line spacing.
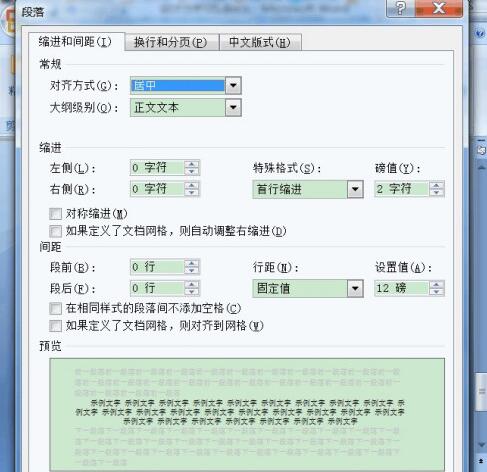
Click on the line spacing Settings, change the fixed value line spacing to single line spacing, or multiple line spacing, set according to your own needs,
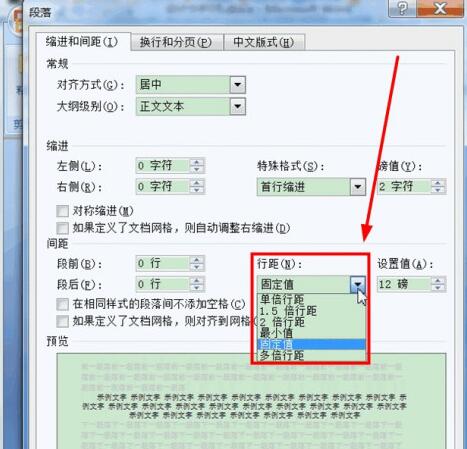
Here is an example of setting multiple line spacing, set to 1.5 times the line spacing ,
Confirm, return, the picture has been displayed,
Method 2, set the picture text wrapping to solve the problem
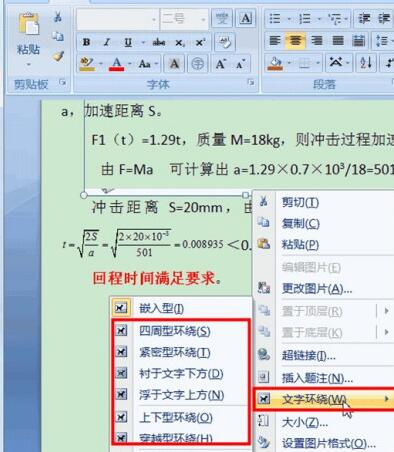
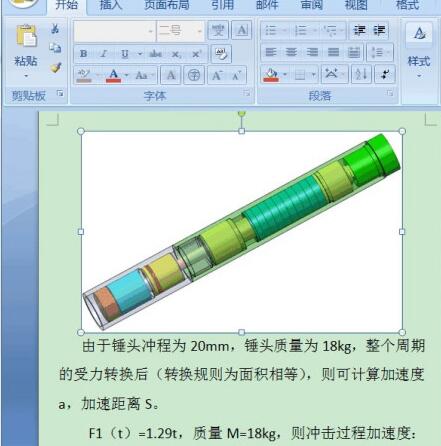
Select the picture, right-click the mouse, a drop-down menu will pop up, select [Text Wrapping (W)], cancel [Embedded], and choose other methods, any one will do,
inserted Pictures are shown as well.
The above is the detailed content of After inserting a picture in word, only a part of the picture will be displayed.. For more information, please follow other related articles on the PHP Chinese website!
 How to light up Douyin close friends moment
 microsoft project
 What is phased array radar
 How to use fusioncharts.js
 Yiou trading software download
 The latest ranking of the top ten exchanges in the currency circle
 What to do if win8wifi connection is not available
 How to recover files emptied from Recycle Bin


