
Designing a flowchart using Microsoft Word 2003 is a useful skill that can help you visualize processes and communicate complex information. It's important to understand the specific methods for designing flowcharts in Word 2003 in order to take advantage of this feature effectively. This tutorial takes an in-depth look at the steps to create and customize a flowchart in Word 2003, guiding you through the process.
First use arrow-shaped elbow connectors and straight-line connectors to connect the graphics together.
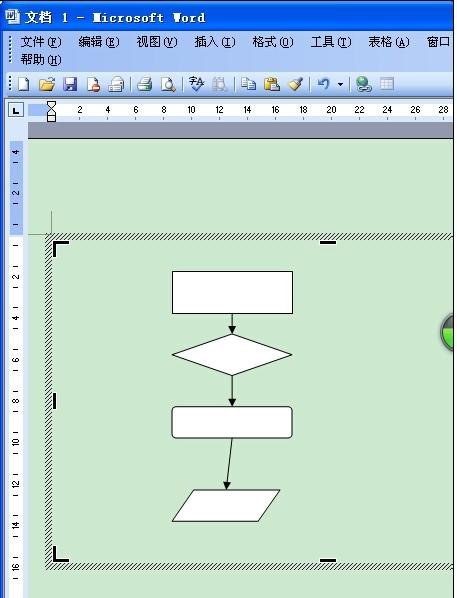
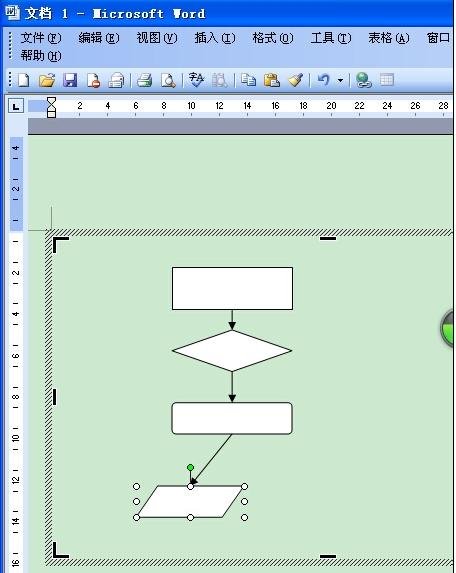
At this time, you find that you need to move the bottom rectangle downwards Move a little bit so you drag the rectangle. Found it? The connector changes as the rectangle is dragged. Yes, it never leaves the rectangle.
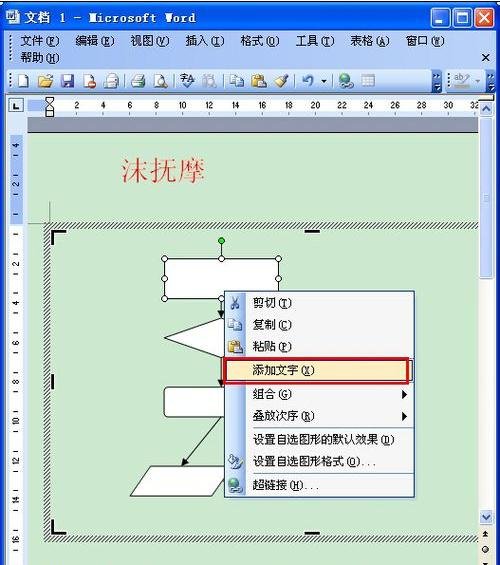
Now, we need to add text to the graphic. Right-click the shape, click [Add text] and start typing. You can use the typesetting tools of the document to modify the centering, font, color and other attributes of the text; it should be noted that you cannot add text to line segments or connectors in Word, but you can use a text box to place it near or above these drawing objects. Word. The figure below is an example of a flow chart. The canvas color and line color can be modified through the drawing toolbar.
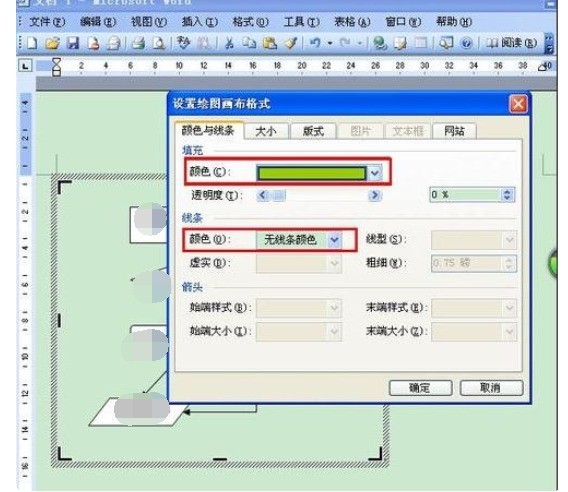
Now we add a background color to the graphic, place the mouse inside the graphic, right-click and select [Set Drawing Canvas Format].
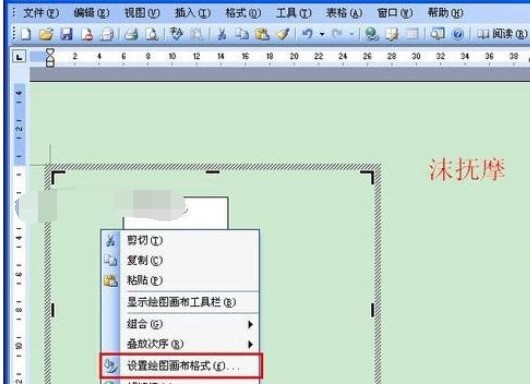
Select the canvas fill color, and you can also select the line color, style, etc.
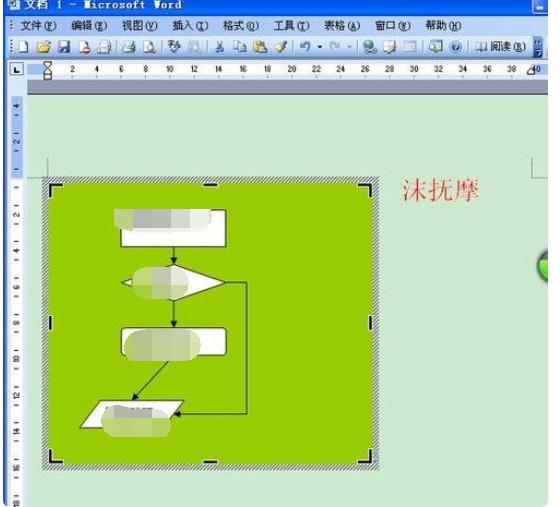
This is what it looks like after adding the fill color.
The above is the detailed content of Introduction to the specific method of designing flow chart in word2003. For more information, please follow other related articles on the PHP Chinese website!


