
Are you tired of boring documents? Want to improve the visual quality of your Word 2003 documents? PHP editor Youzi brings you a detailed guide on inserting and adjusting pictures in word2003. With this guide, you'll learn how to quickly and easily insert images, resize them, crop them, rotate them, and set various image effects. Ready to take your documentation to the next level? Read on to learn all the necessary steps and make your words shine.
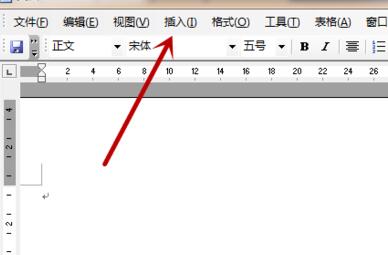
Open word2003, click the [Insert] button at the top of the interface to open the insert function option, as shown in the figure.
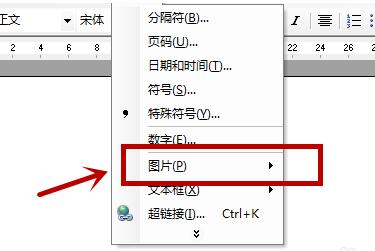
In the options that open, click [Picture] inside, as shown in the picture.
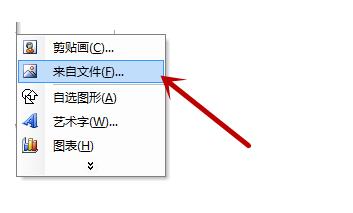
Click [From File] in it and do not click on anything else to open the file selection window, as shown in the figure.
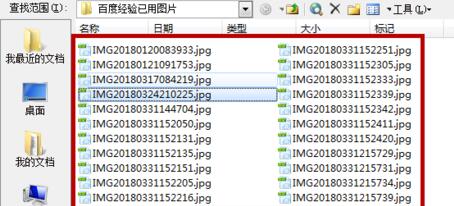
Then click inside to select a picture to be inserted, and click the [Insert] button, as shown in the picture.
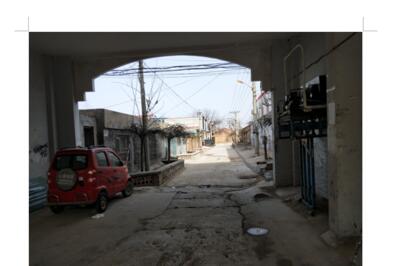
After that, you can see that the picture is successfully inserted, but the position and size are inappropriate, as shown in the picture.
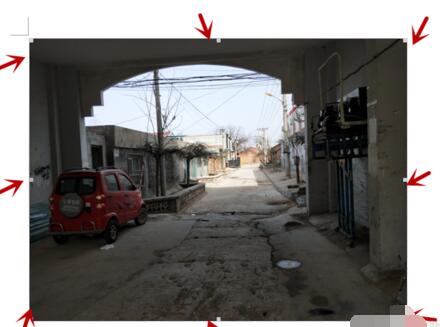
Then click on the inserted picture and adjust the size of the picture through the surrounding points. Press and hold the mouse on the picture and move the mouse to adjust the position of the picture, as shown in the picture.
The above is the detailed content of Detailed method of inserting and adjusting pictures in word2003. For more information, please follow other related articles on the PHP Chinese website!


