
这篇教程教脚本之家的朋友们用Photoshop把春天变秋天,教程提供的制作难度中等。介绍的很详细,需要PS有一定基础的人学习,所以转发过来与大家一起分享学习,希望脚本之家的朋友们喜欢哈。同时也希望大家有更多更好的作品出现!
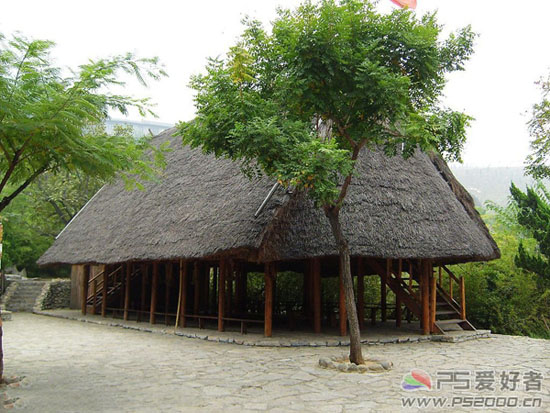
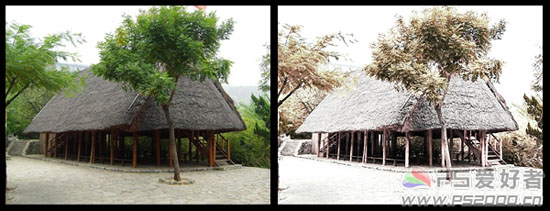
先来看看原图和效果图对比:
原图:
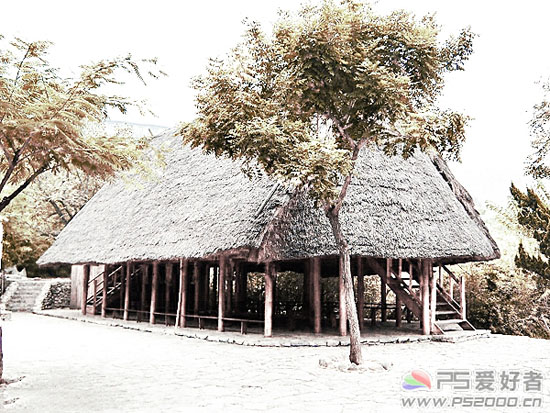
效果图:
具体的制作步骤如下:
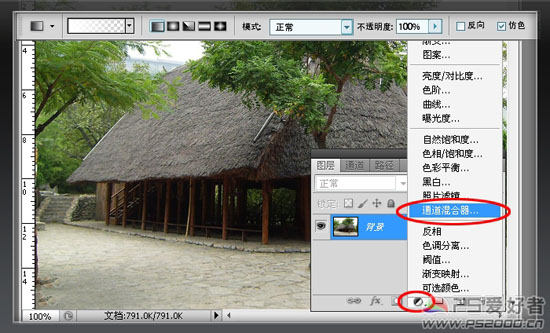
打开素材,建立“通道混合器”调整图层
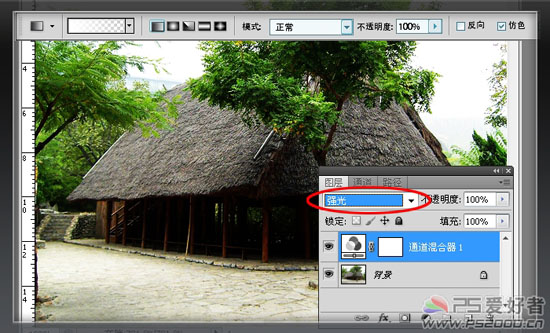
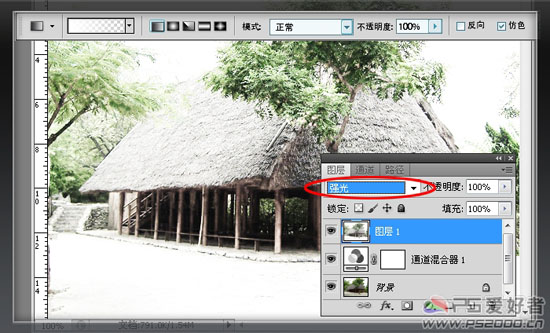
将此调整图层设为“强光”模式
调整“通道混合器”参数(记得勾选单色)
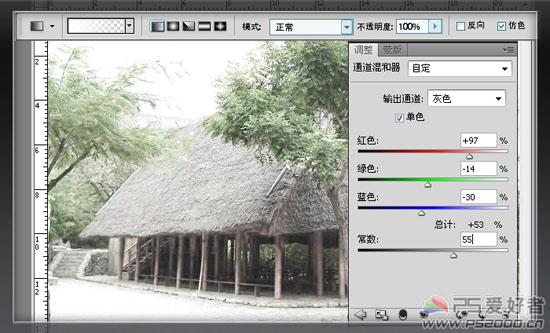
在最上方新建图层,按ctrl+atl+shift+E盖印图层,改为“强光”模式
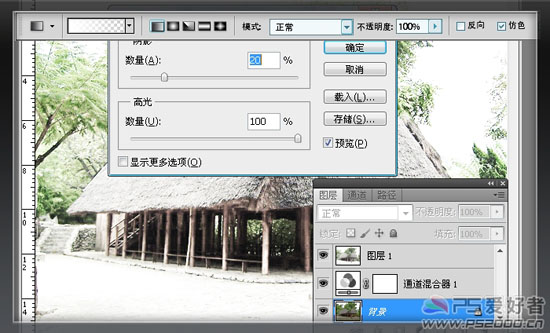
鼠标点击背景图层,图像——调整——阴影/高光
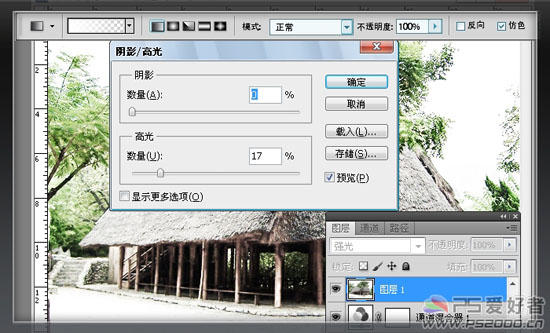
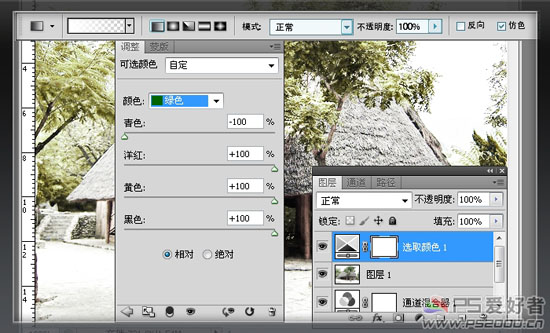
新建“可选颜色”调整图层,调整“绿色”颜色通道的参数
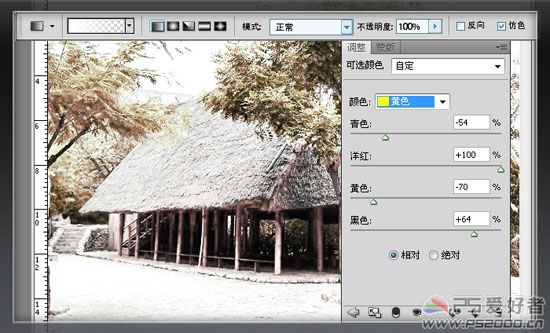
再调整“黄色”颜色通道的参数
大功告成,看一下前后对比效果。
以上就是教你用Photoshop把春天变秋天的效果的内容,更多相关内容请关注PHP中文网(www.php.cn)!
 photoshop cs5 serial number
 What should I do if the ps temporary disk is full?
 Data encryption storage measures
 Advantages and Disadvantages of Free Overseas Website Servers
 vb.net tutorial
 The role of isset in php
 How to recover permanently deleted files on computer
 The difference between ipv4 and ipv6


