
Dear video production enthusiasts, how to use recording tracks in Premiere has been confusing many people. PHP editor Xinyi will give you an in-depth understanding of how to use recording tracks today. If you're struggling to find the right way to record or edit audio, read on for our detailed tutorial below, which will guide you step-by-step through mastering the use of Premiere recording tracks to improve your video production.
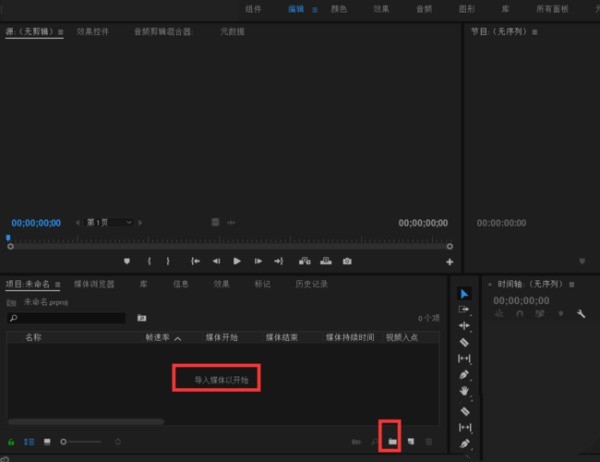
1. First open the Premiere cc software and enter the project page, click the Open Material button or double-click the blank space of the material panel to import the material.
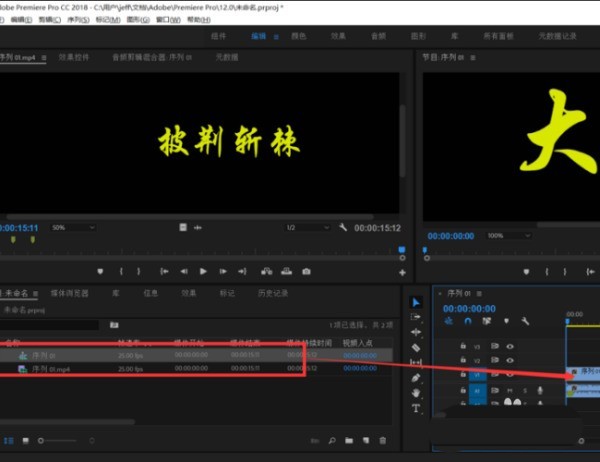
2. Drag the video to the time track to create a new sequence, or click the new icon to create a new sequence.
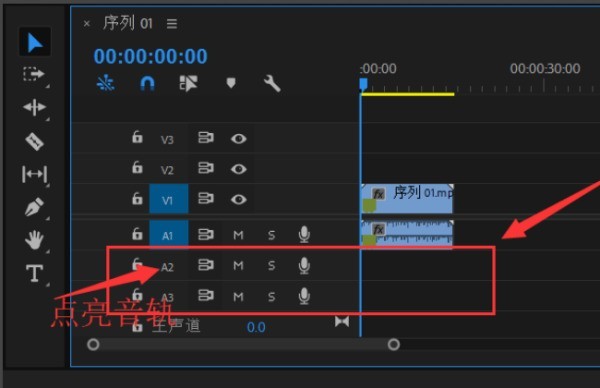
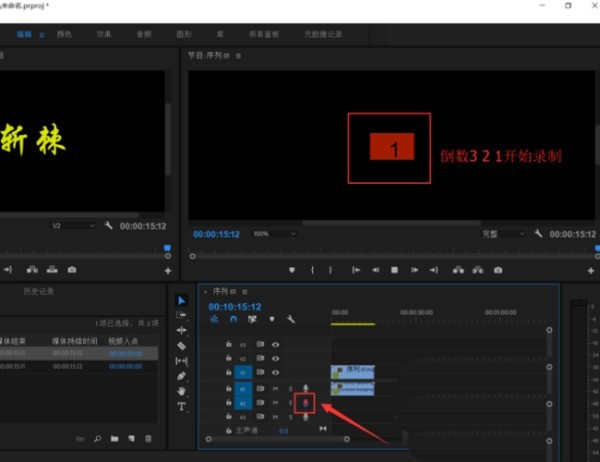
3. You can see that the track starting with A below is the sound track. First, light the track where you want to record the sound. Click A2 here and it will turn blue.
4. Then click the microphone style icon button, which is the voice-over recording switch.
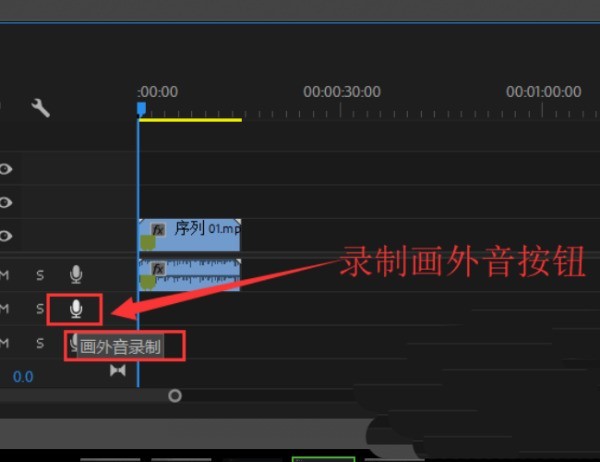
5. When the microphone icon turns red, a countdown of 3 2 1 appears on the program panel to start recording.
6. After recording, you can click the tool next to the editing window to simply process the recording. Finish
The above is the detailed content of How to use the recording track in Premiere_Tutorial on using the recording track in Premiere. For more information, please follow other related articles on the PHP Chinese website!


